General
To create an immersive experience of architectural acoustics we need a microphone able to capture 360° audio, a digital audio workstation to process the audio recording, and an audio system able to play spatial audio. Here you can find a general description of all the hardware that we will use during the seminar week and step-by-step instructions on how to install and configure all necessary software and plug-ins.
You can jump directly to one of the sections by clicking the links below.
What to bring with you
For the seminar week you only need to bring with you:
-
a laptop (Mac or PC) with:
- at least 5GB of free HDD space
- 1x USB Type-A port (for connecting the Zylia microphone)
- 1x Ethernet port (for connecting to IDL's Dante network)
- a pair of headphones
If your computer does not have a USB Type-A or an Ethernet port, please bring adapter/s.
Installation
All software that we will use are free and available both for macOS and Windows.
REAPER Digital Audio Workstation
-
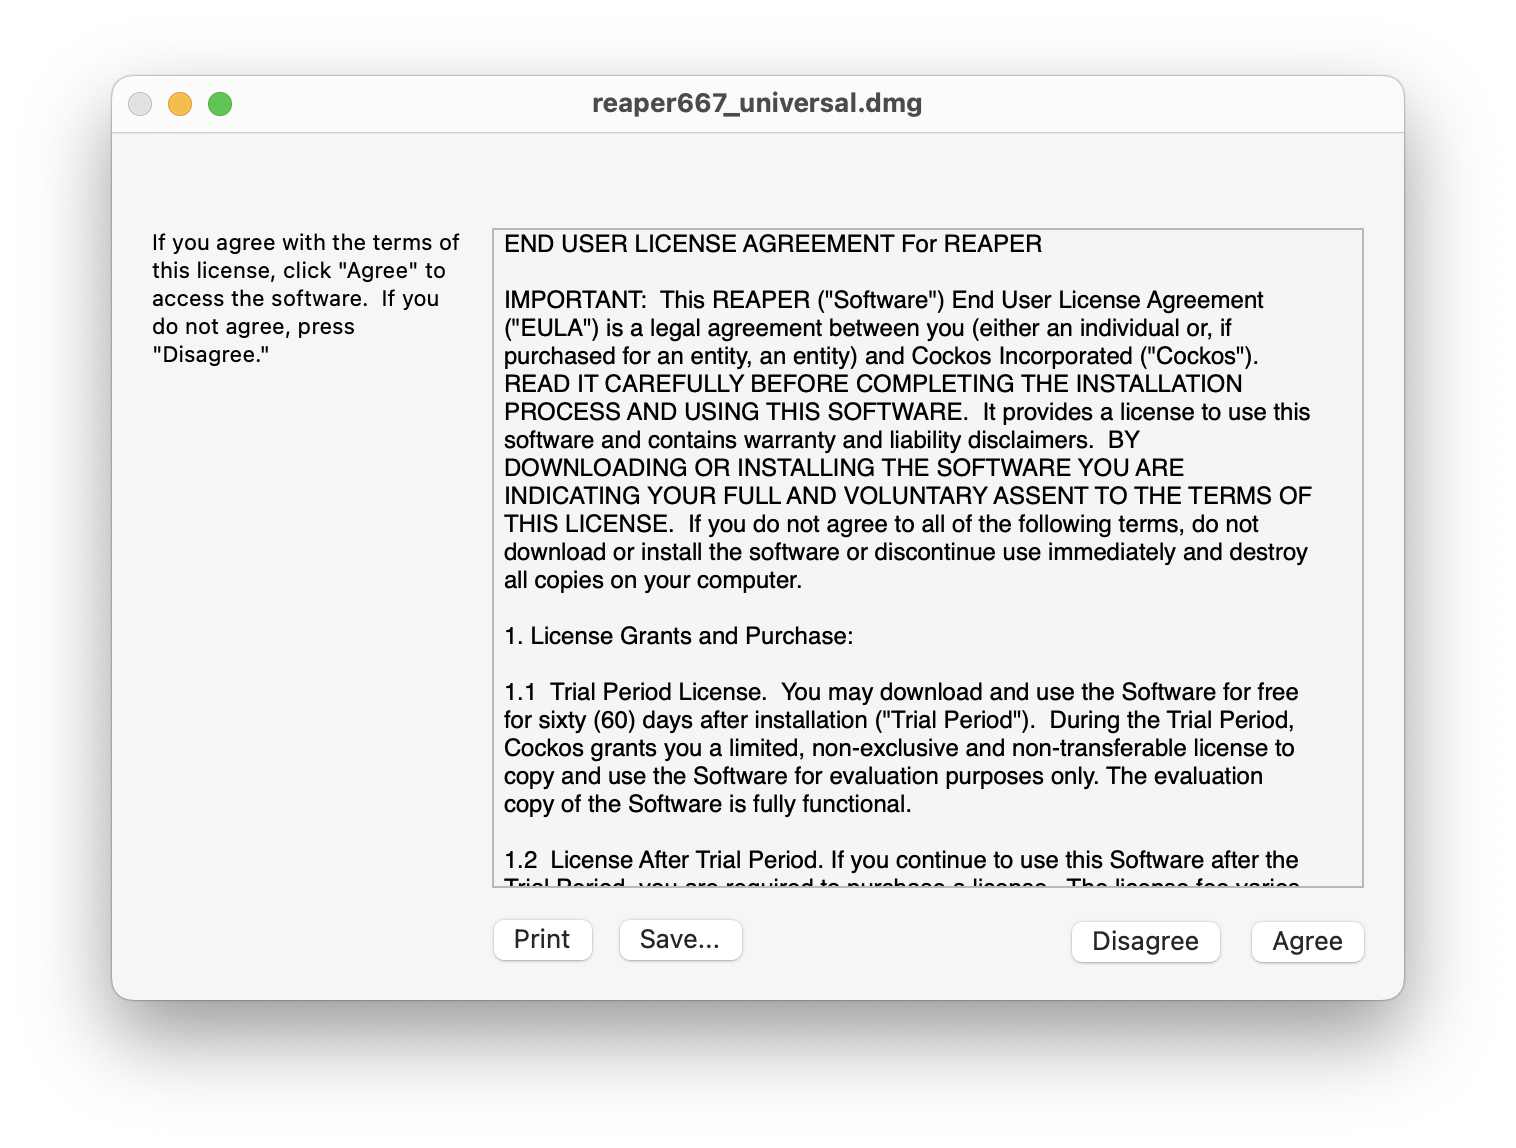
Download and run the REAPER Digital Audio Workstation installer.
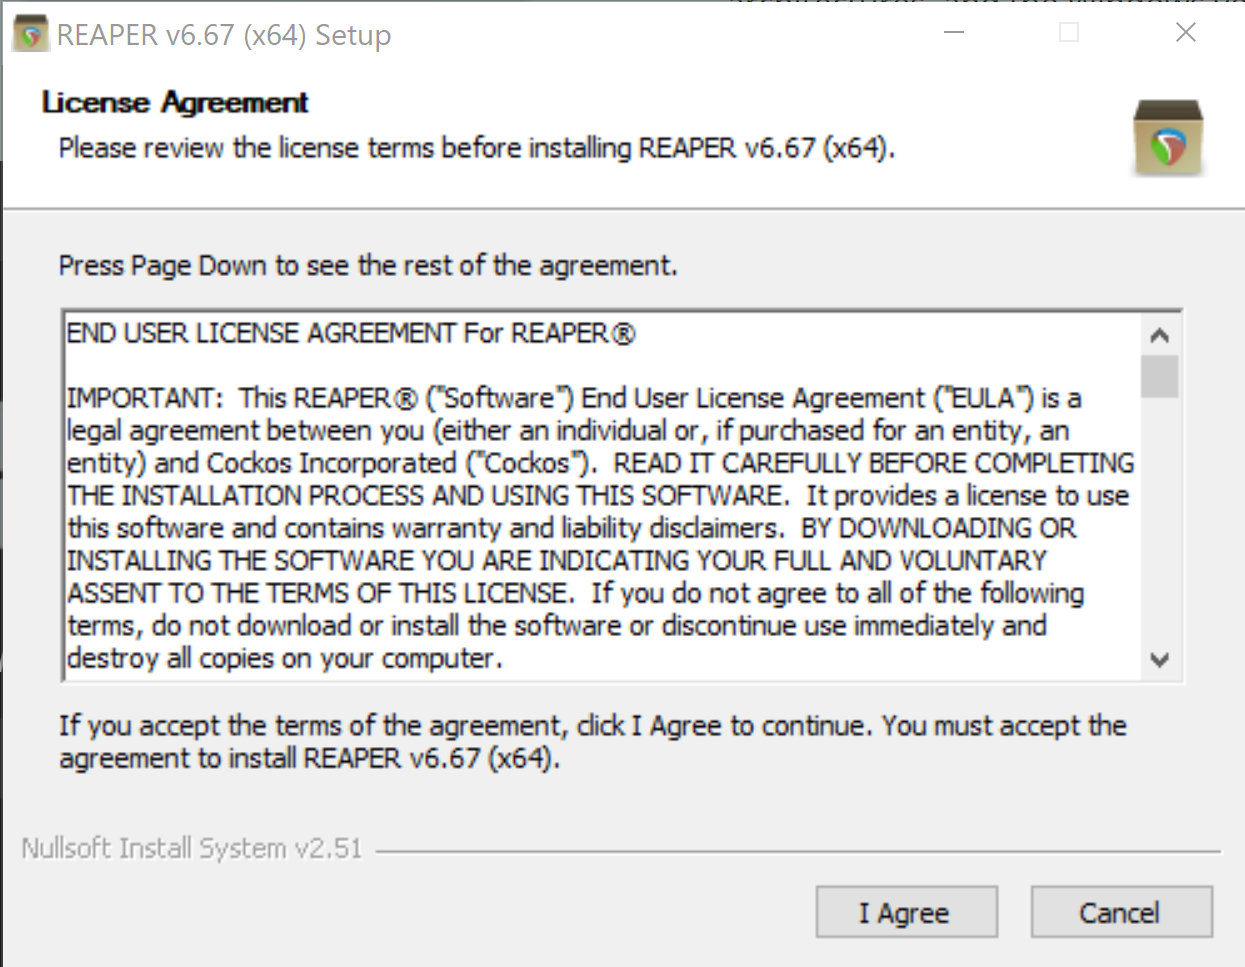
-
Agree to the End User License Agreement.
-
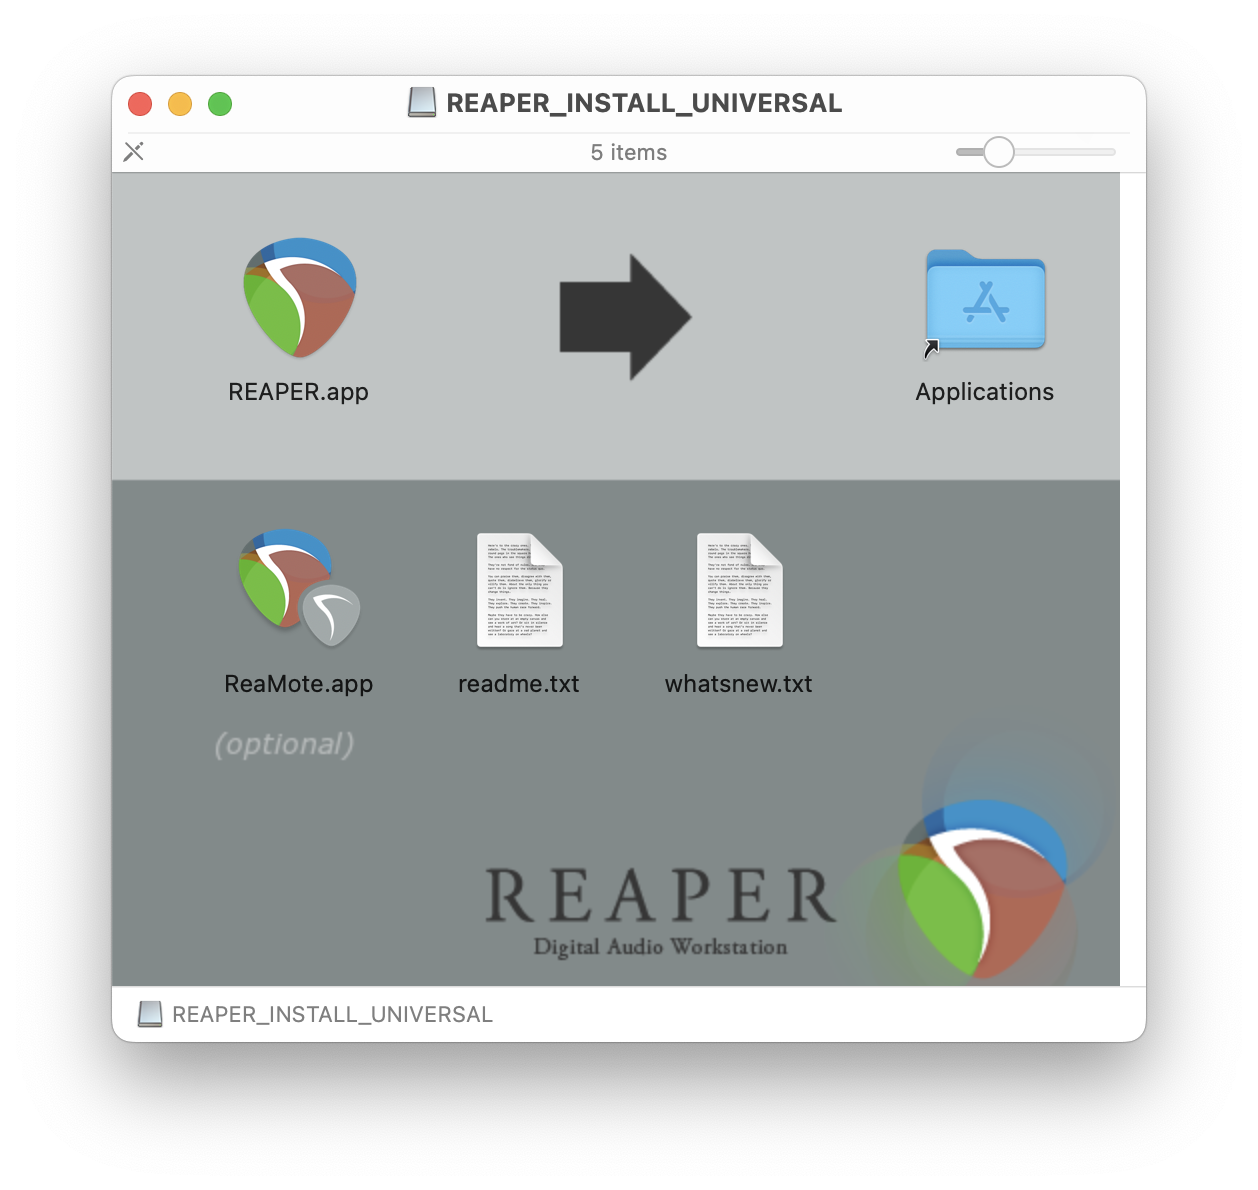
Drag and drop REAPER.app into the Applications folder.
Zylia ZM-1 drivers
-
Click
Continue
-
Click again
Continue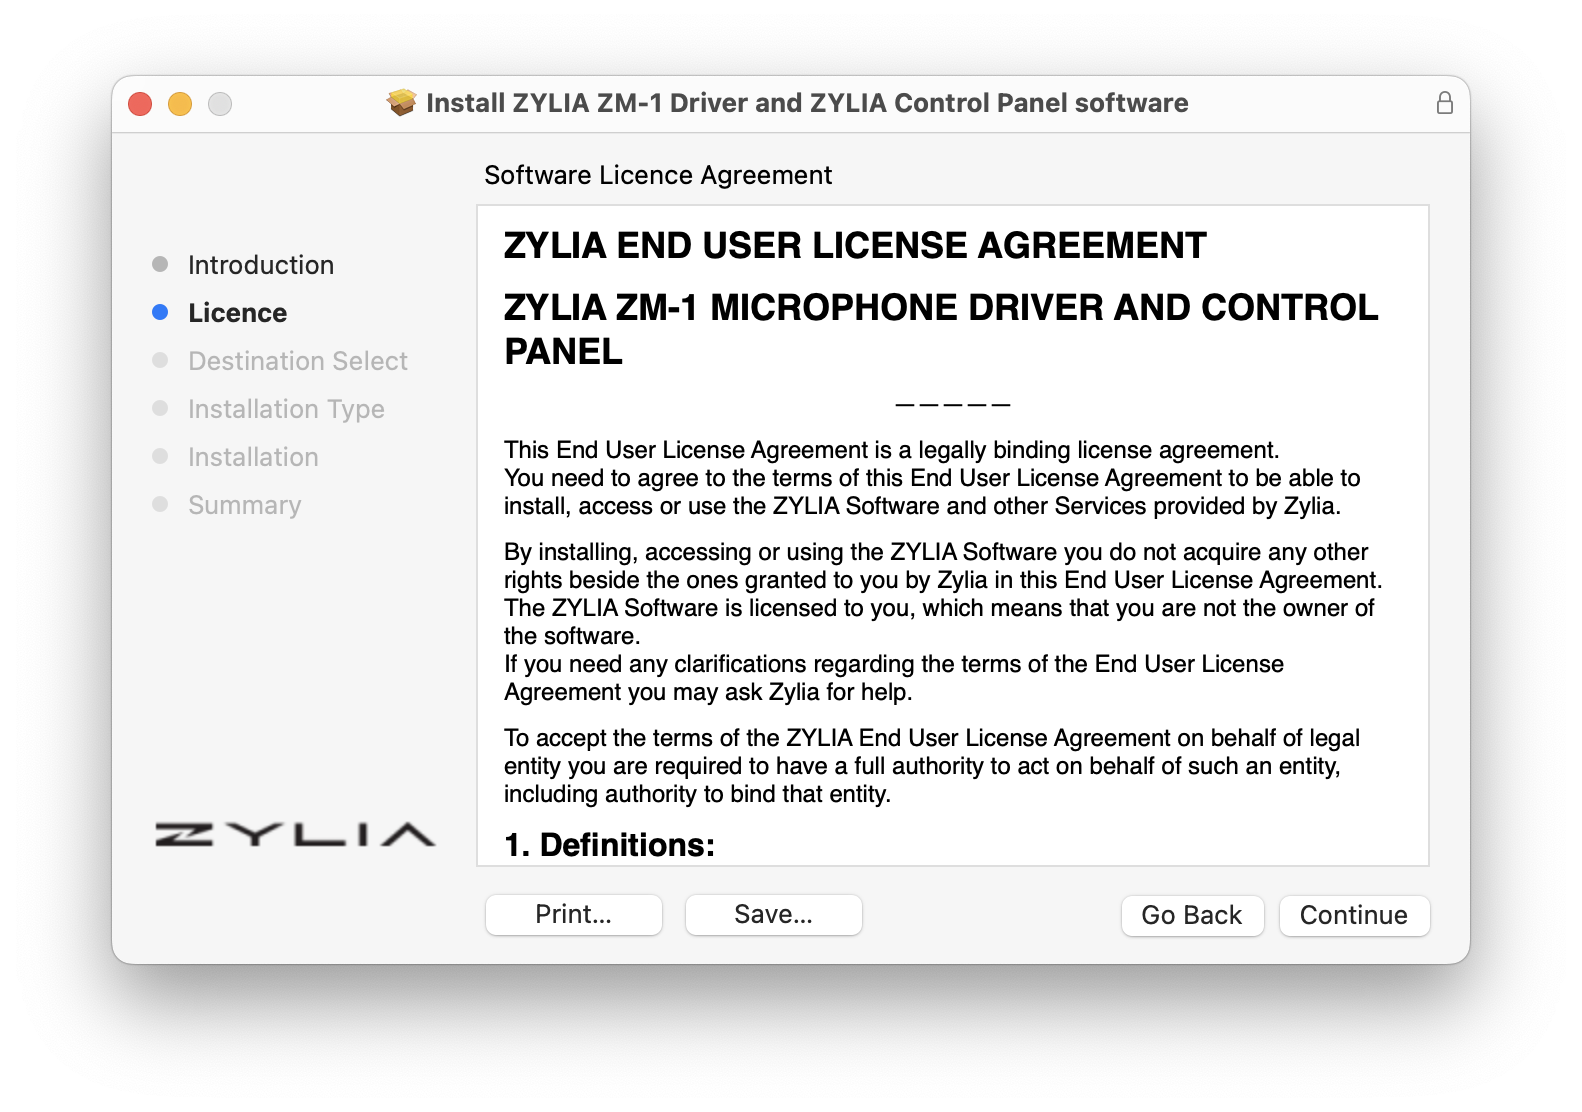
-
Click
Agree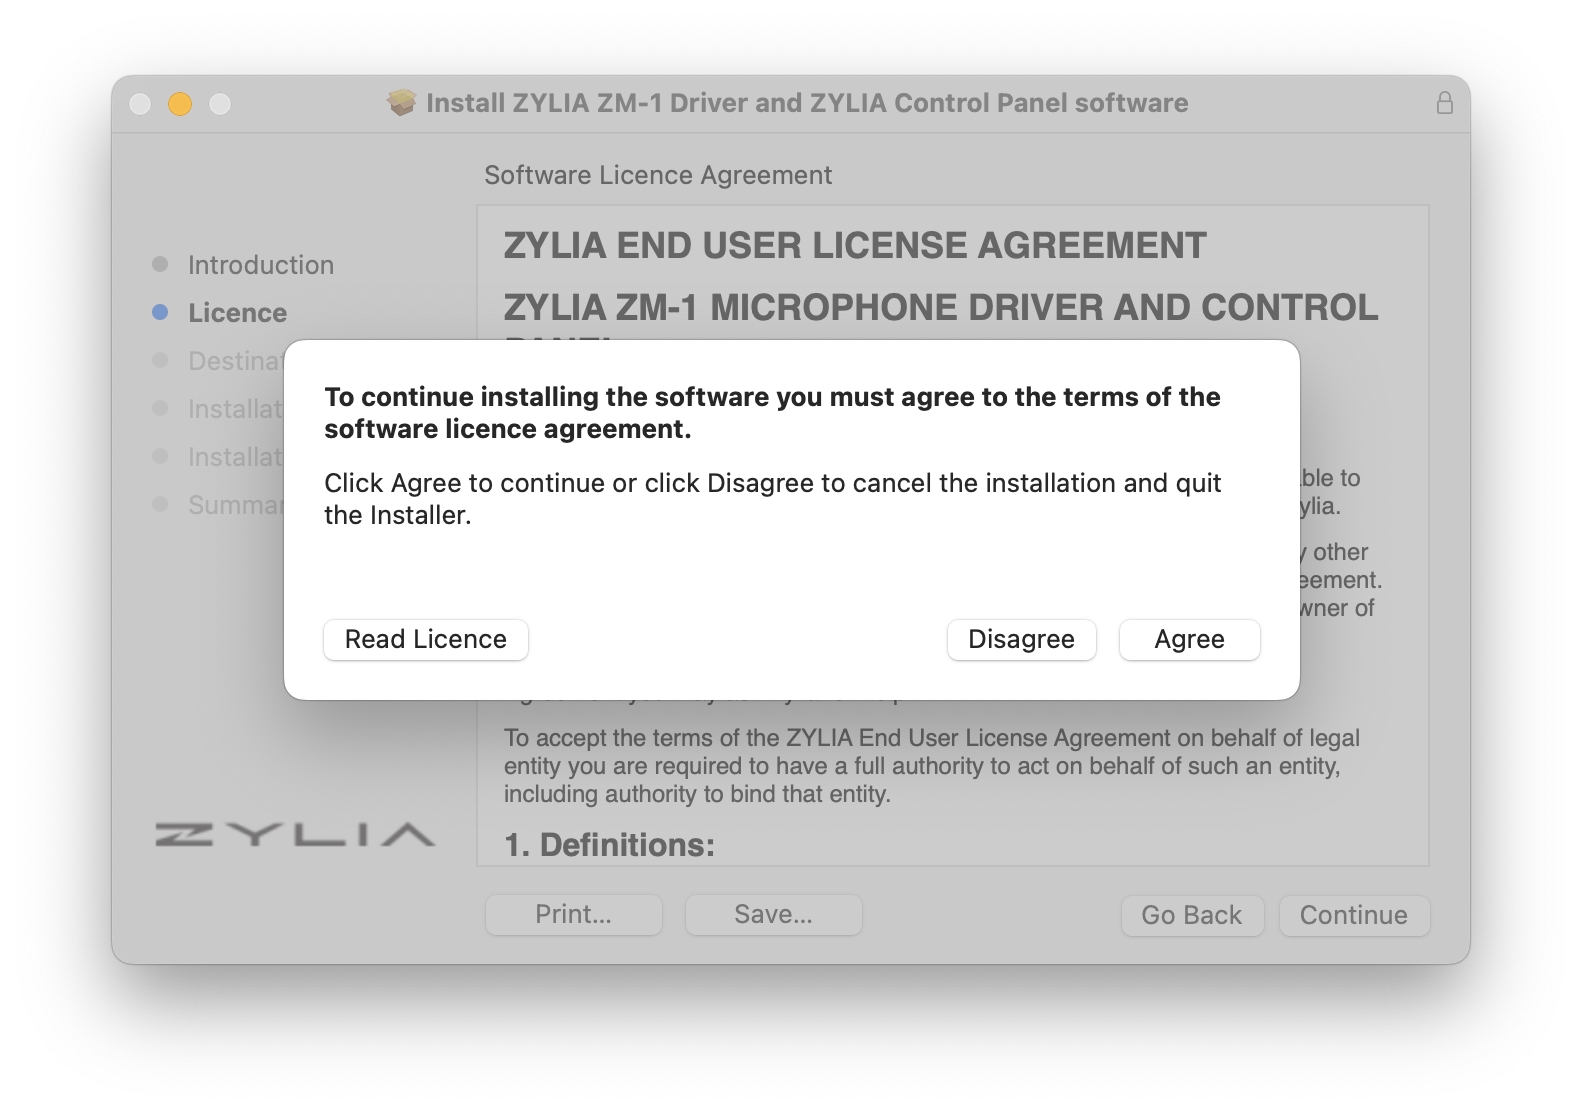
Zylia Ambisonics converter
-
Download and run the Zylia Ambisonics Converter installer.
-
Drag and drop the
zylia-amb-plugin.vst3to theVST3folder.In case you are unable to drag and drop the file to the VST3 folder, open Finder and navigate to: There, create a new folder and name itVST3. Then drag and drop thezylia-amb-plugin.vst3to that folder.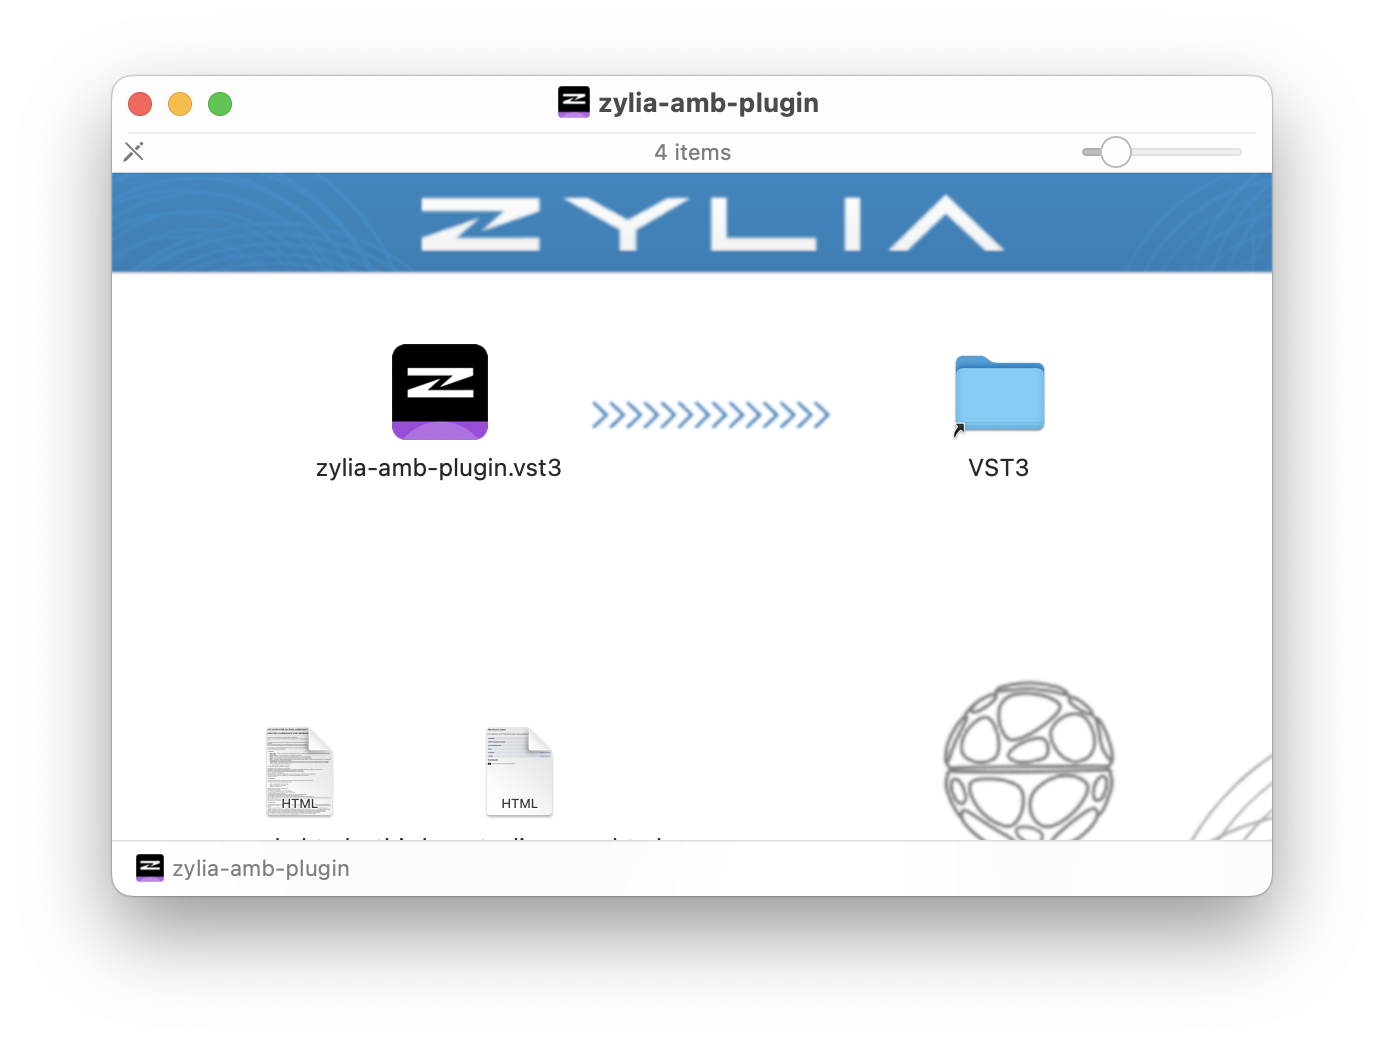
IEM Plug-in Suite
-
Download and run the IEM Plug-in Suite installer.
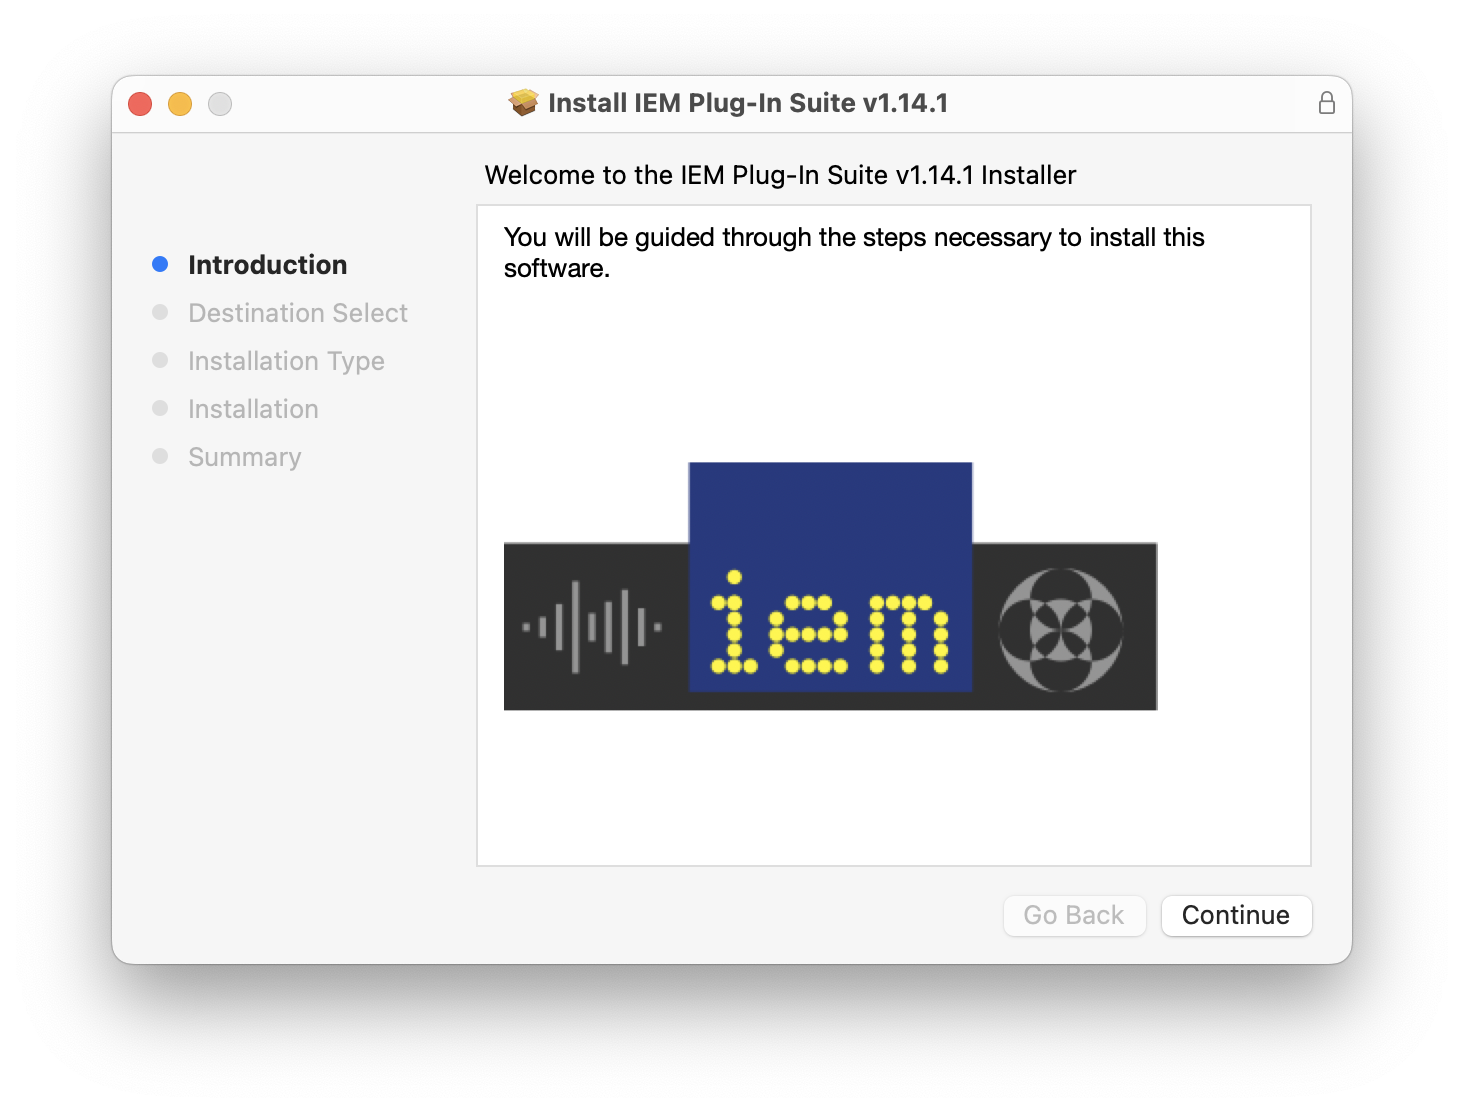
-
Select all packages and click
Continue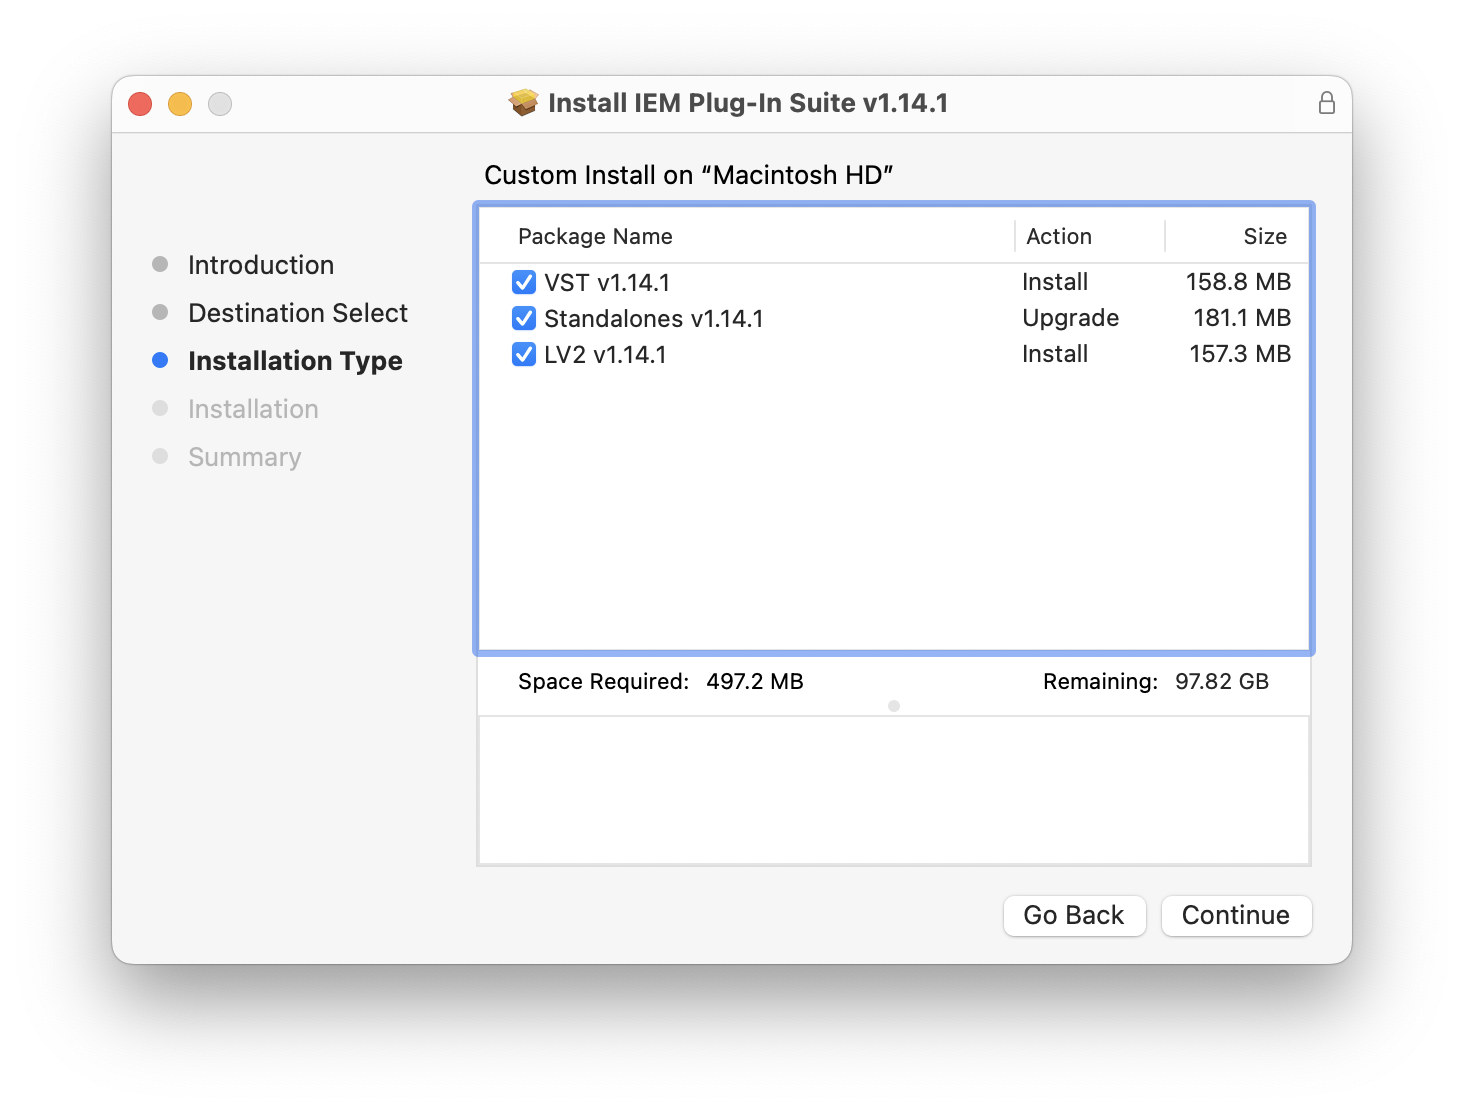
-
Click
Install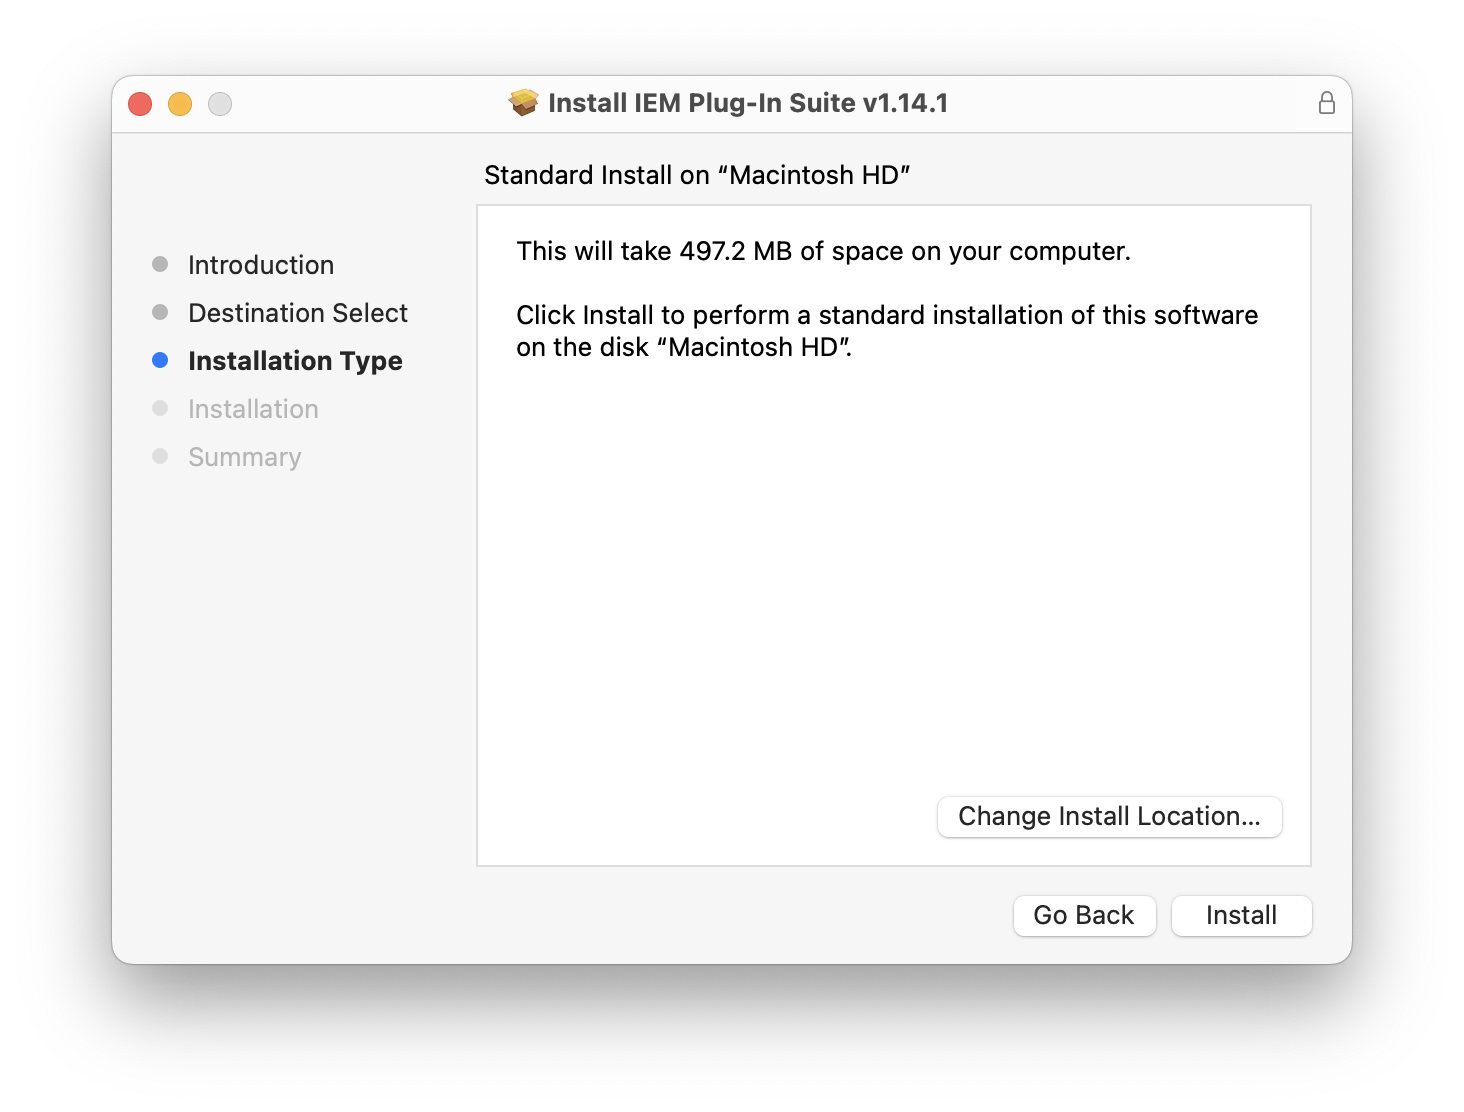
Dante Virtual Soundcard
-
Download the Dante Virtual Soundcard installer and open the downloaded
.dmgfile.
M1 and M2 processor | Intel processor -
Double-click on the
DanteVirtualSoundcard.pkgfile.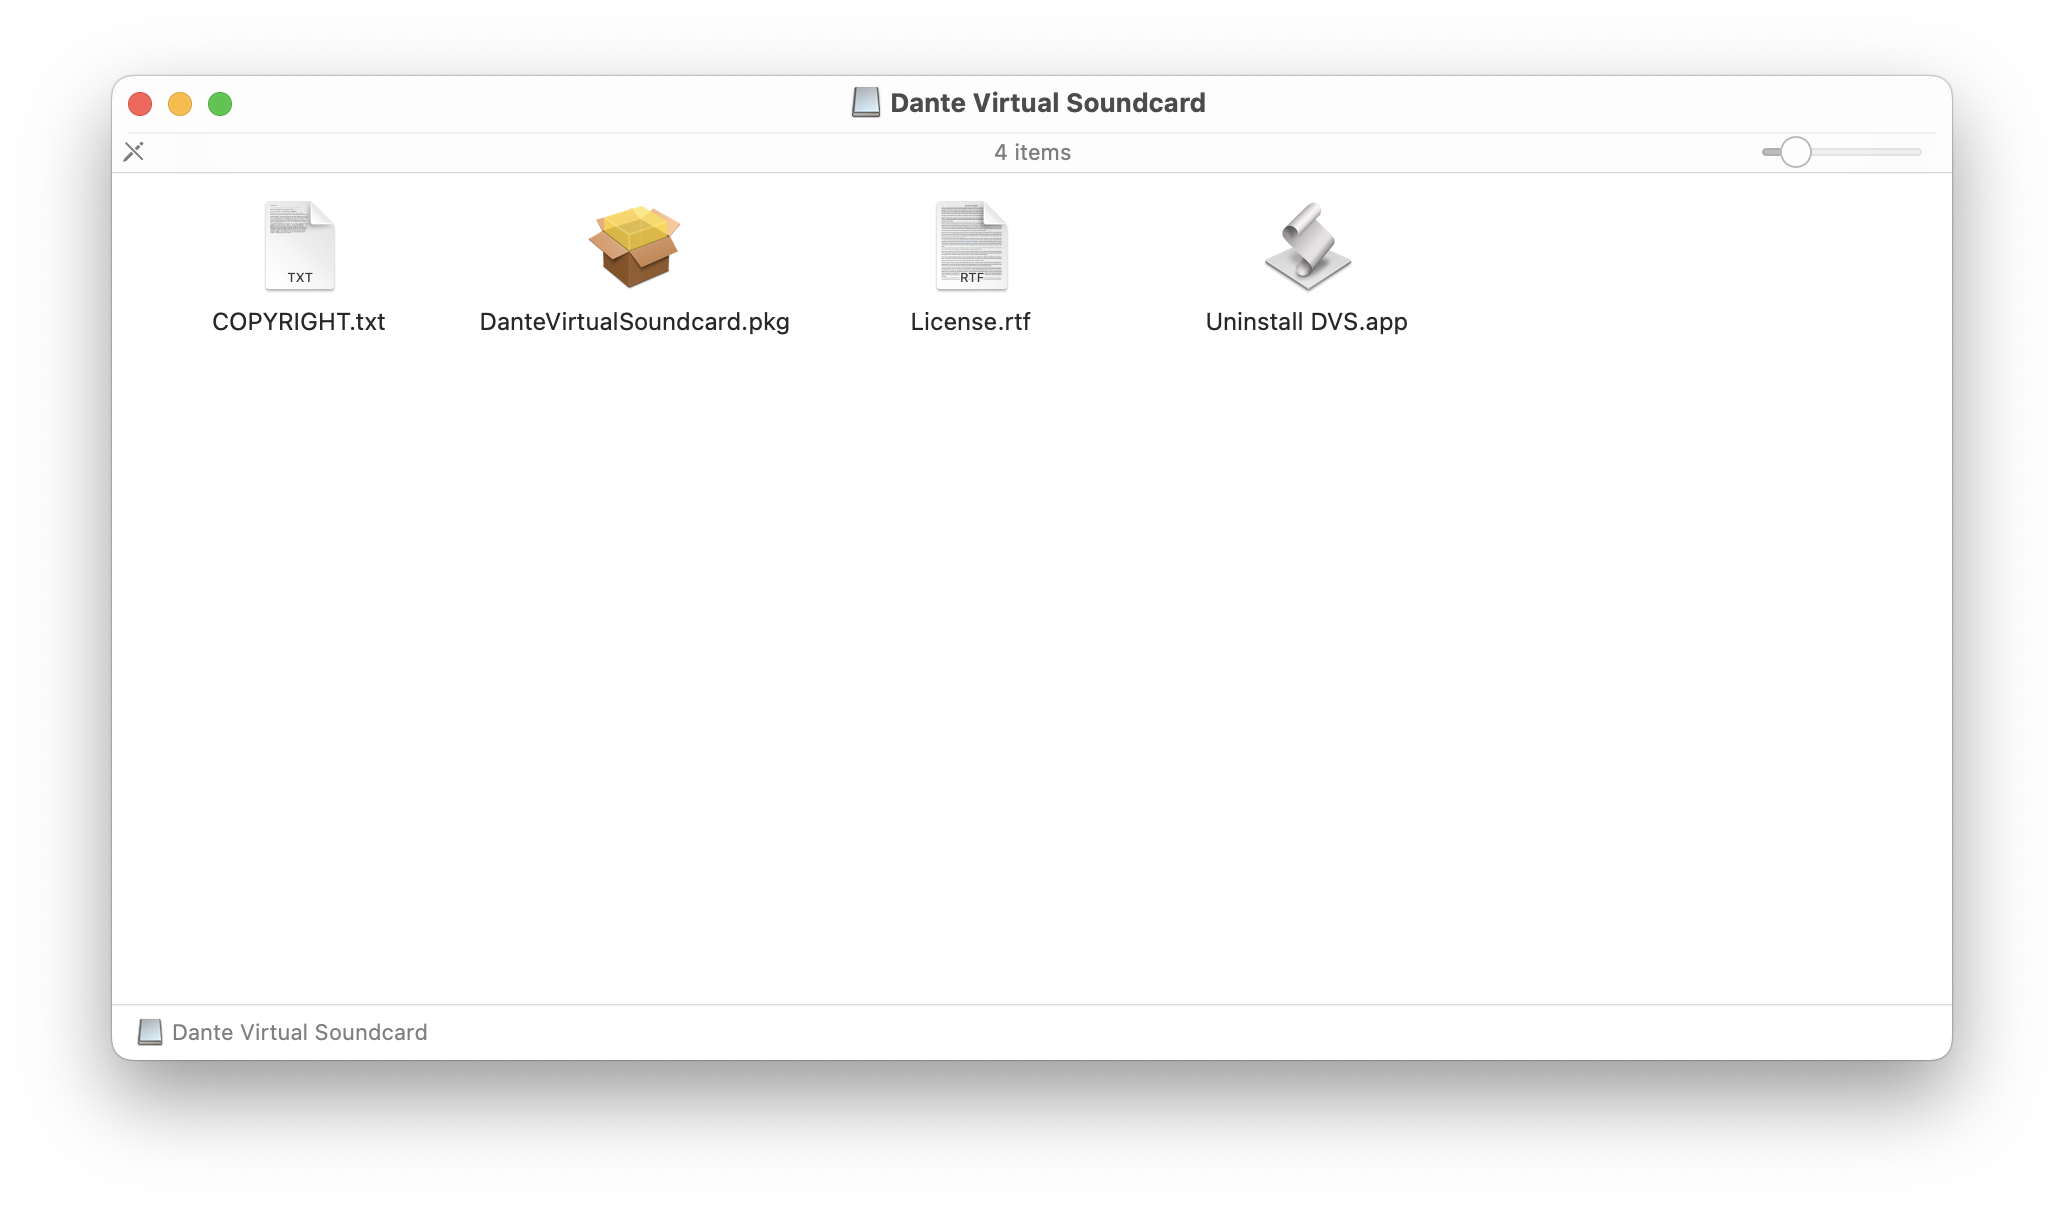
-
Click
Continue.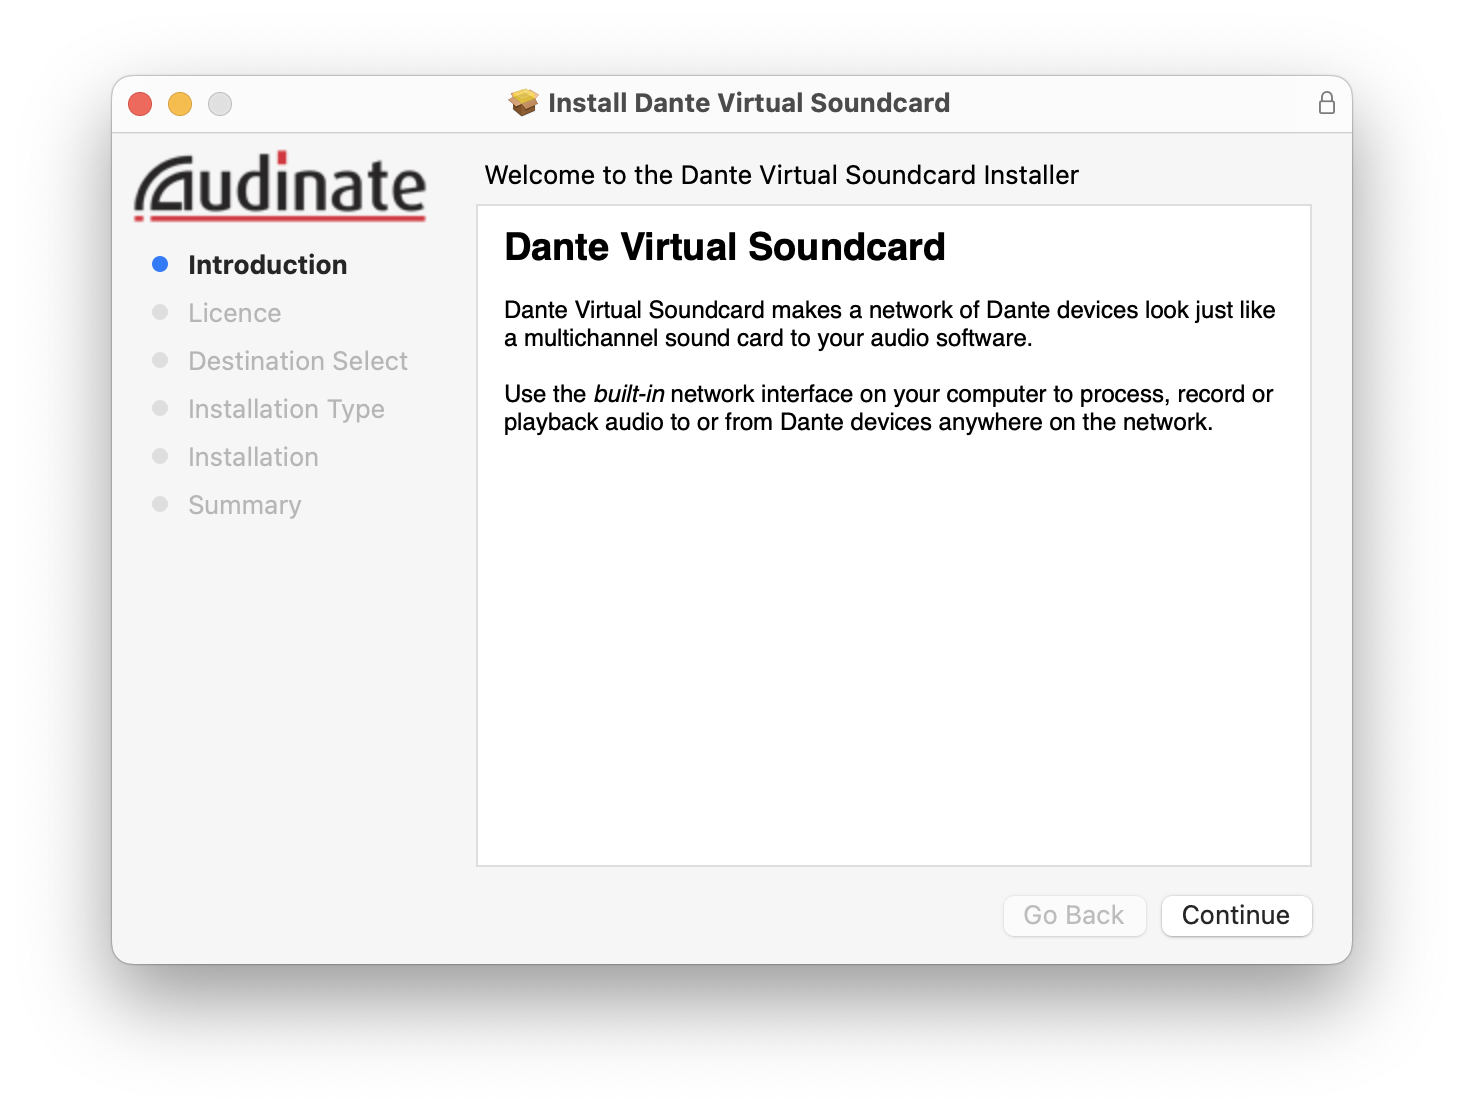
-
Click again
Continue.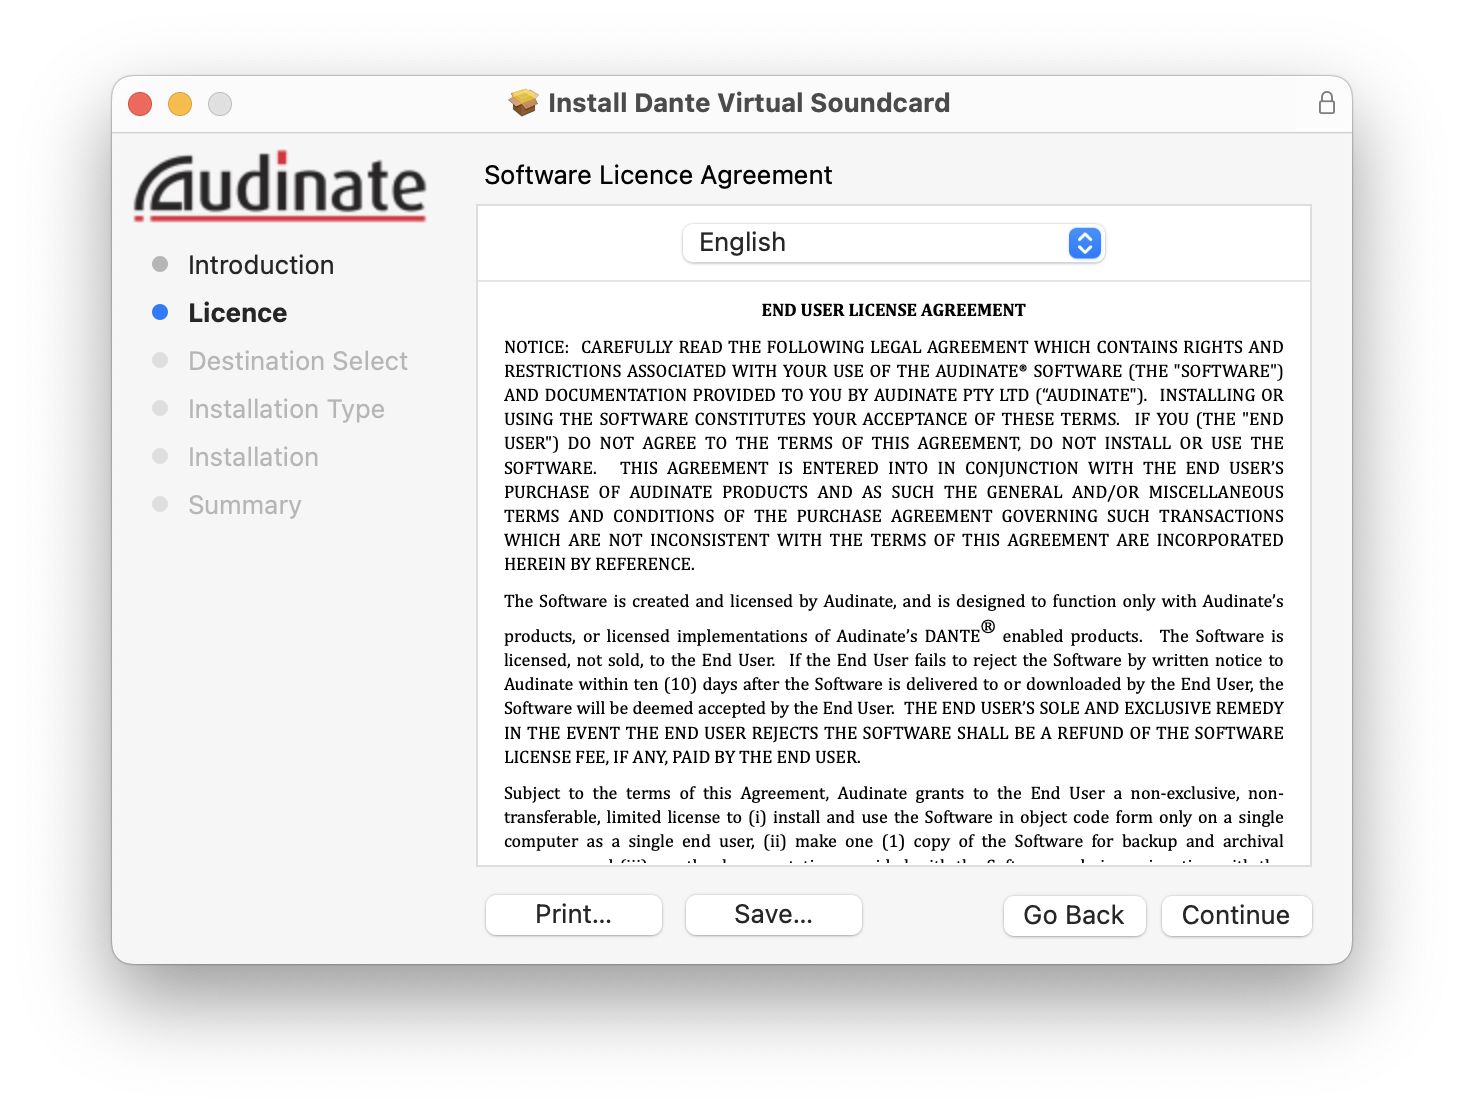
-
Click
Agree.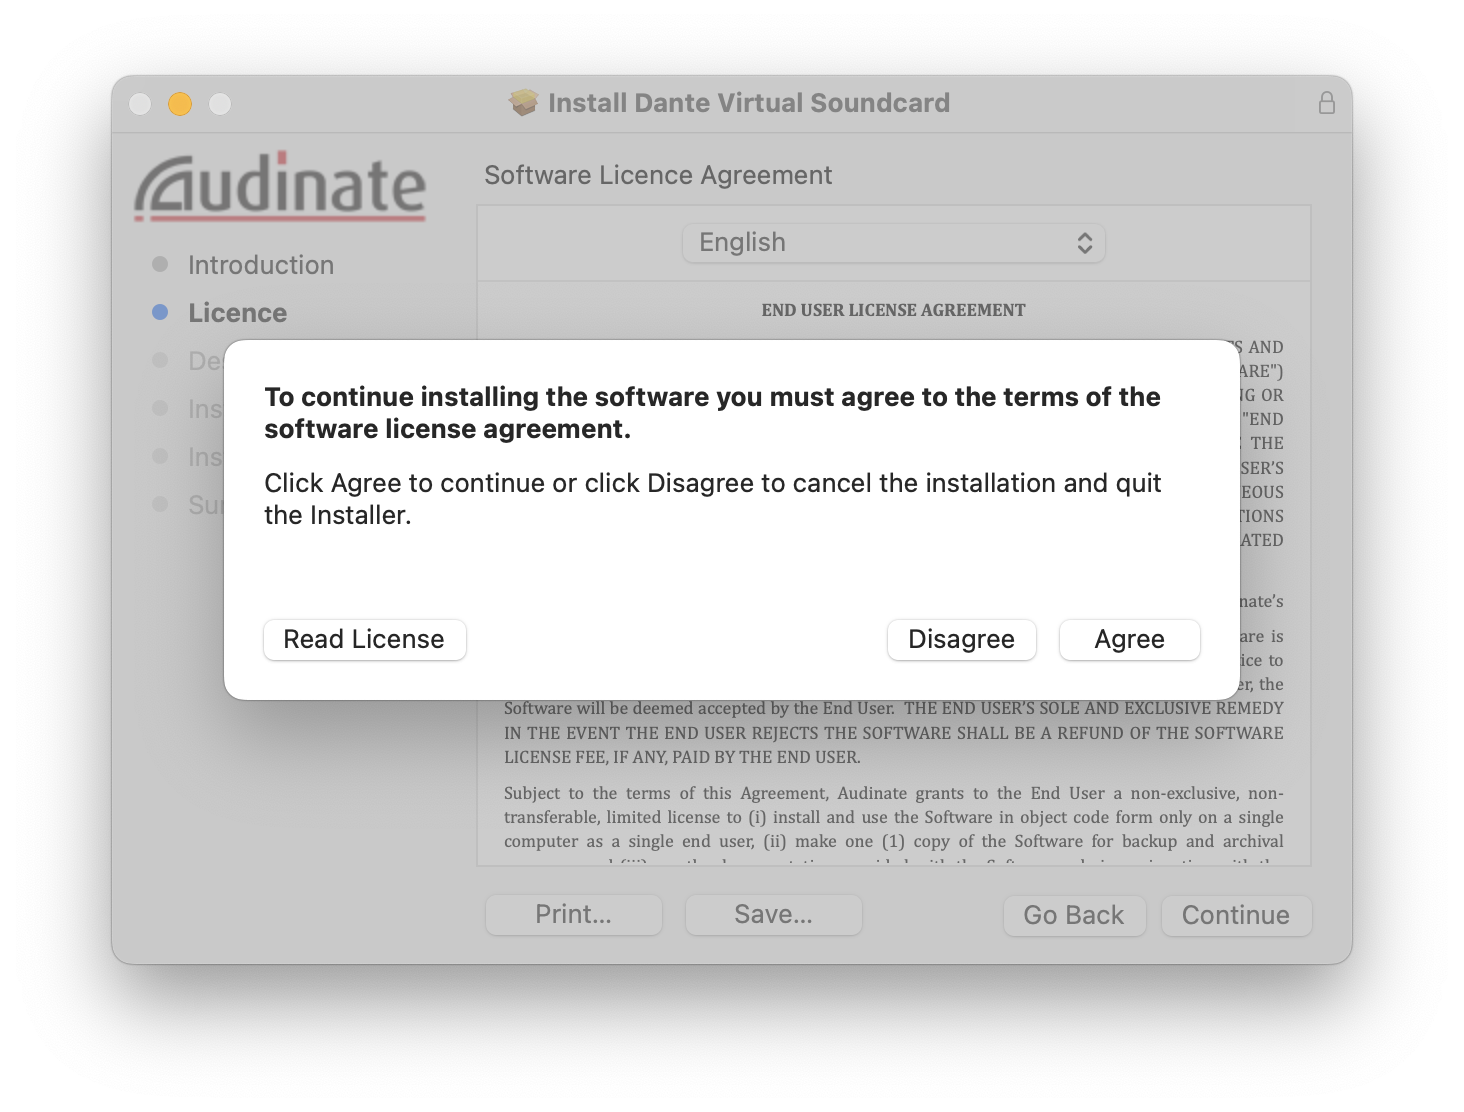
-
Lastly, click
Install.
-
Login to your account
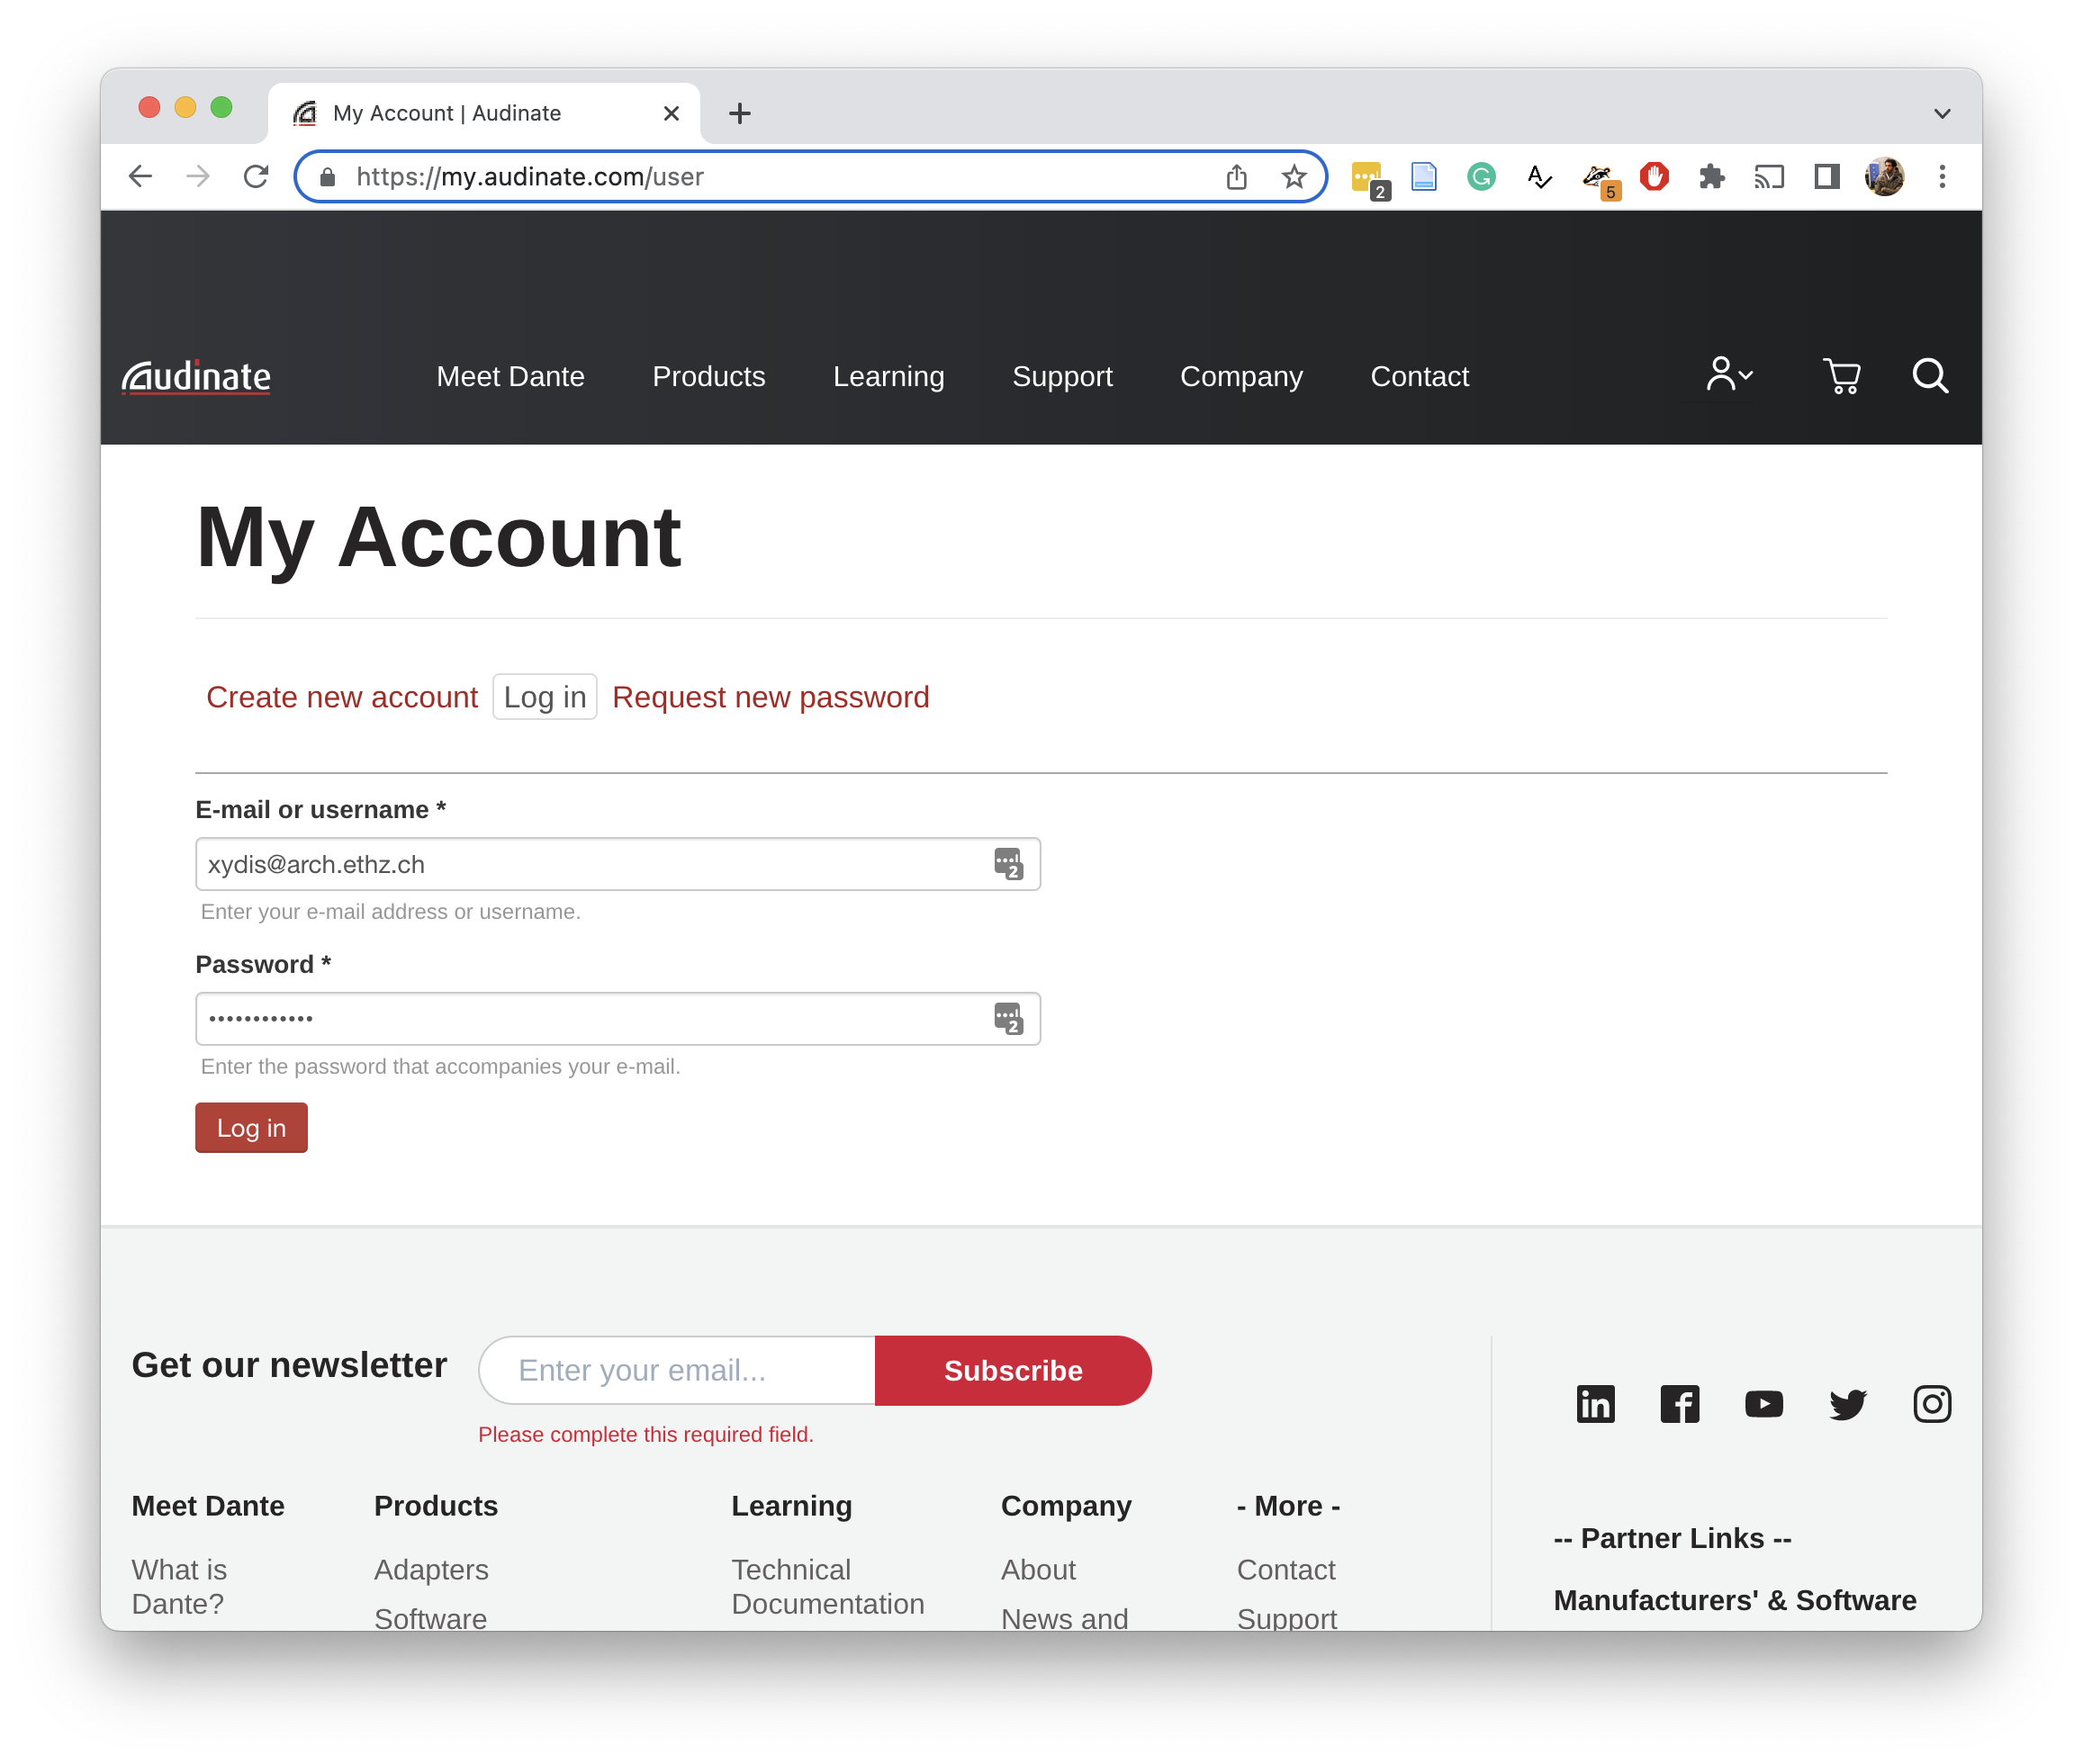
-
Go to the Dante Virtual Soundcard page and click on the red
14-day Free Trialbutton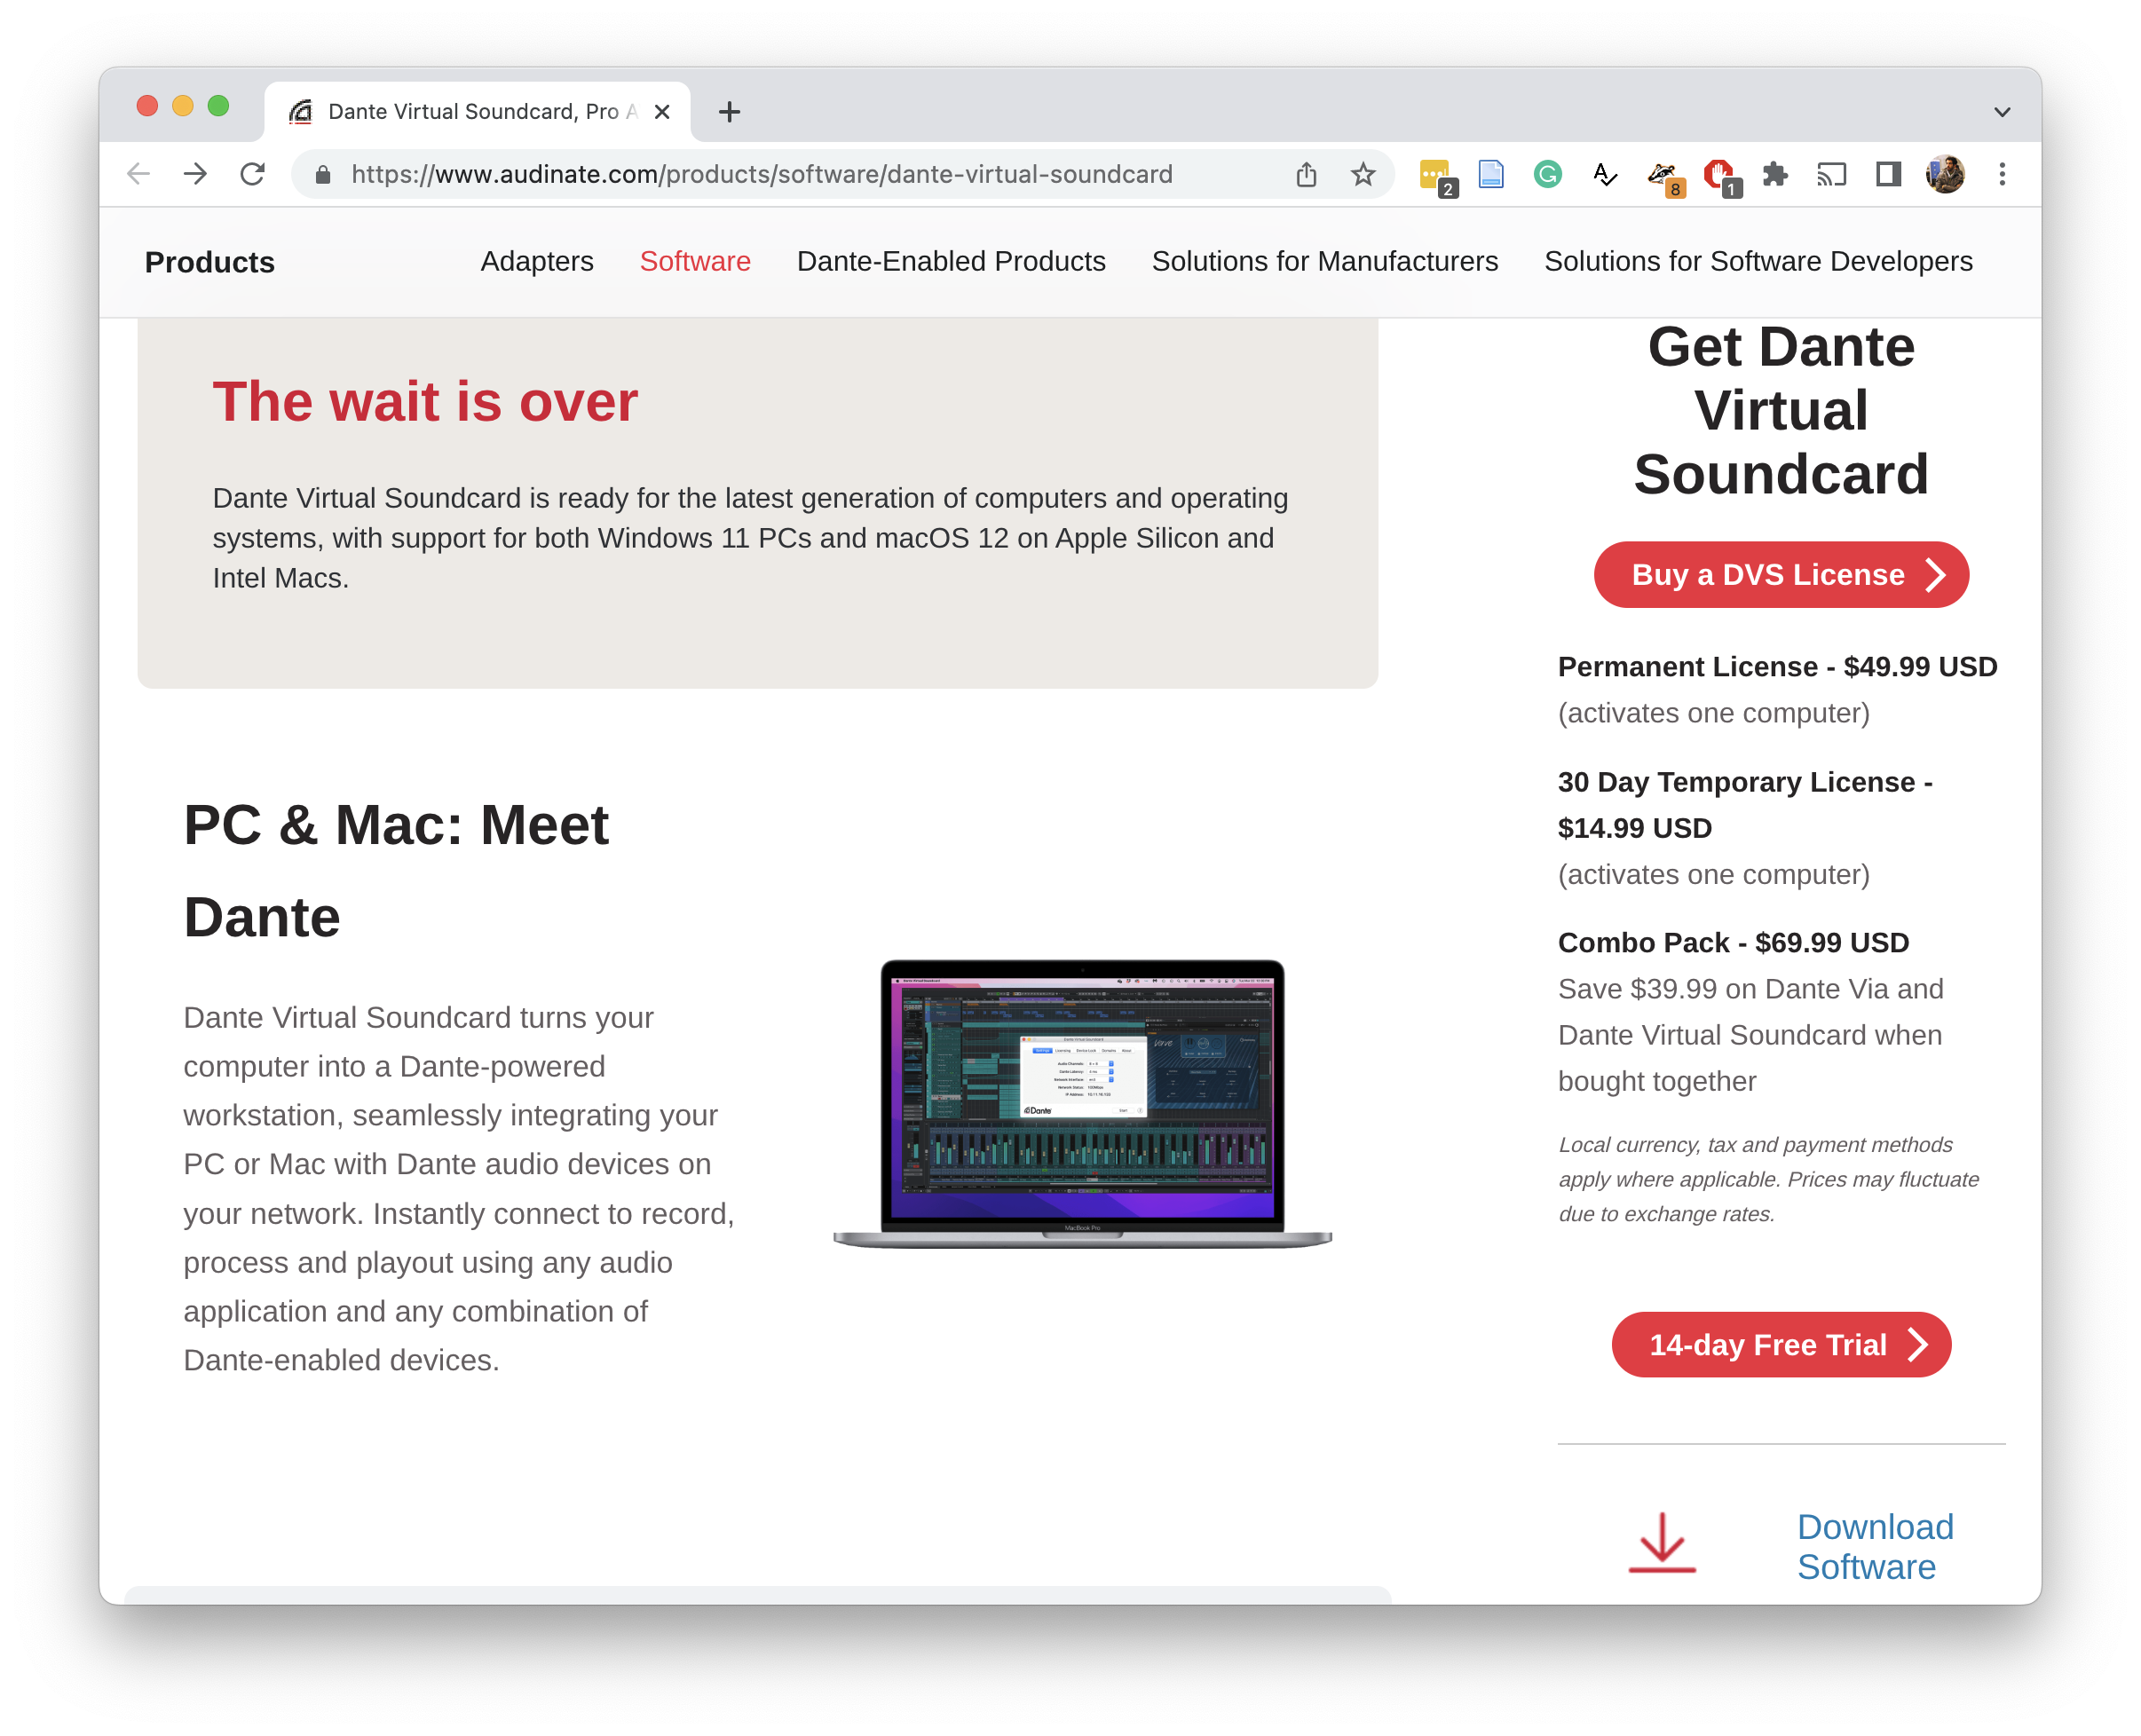
-
Scroll down to find the
New Trial Licensesection. Type "seminar-week" in theLicence Descriptionfield and pressSubmit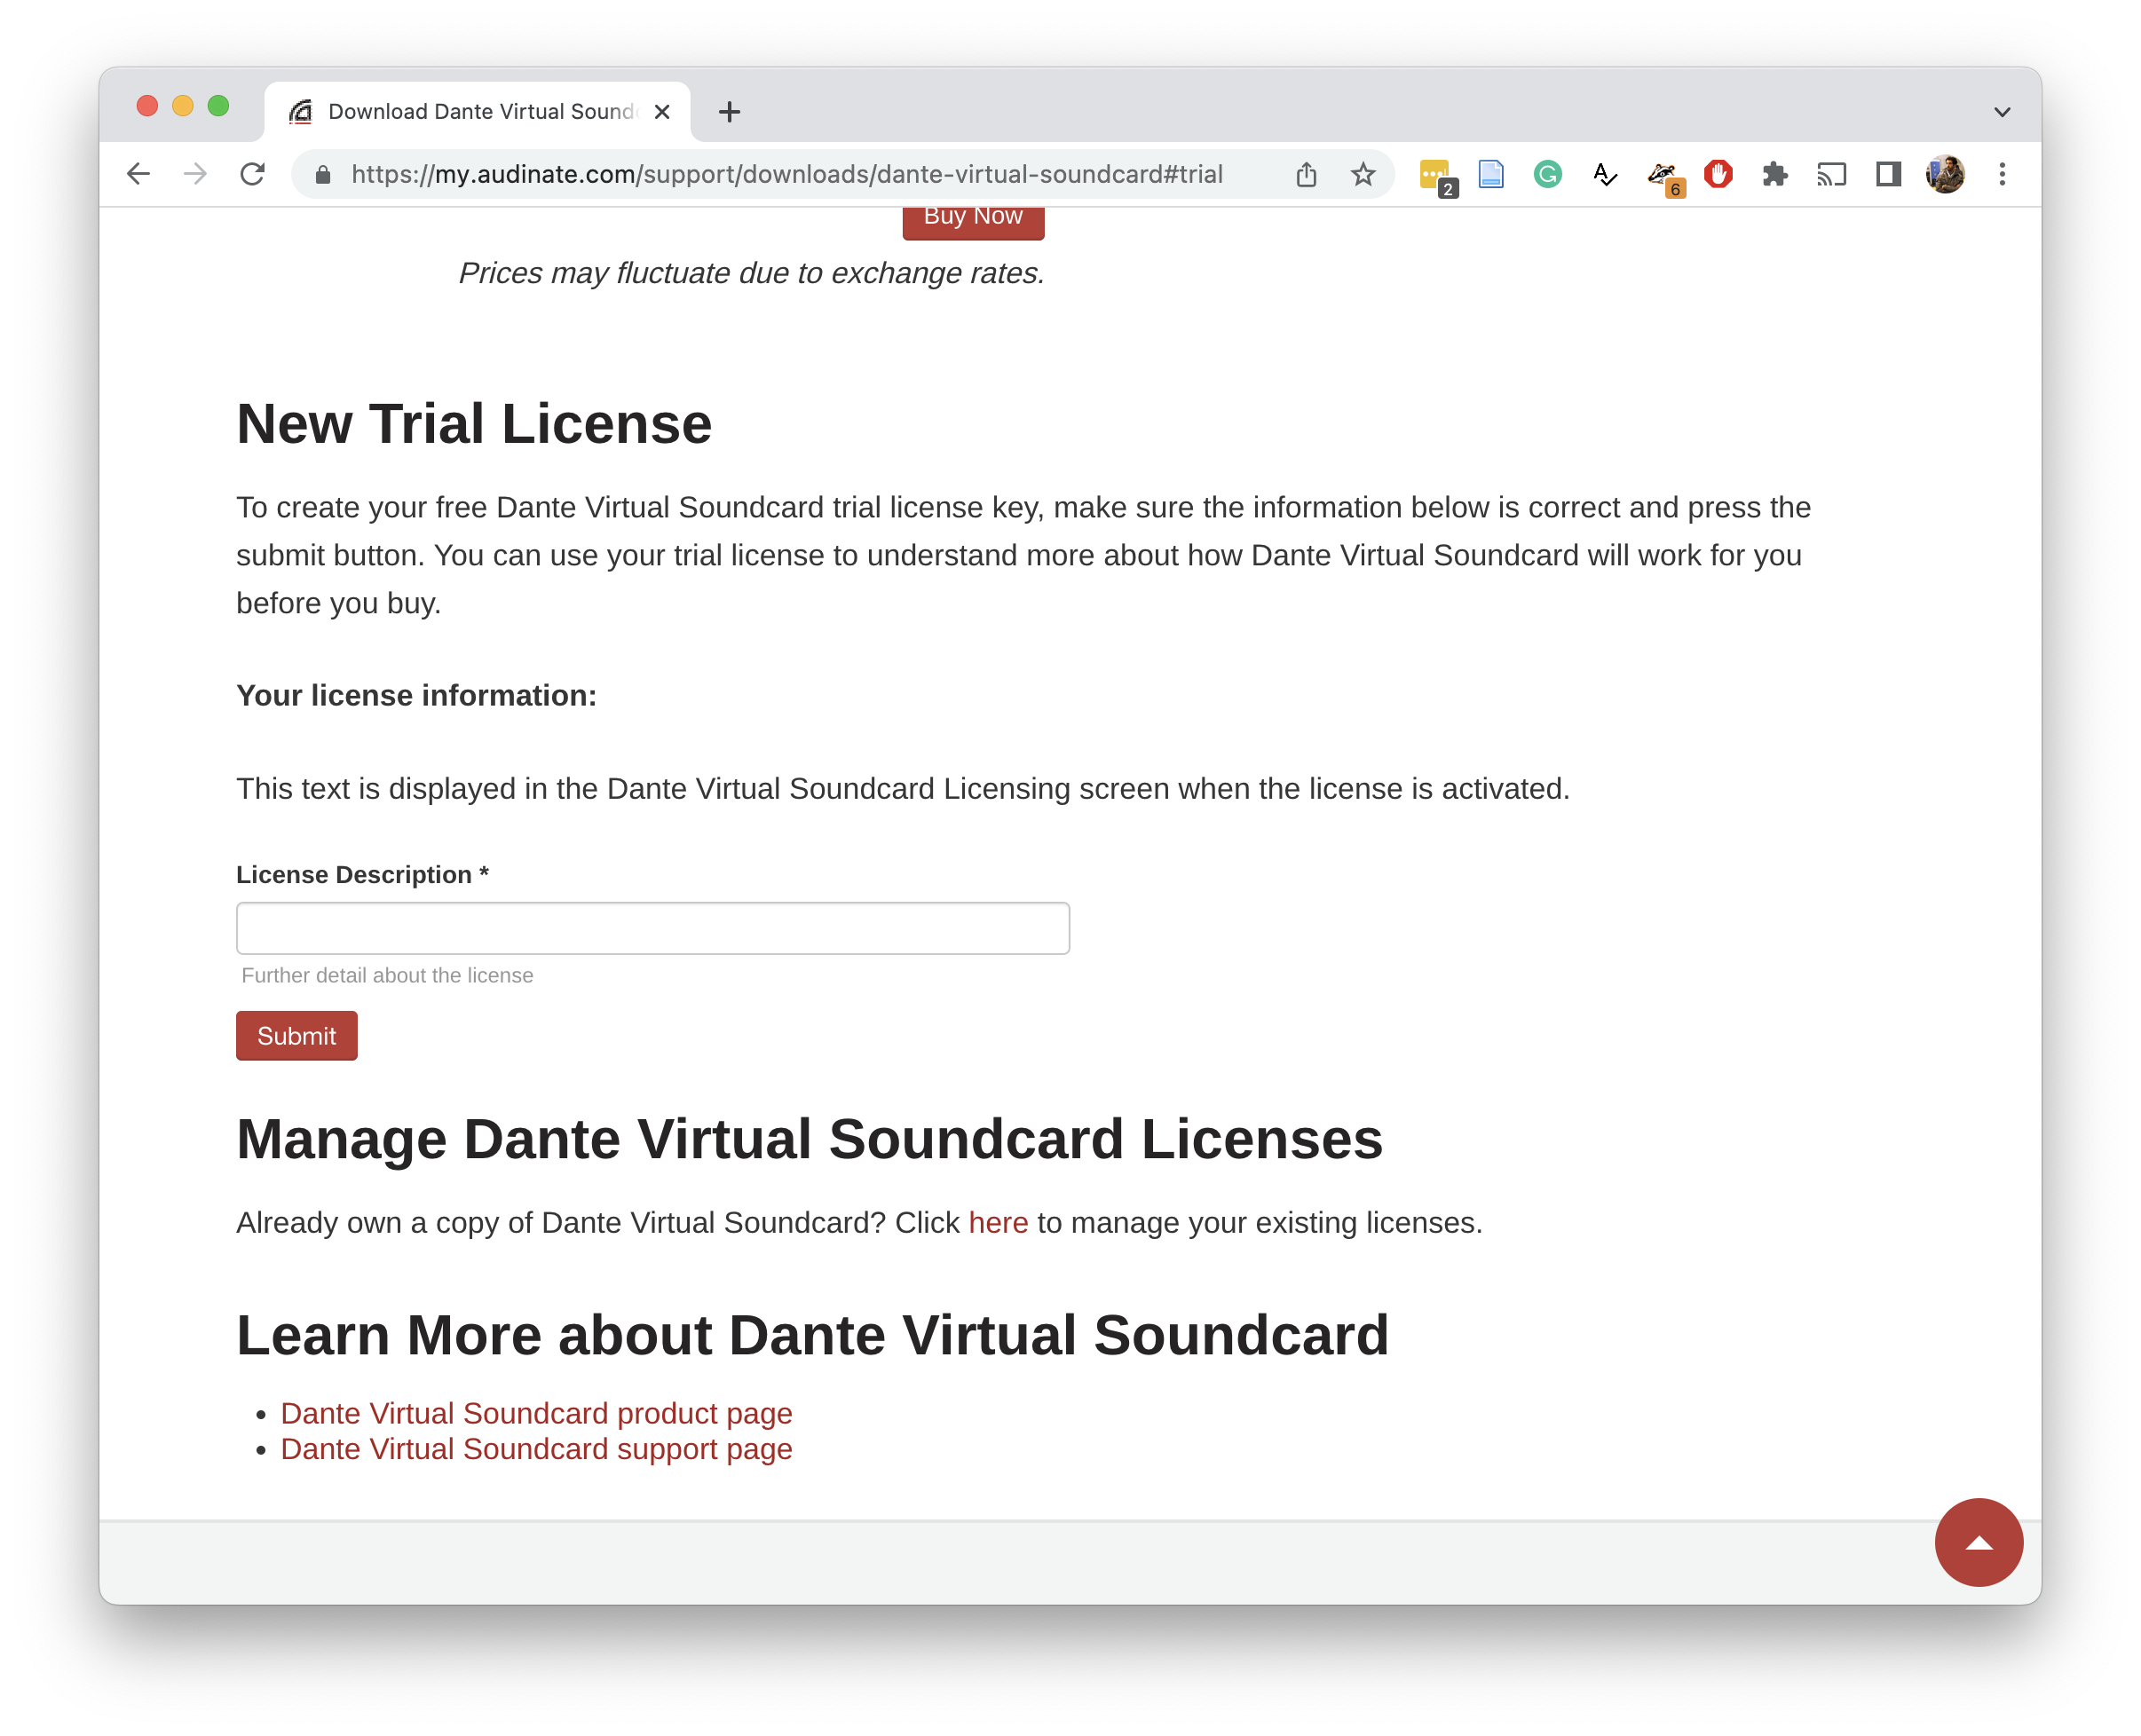
-
When the page reloads, copy the
License ID
-
Start the Dante Virtual Soundcard app and go to the
Licensingtab. Paste the License ID and pressActivate.If theActivatebutton is grayed out, you might need to be connected to IDL's Dante network (we can do this step together).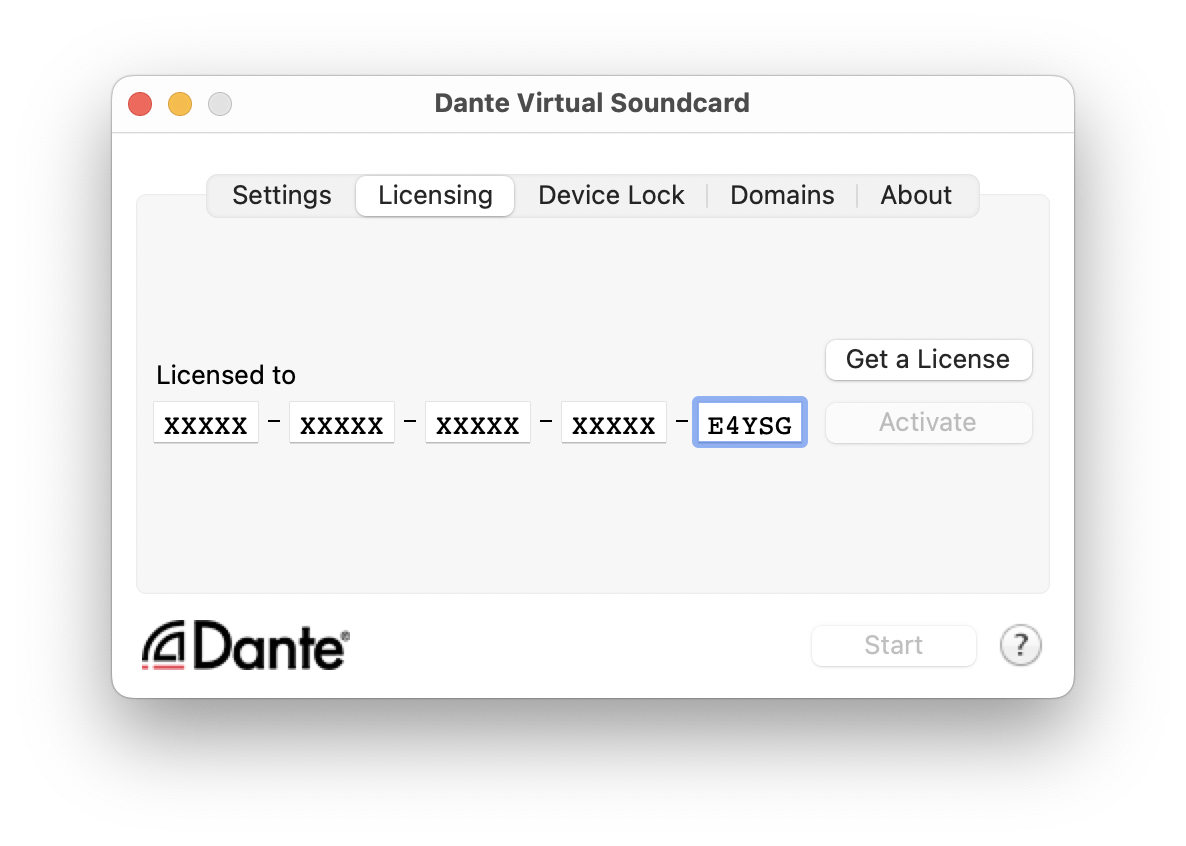
To get the trial license you need to follow the steps bellow:
REAPER Digital Audio Workstation
-
Download and run the REAPER Digital Audio Workstation installer.
-
Agree to the End User License Agreement.
-
Press
Next.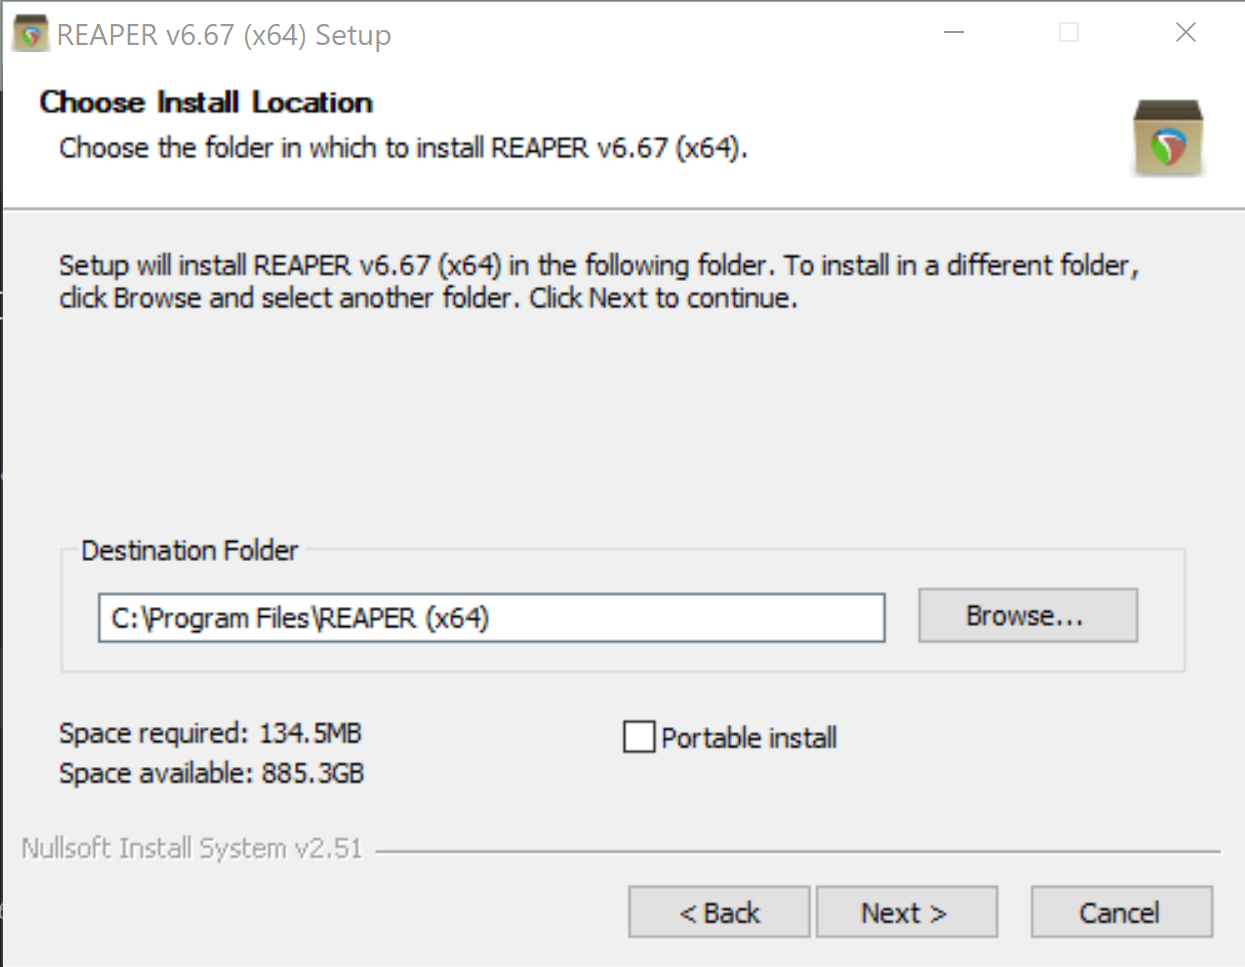
-
Press
Install.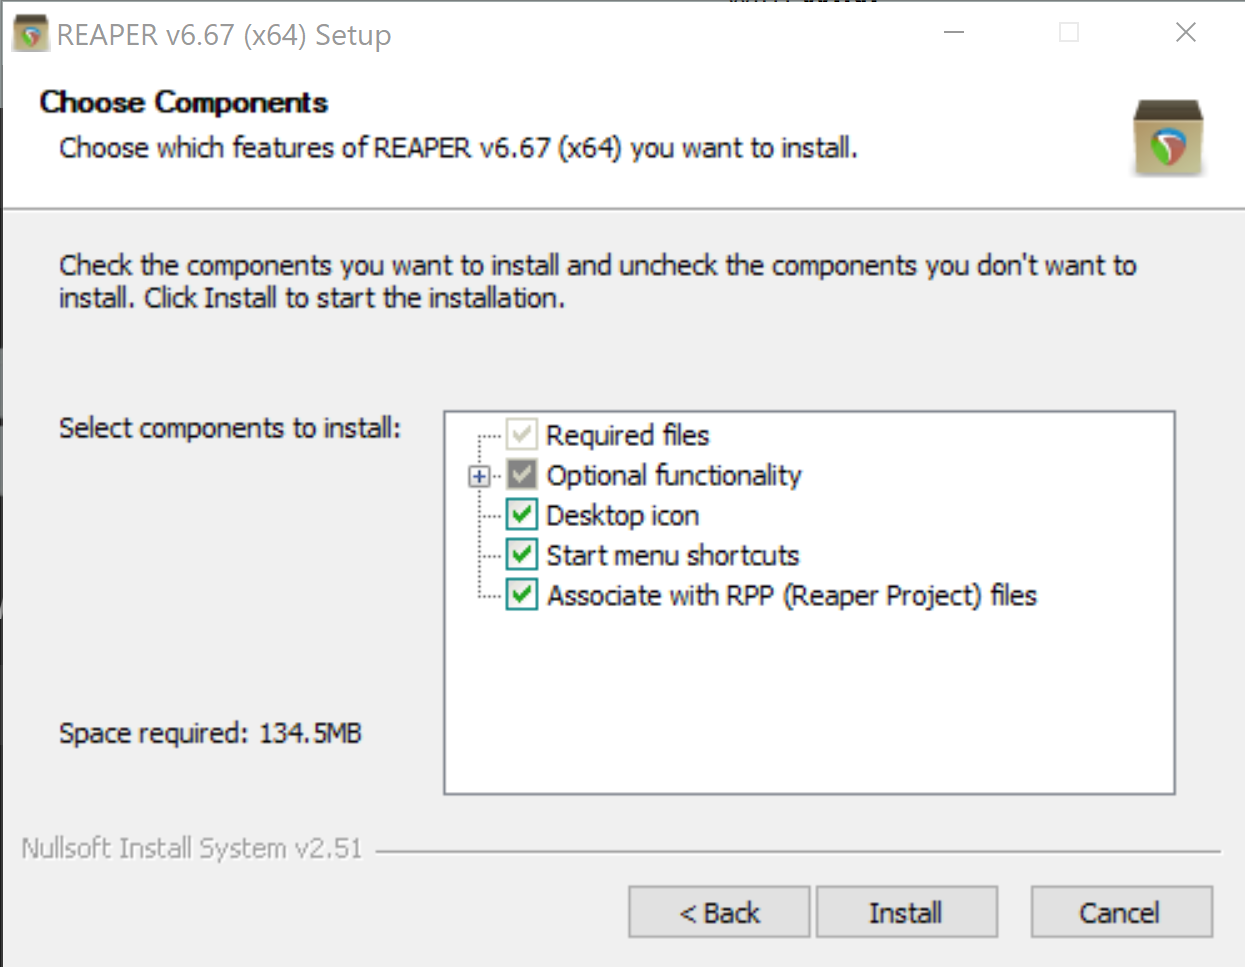
-
Once the installation is done, press
Close.
-
Press
Yesto run REAPER and configure some basic things.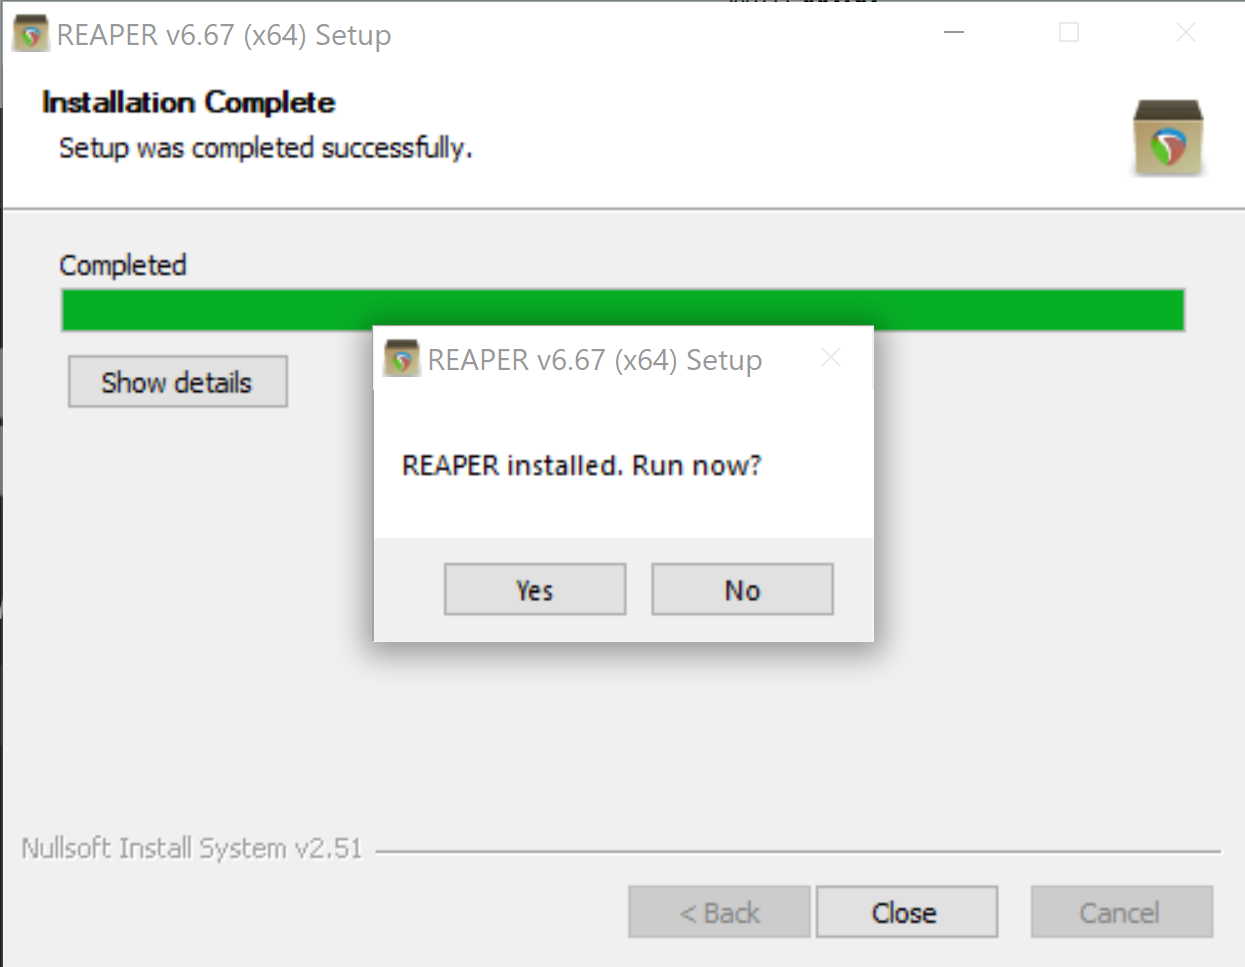
-
The first time that REAPER runs, asks you to select an audio device. Click
Yes.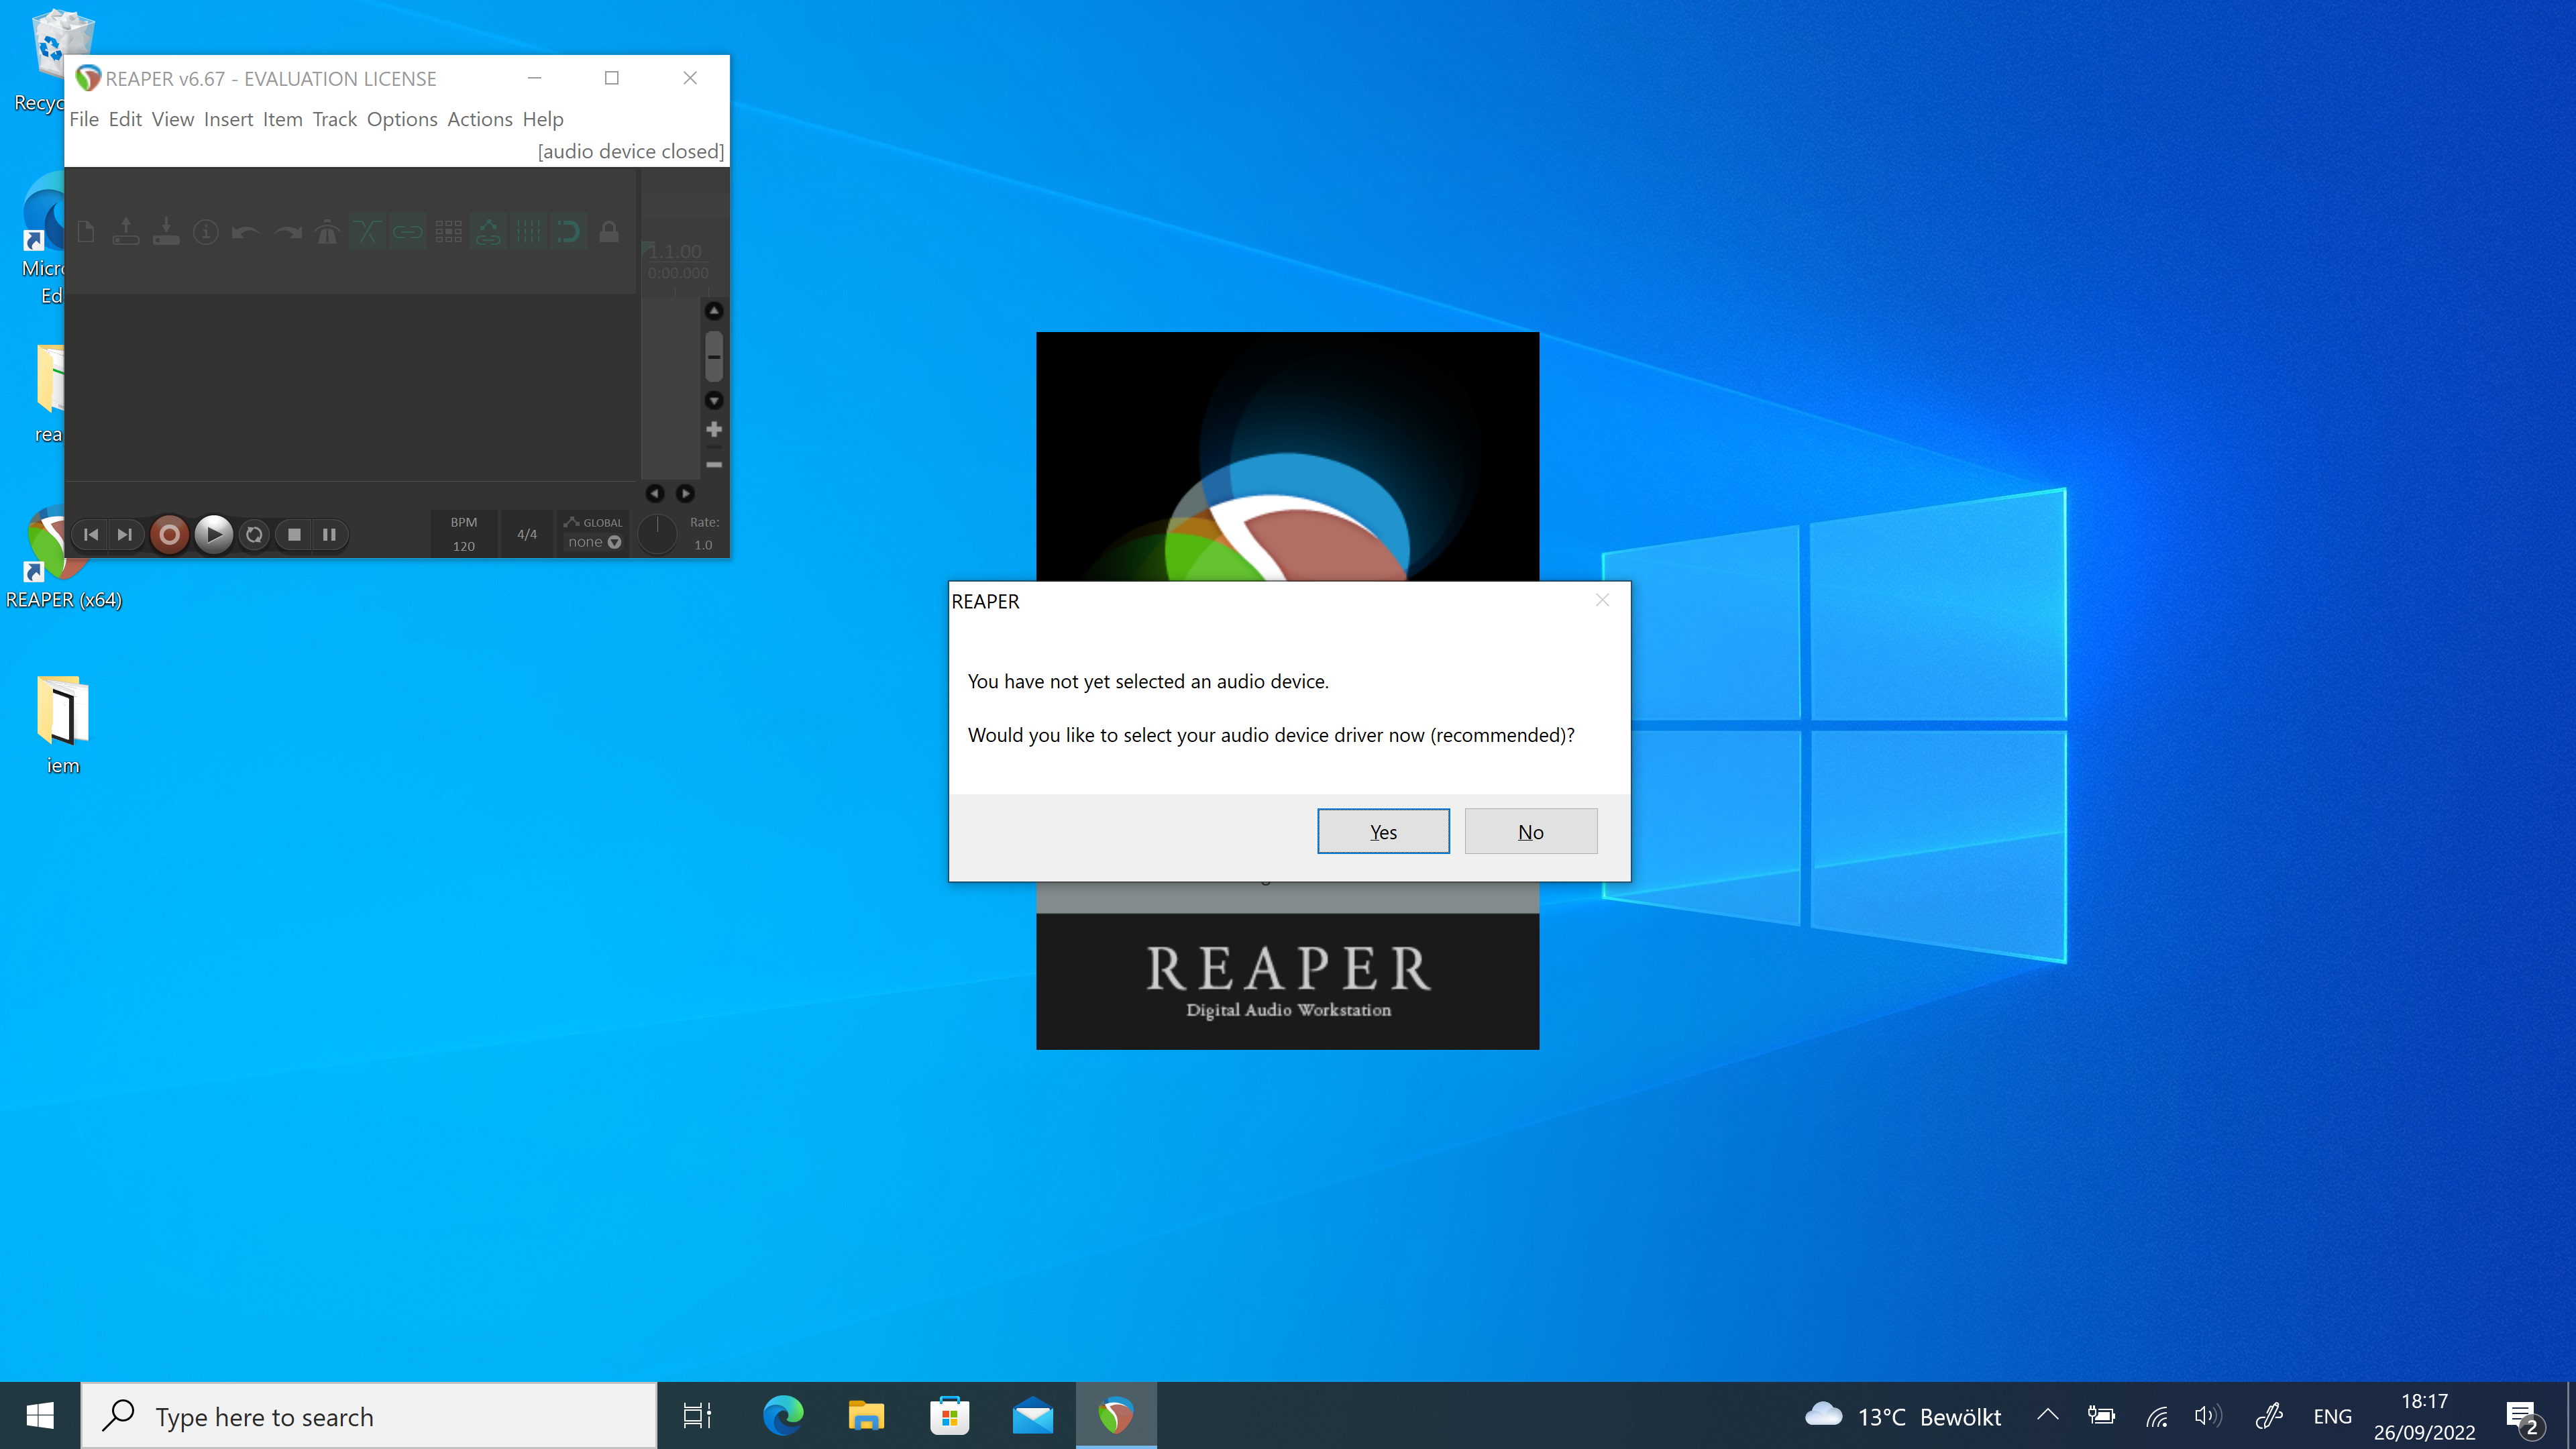
-
Match the settings you see in the screenshot.

-
REAPER is not a free software, but allows you to evaluate it before buying it. That is why, every time you run it it you will get this window. Wait a few seconds for the countdown to reach 0 and then click
Still Evaluating.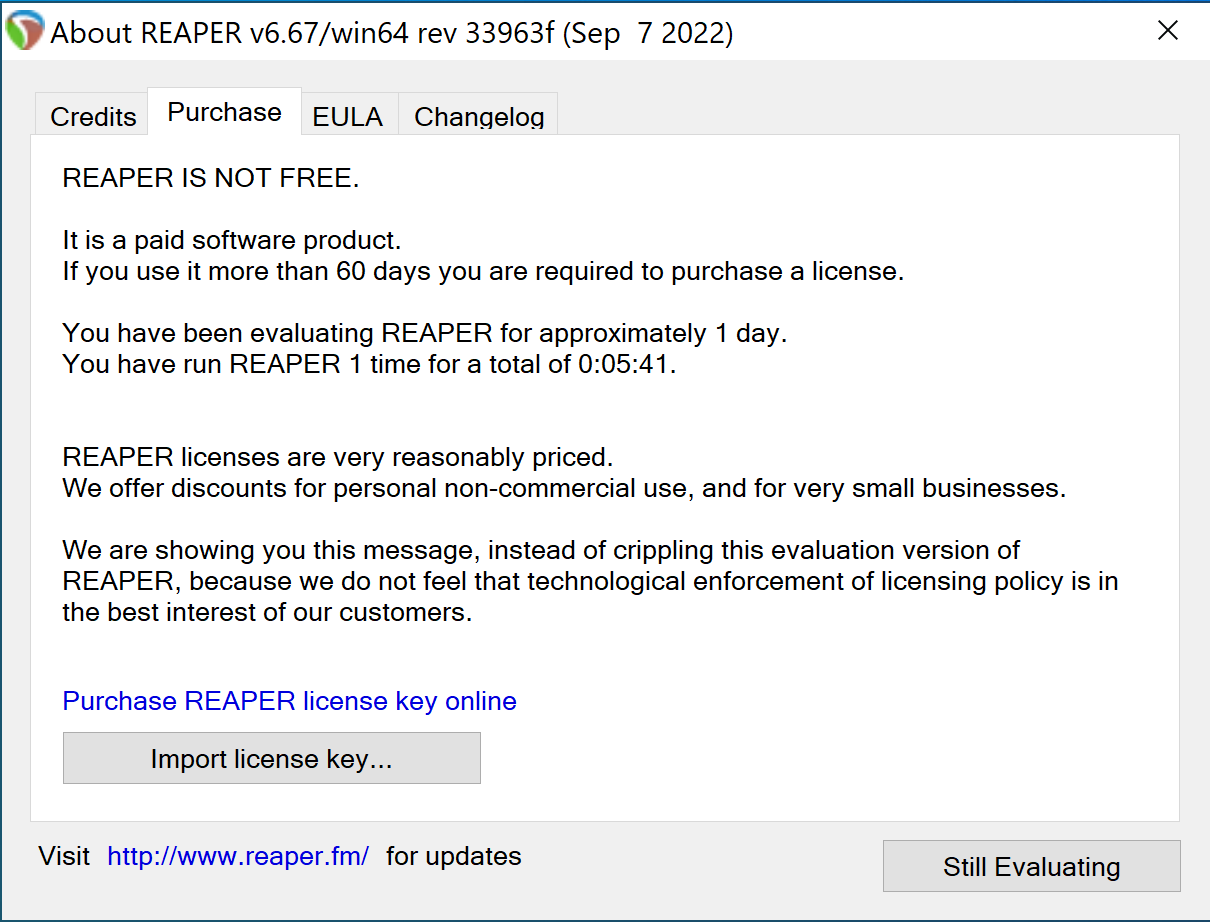
-
Open File explorer and navigate to
C:\Program Files\Common Files. There, create an empty folder callvst.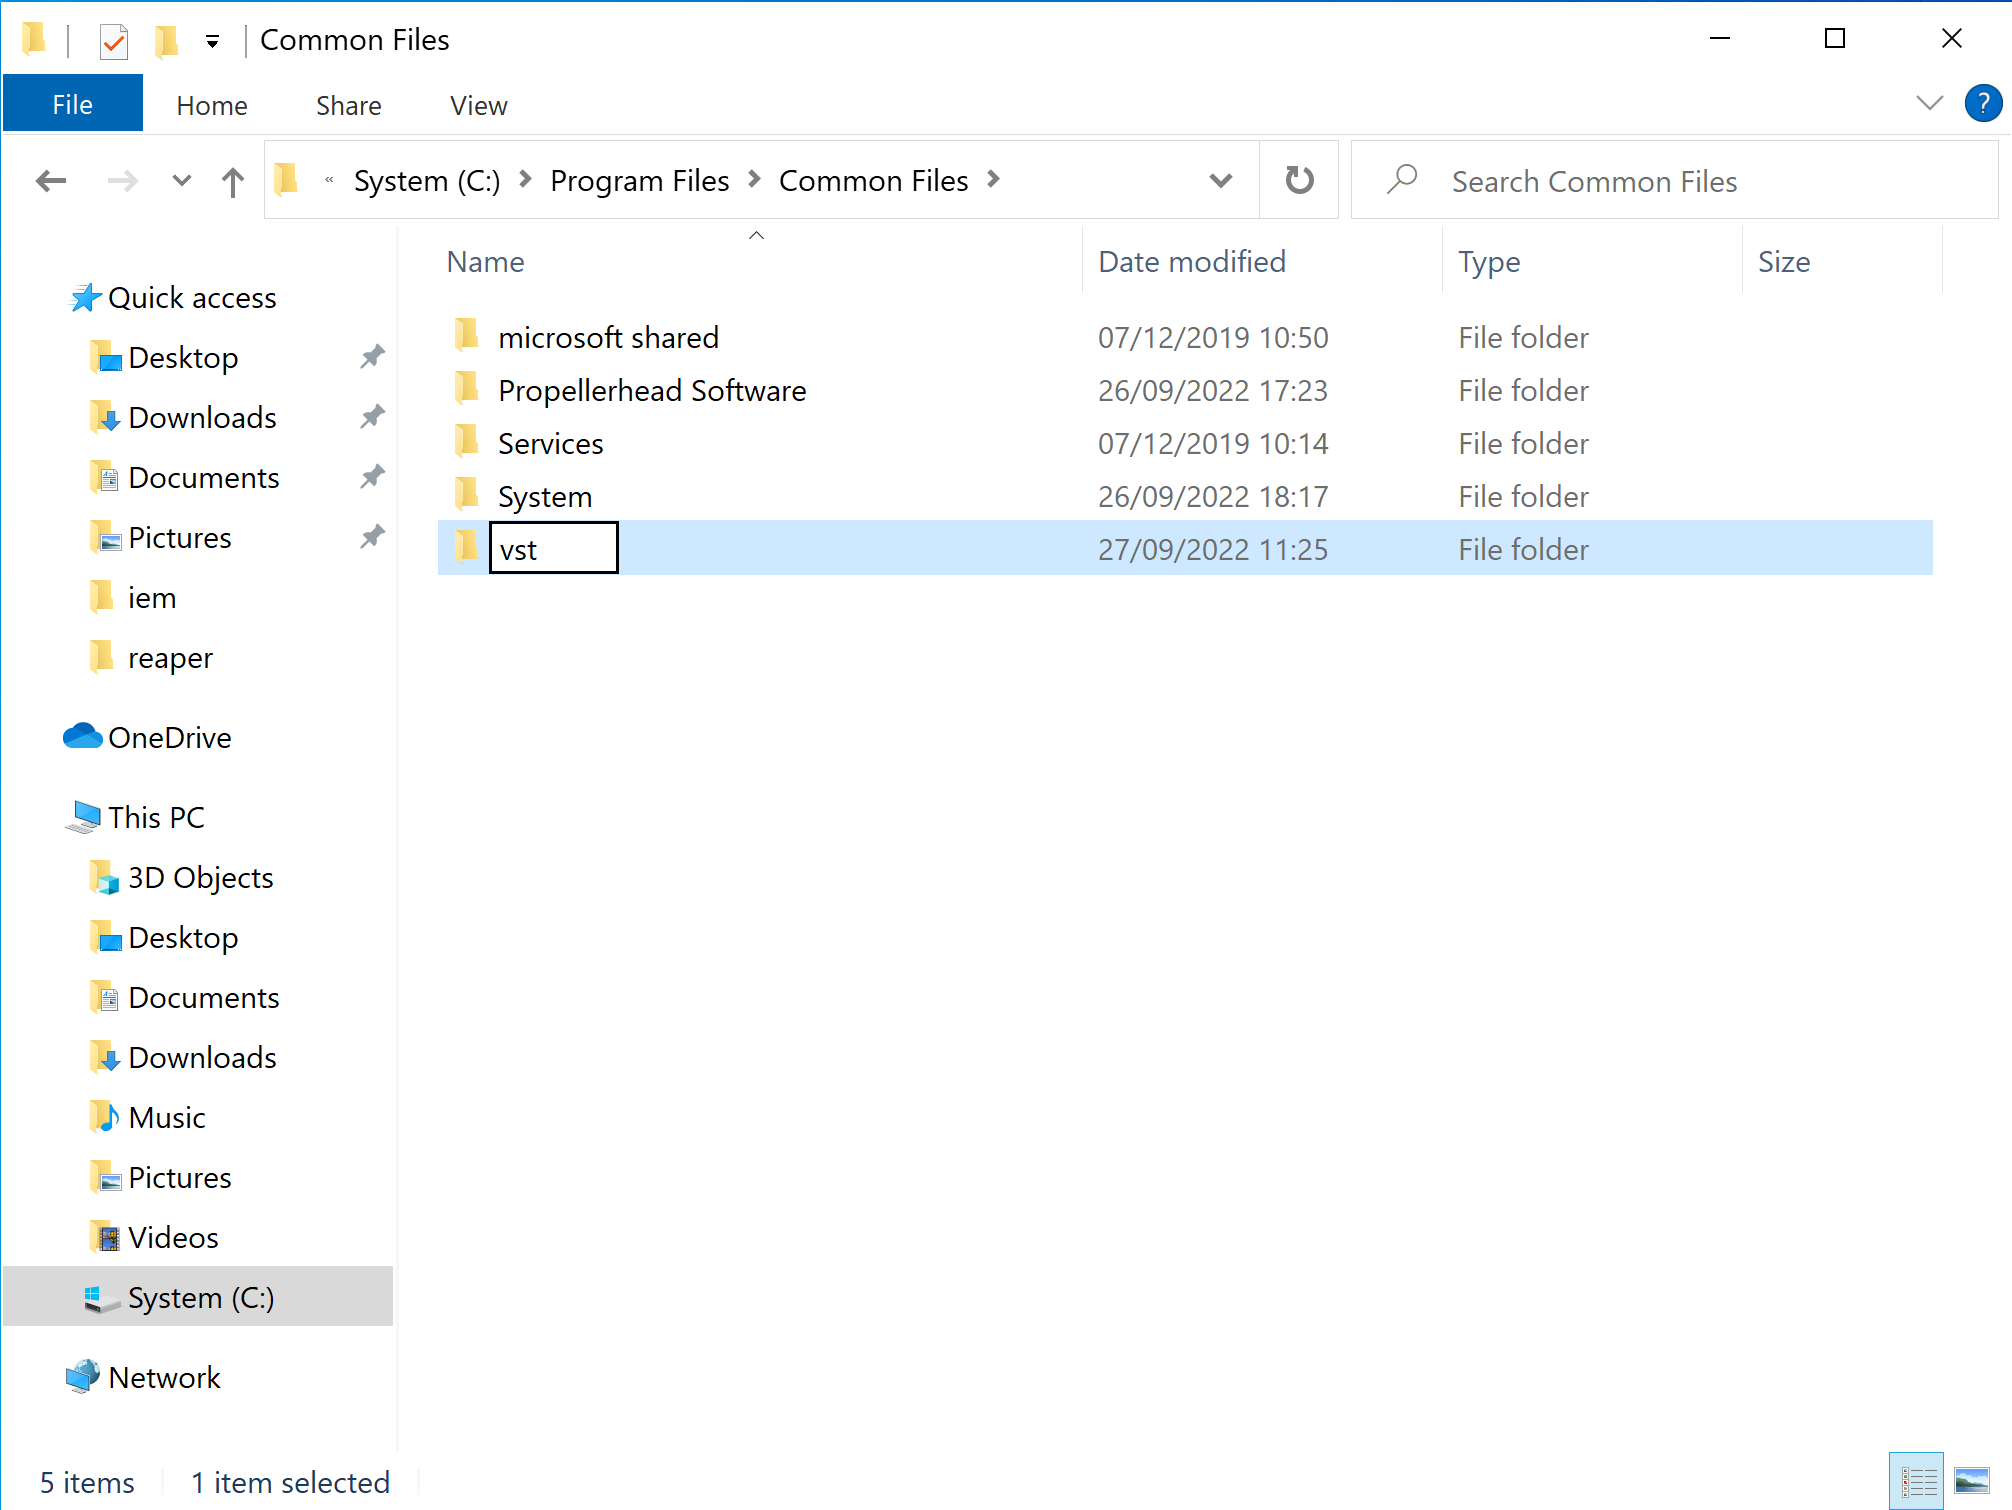
-
Since we have REAPER open, let's configure the location of the VST plugins that we will install in a later step.
Go toOptions -> Preferencies. At the left side of the window that will open, click onVSTand then click onEdit path list....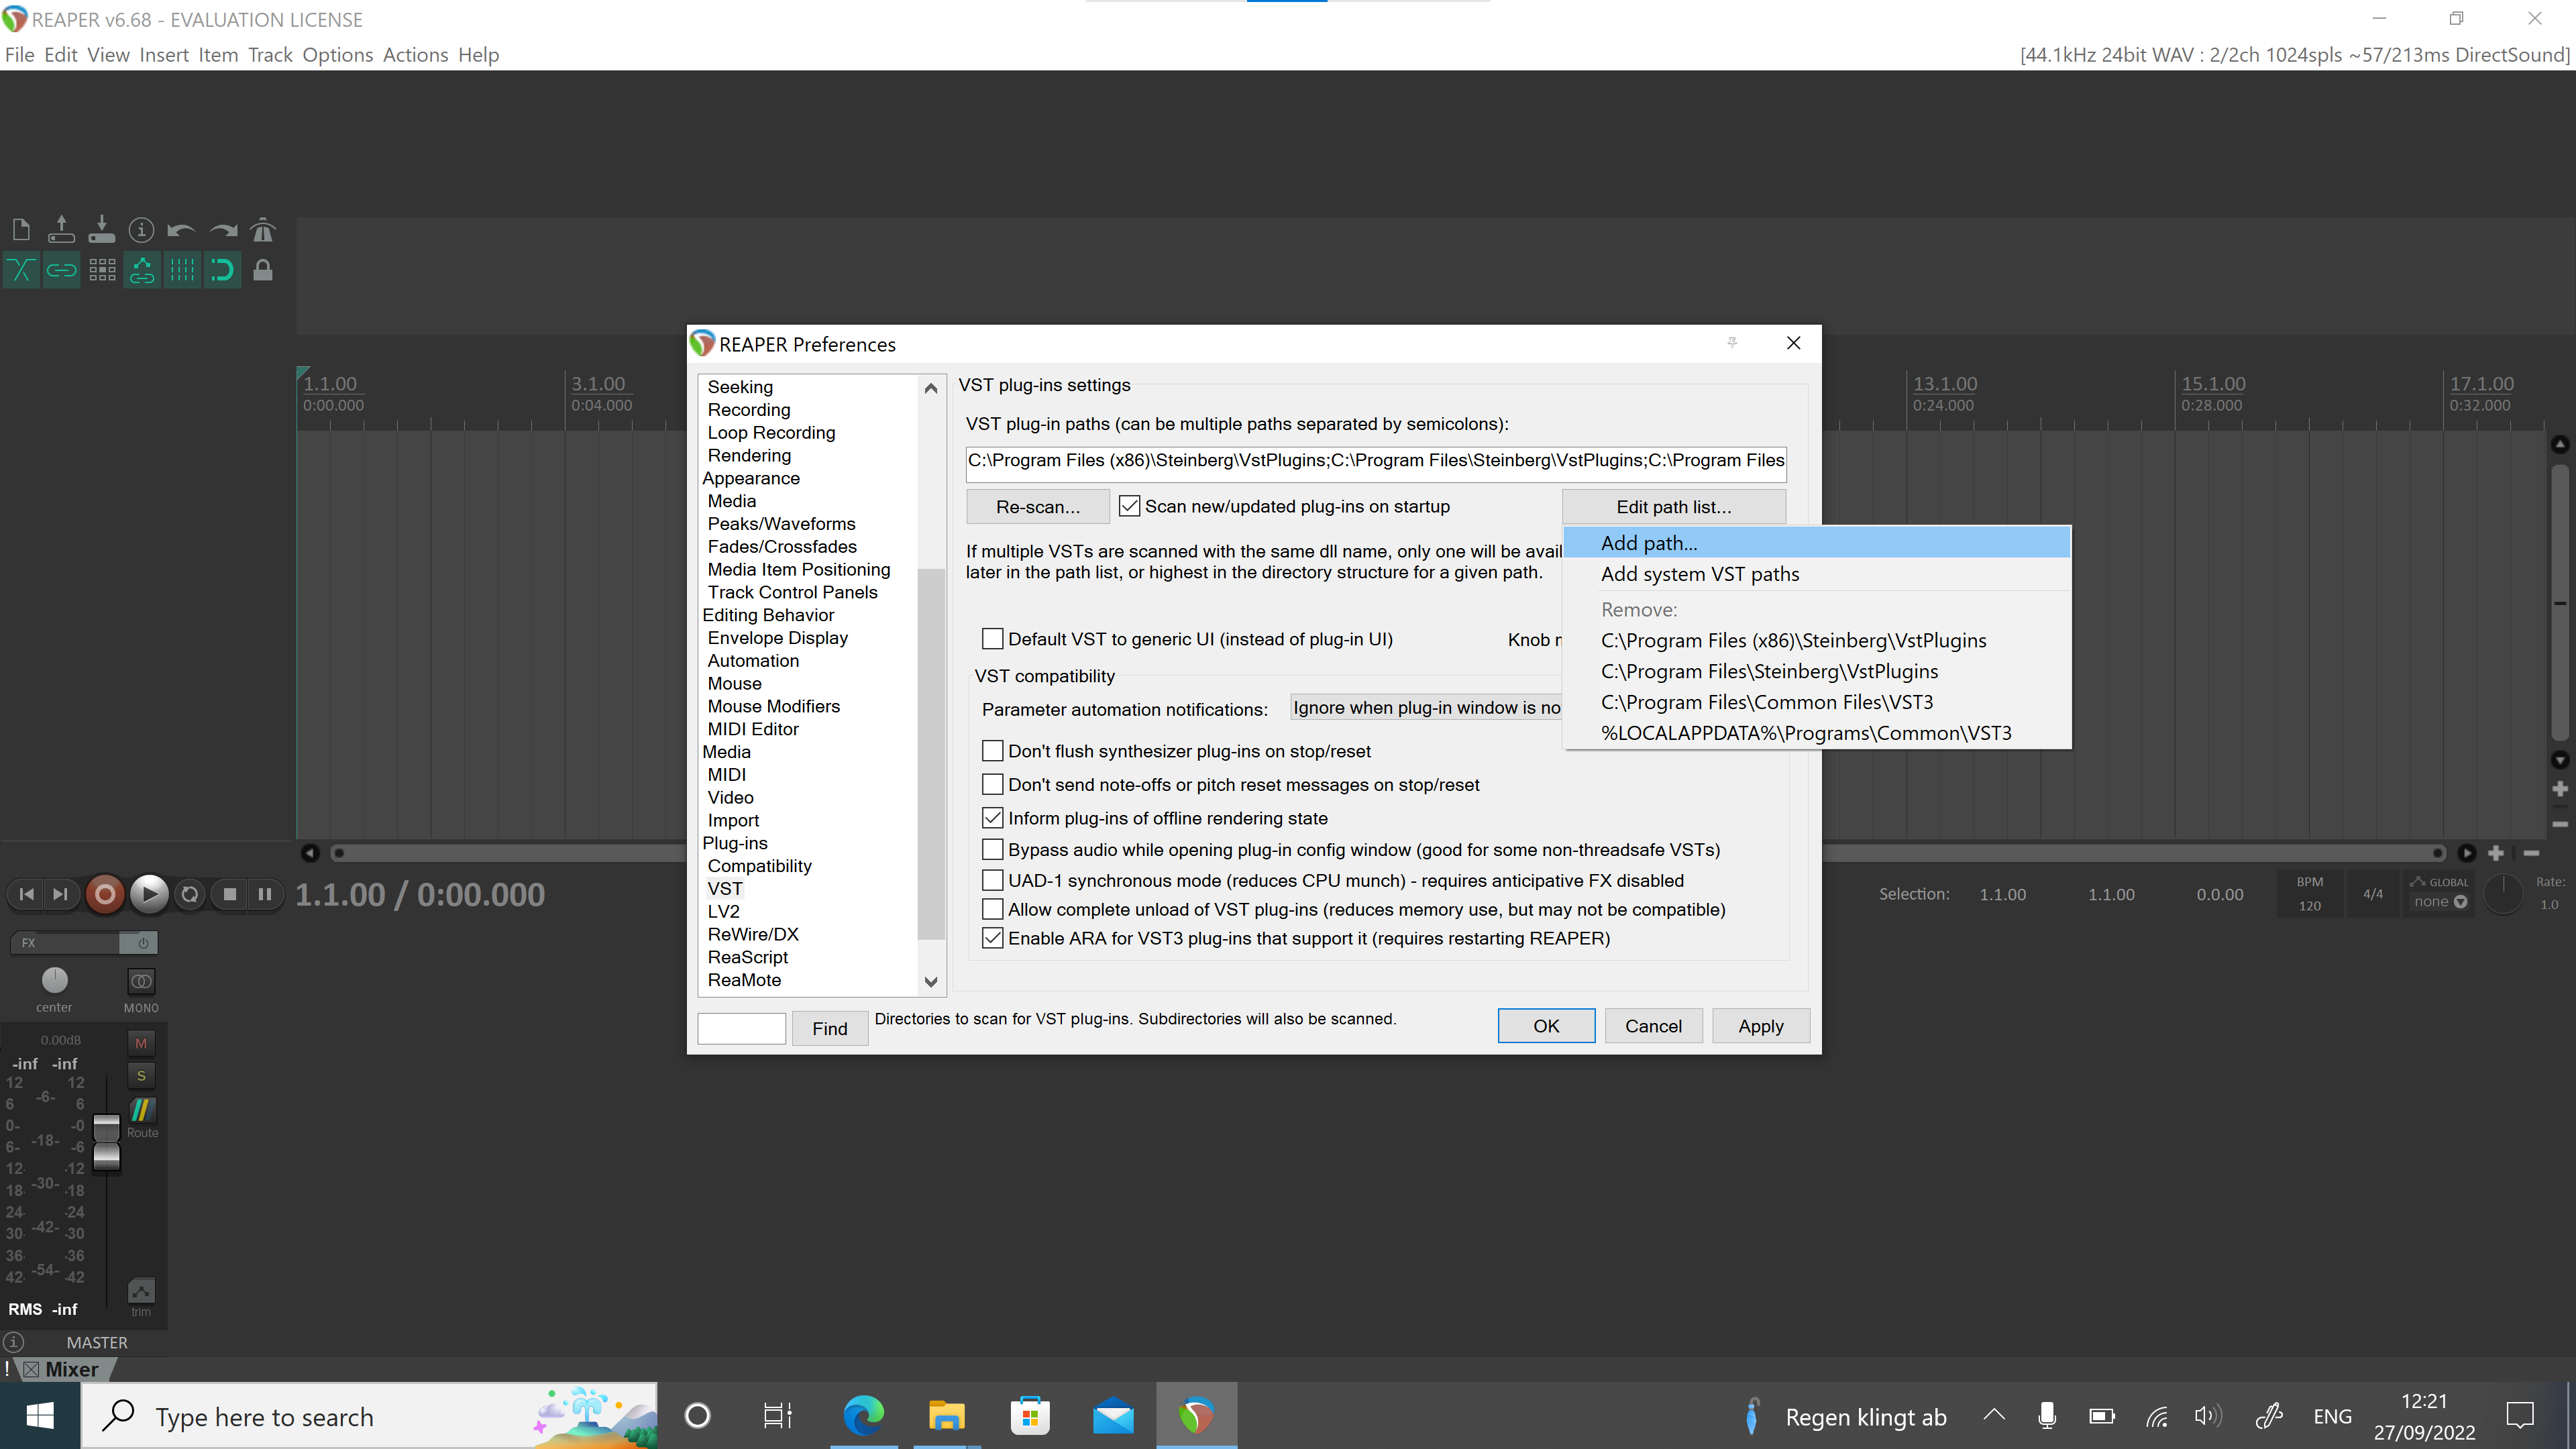
-
Here we need to select the
vstfolder we've created before. Navigate to:
and pressOK.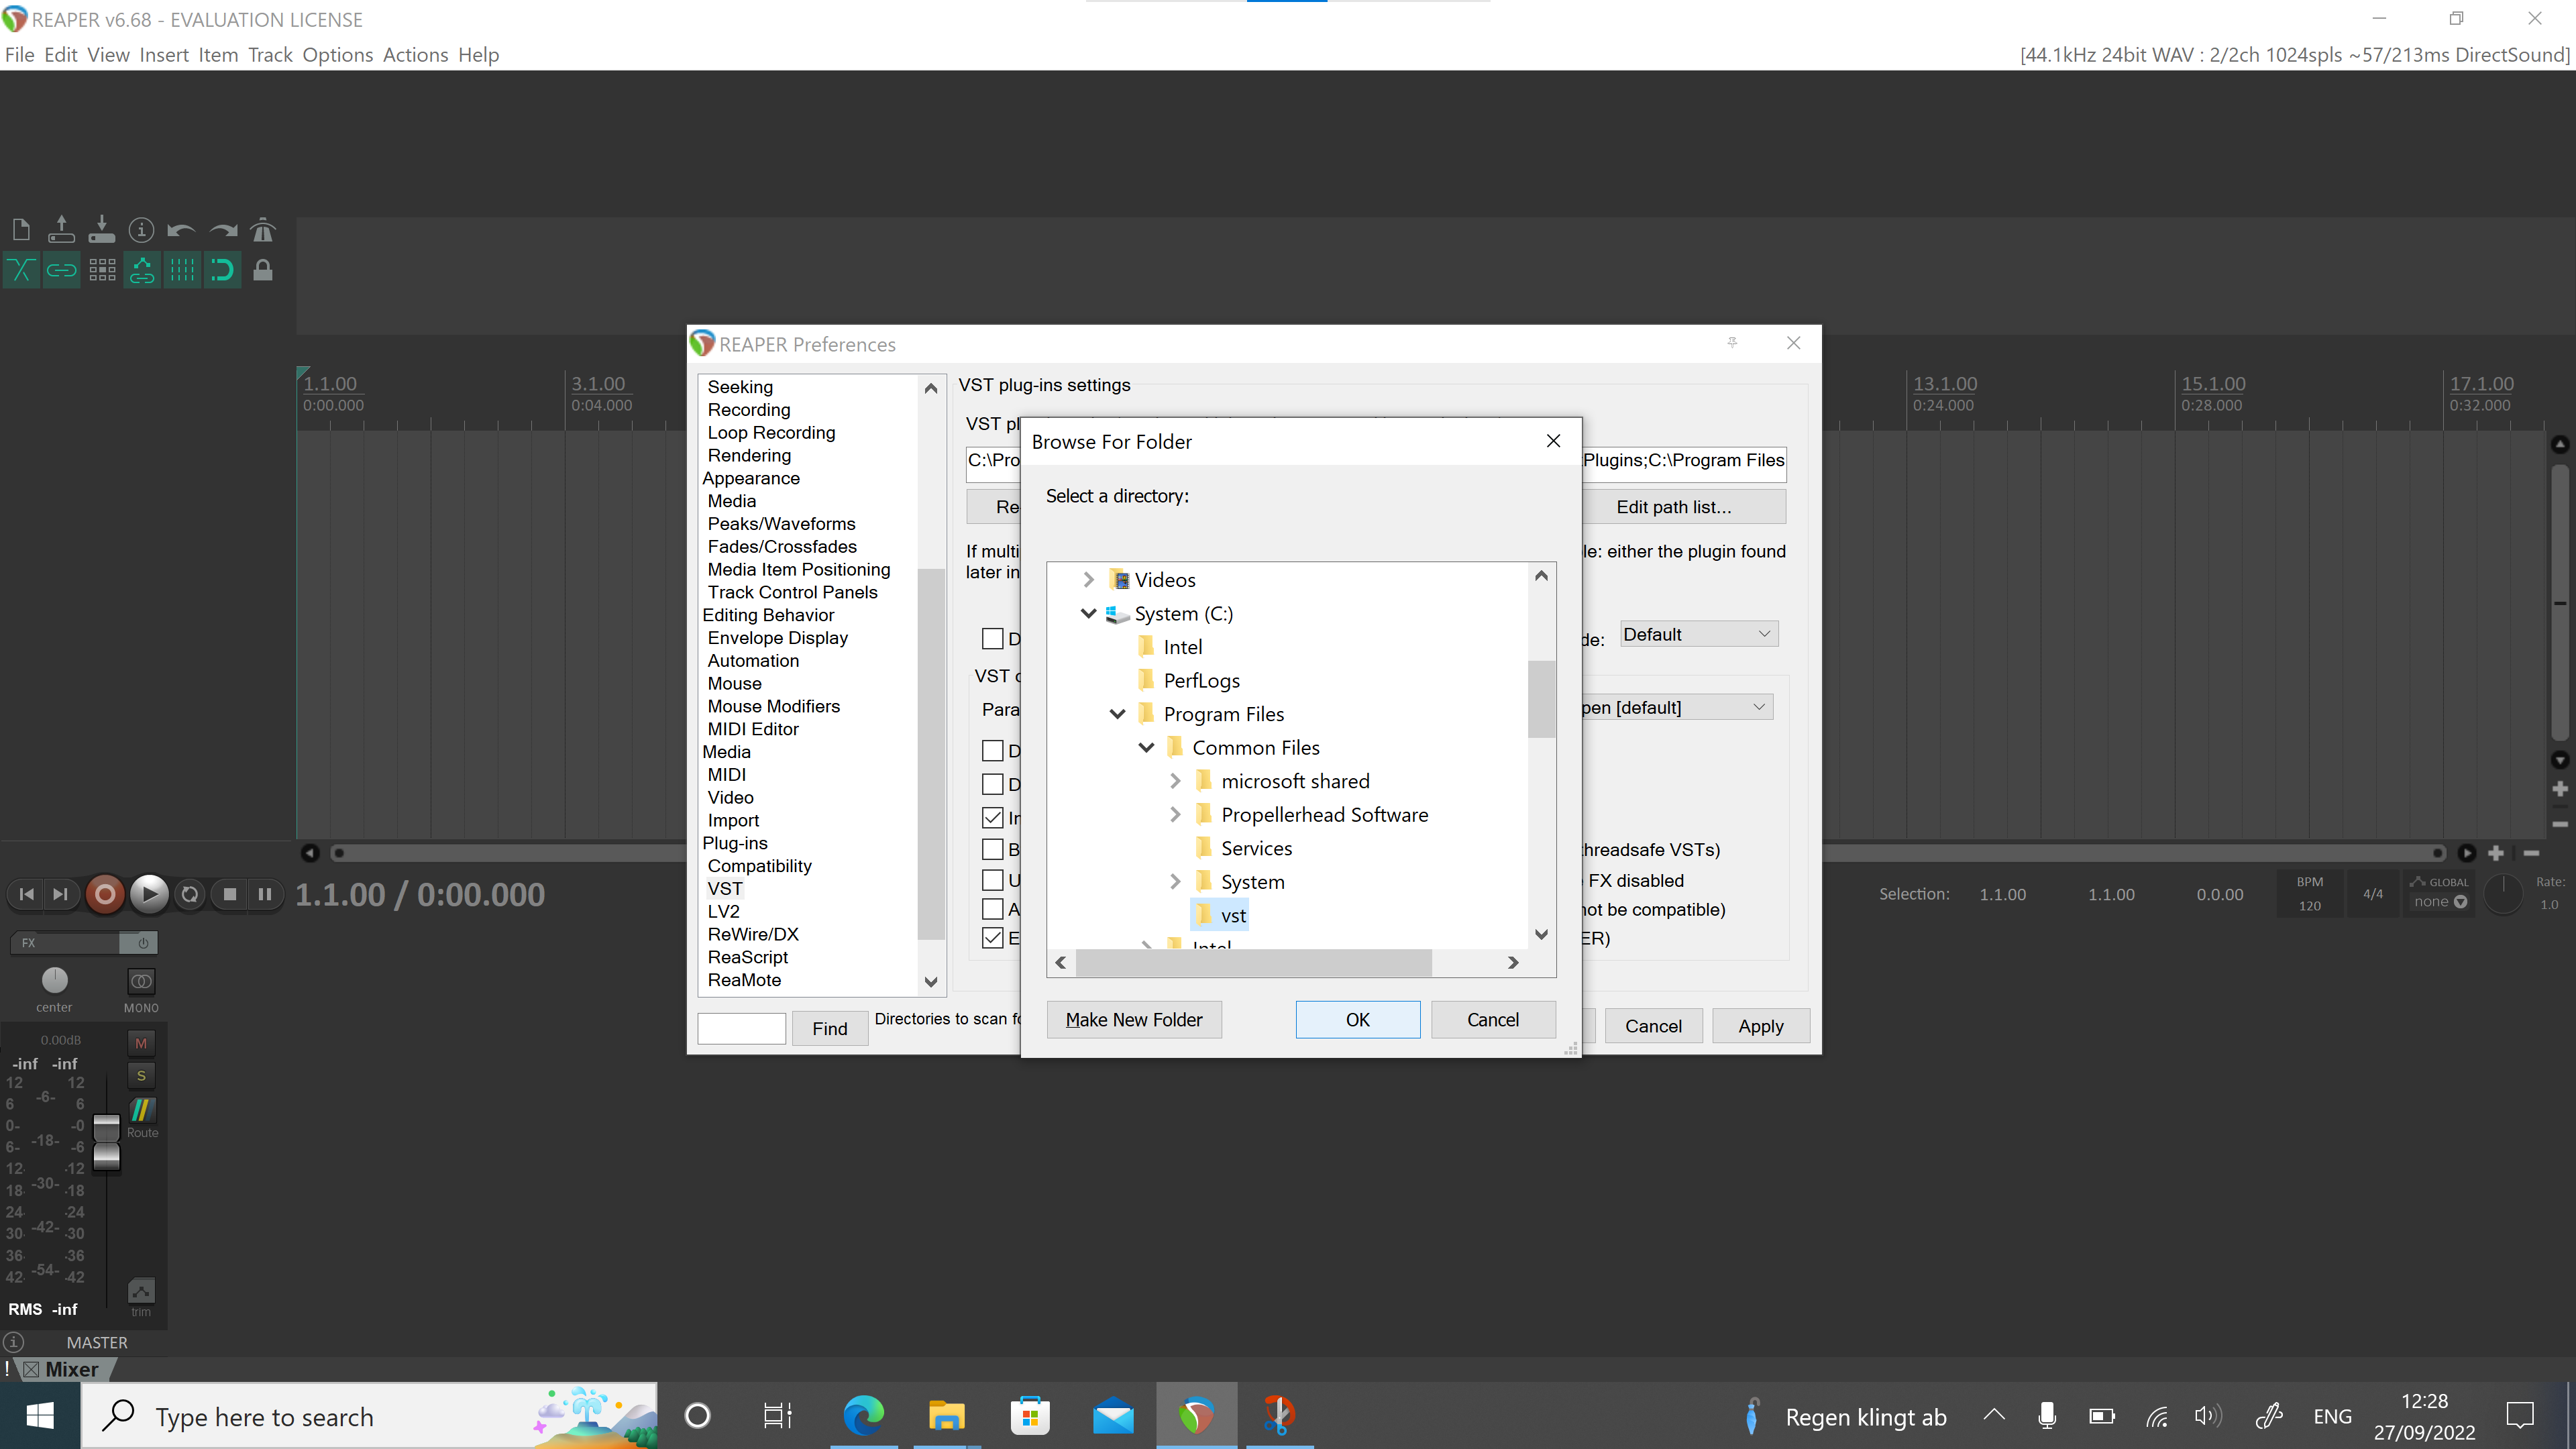
Zylia ZM-1 drivers
-
Download and run the Zylia ZM-1 drivers installer.
-
Click
Next.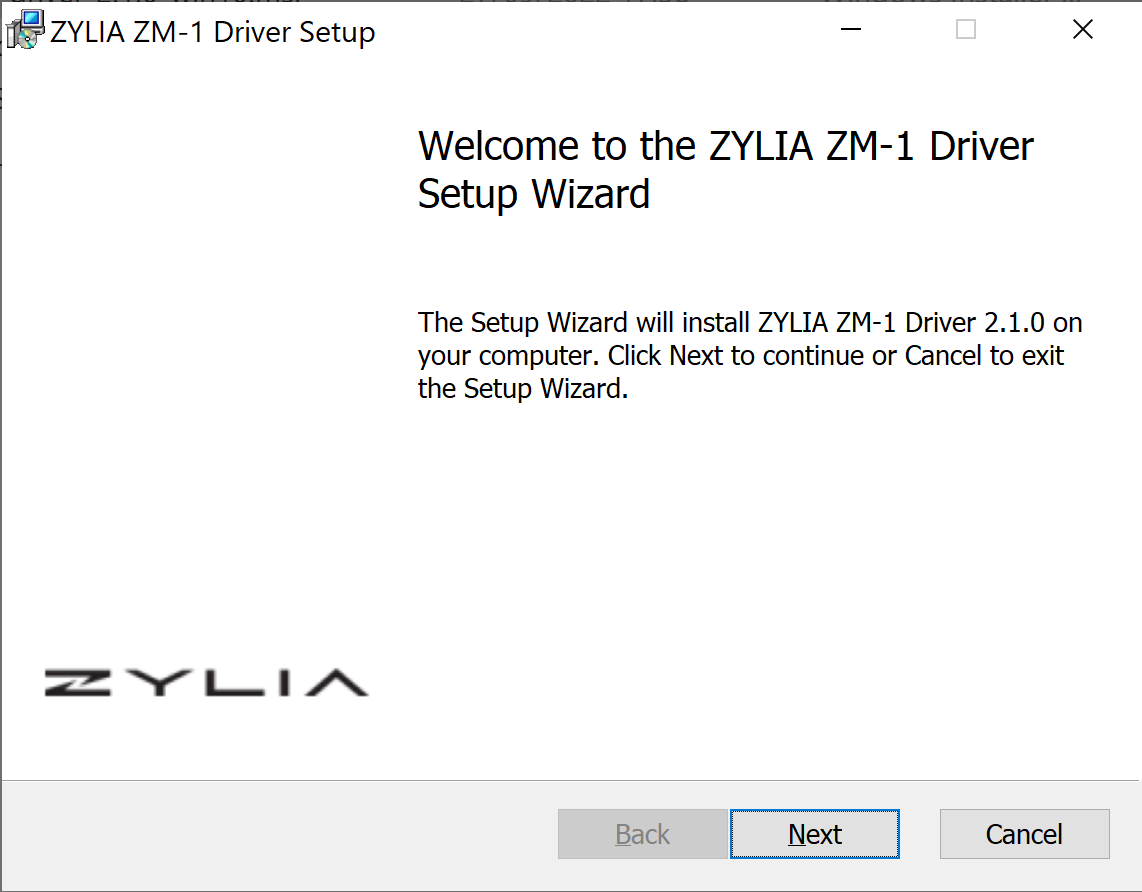
-
Accept the license terms and click
Next.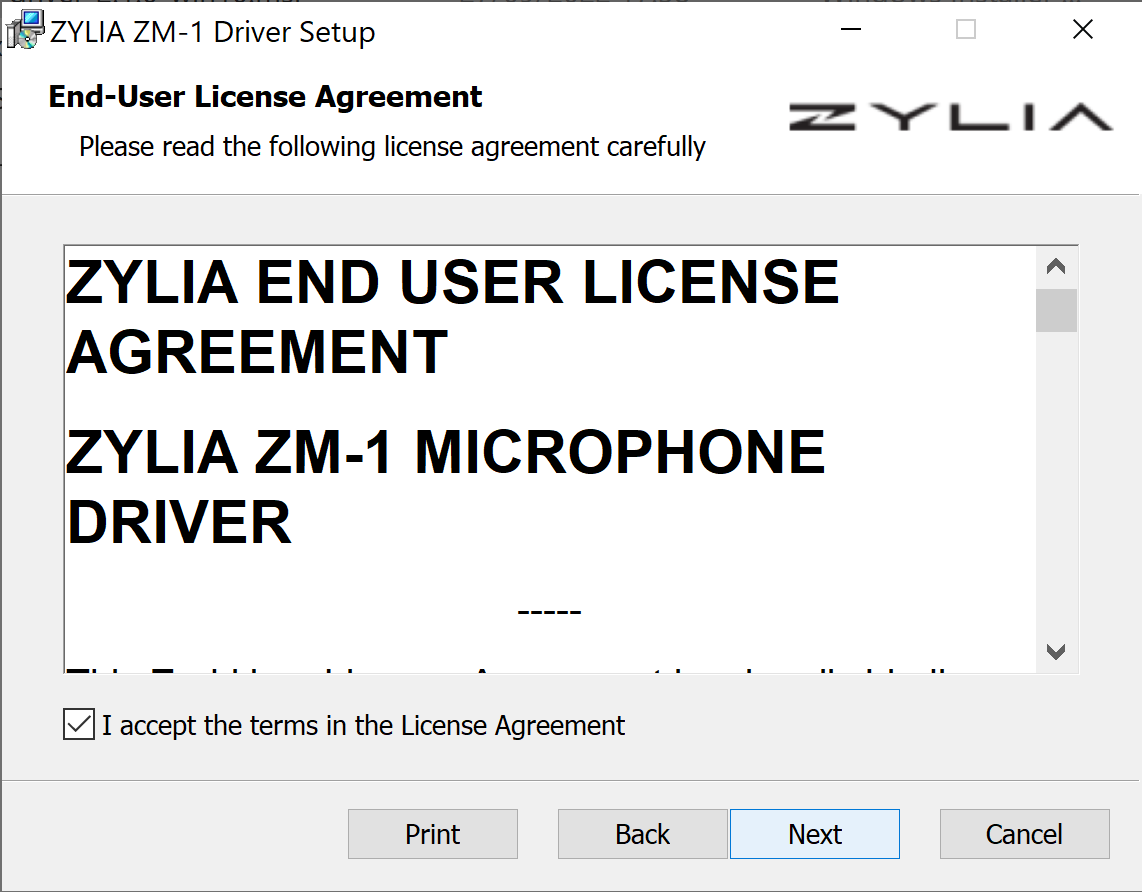
-
Click
Install.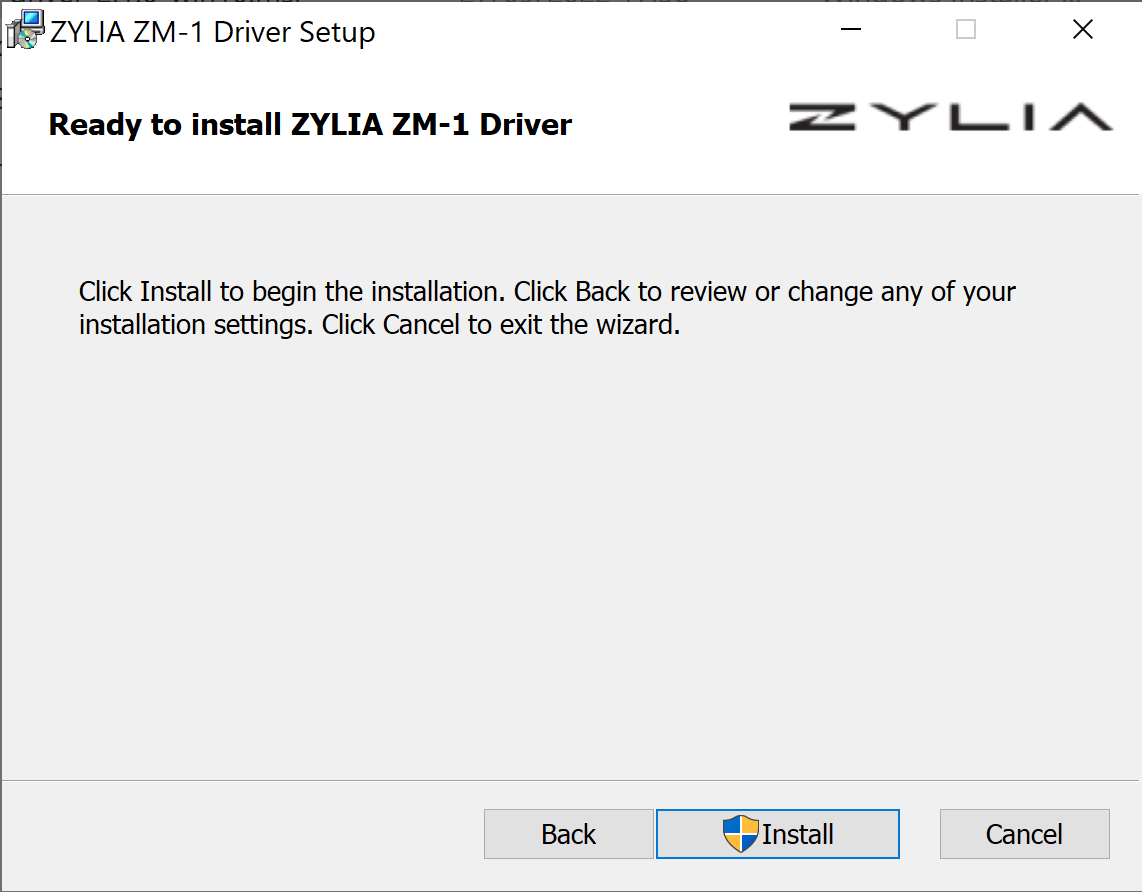
Zylia Ambisonics converter
-
Download and run the Zylia Ambisonics Converter installer.
-
Click
Next.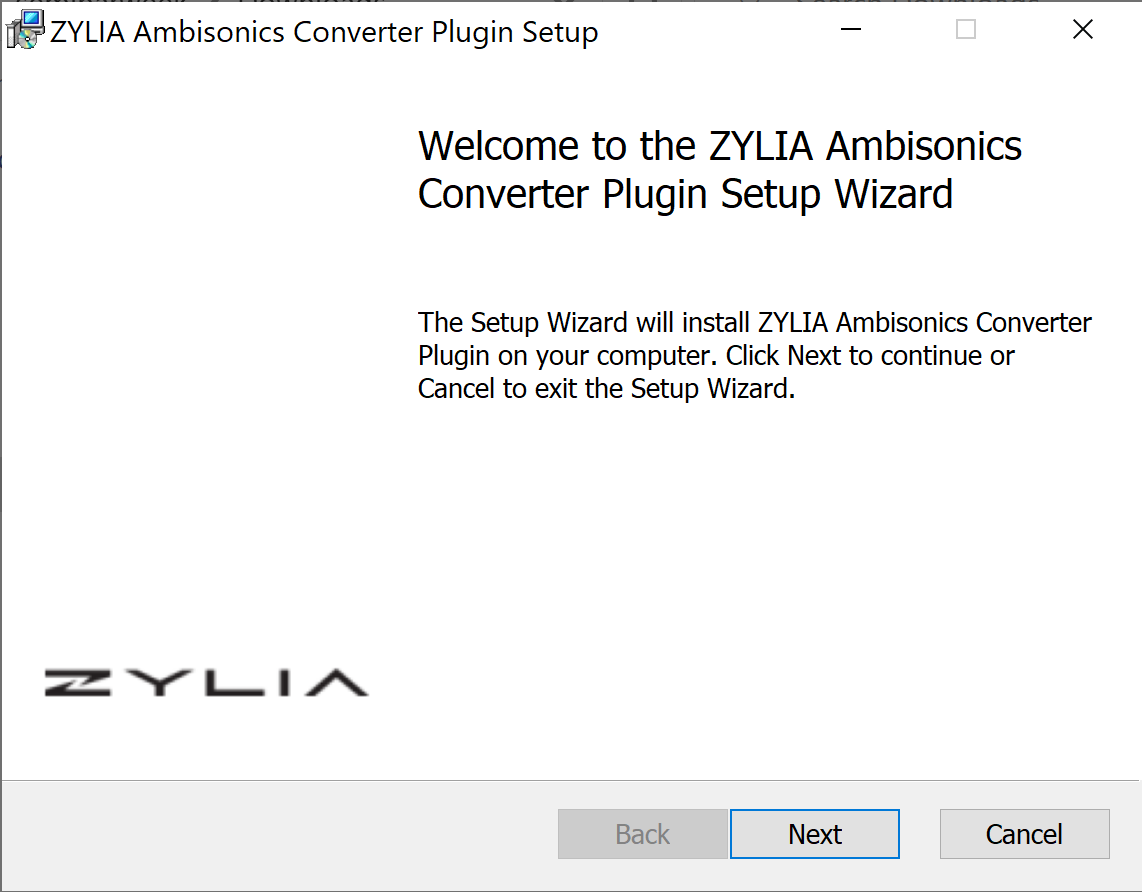
-
Accept the license terms and click
Next.
-
Click again
Next.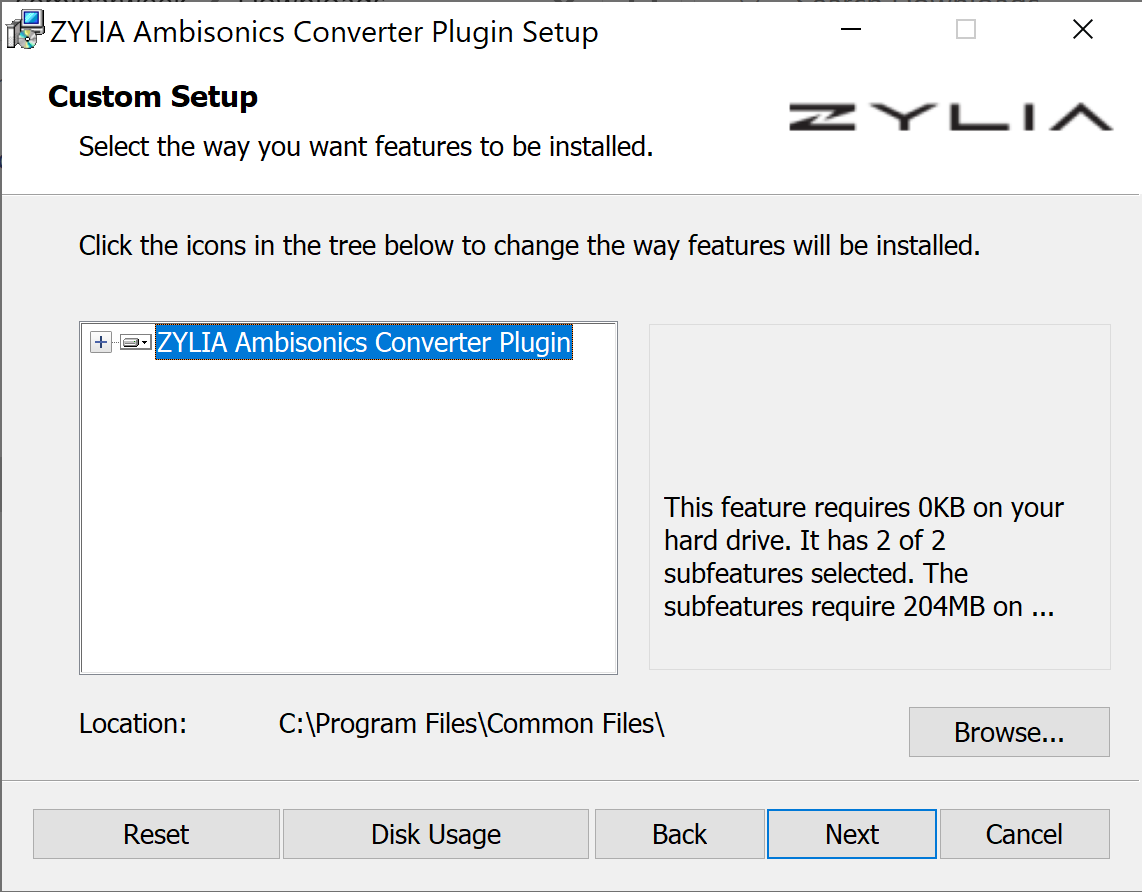
-
Click
Install.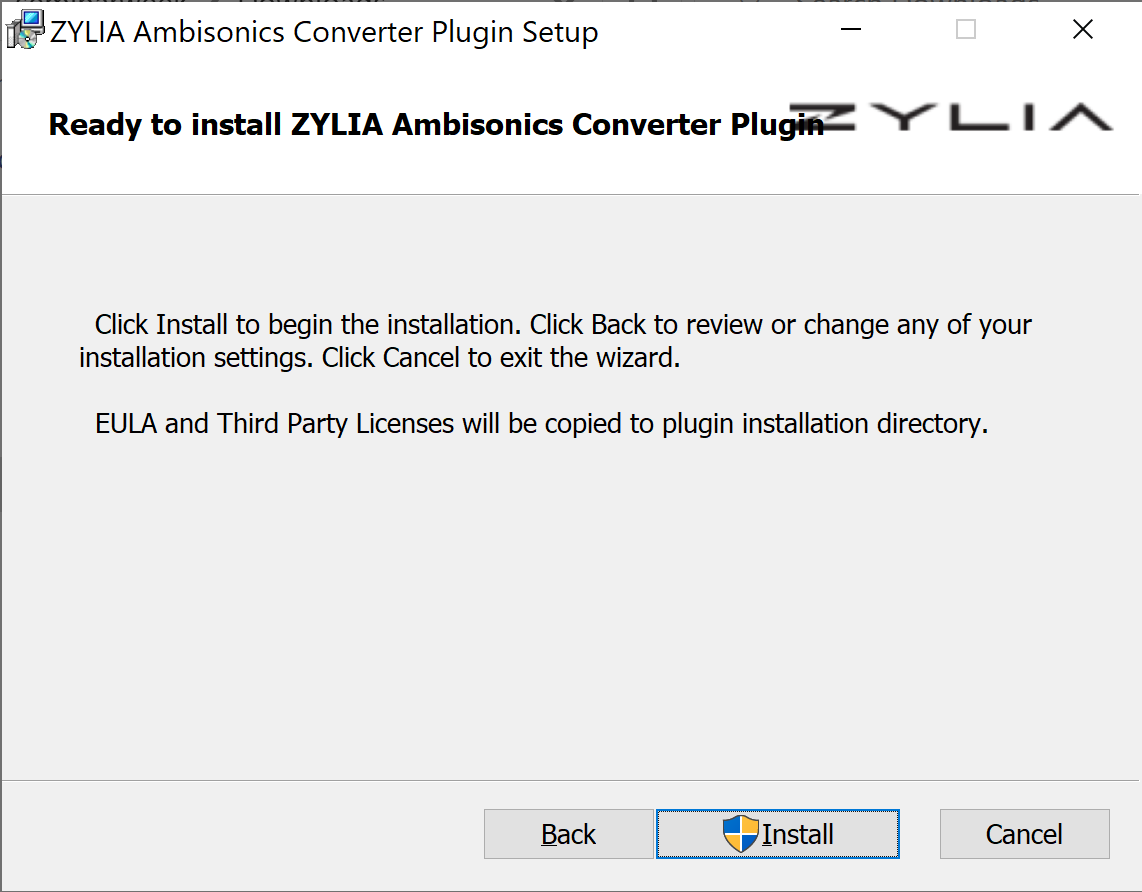
IEM Plug-in Suite
-
Download and extract the IEM Plug-in Suite zip file. Copy all the files inside the
VSTfolder into the folder you created in step 10 of the REAPER installation.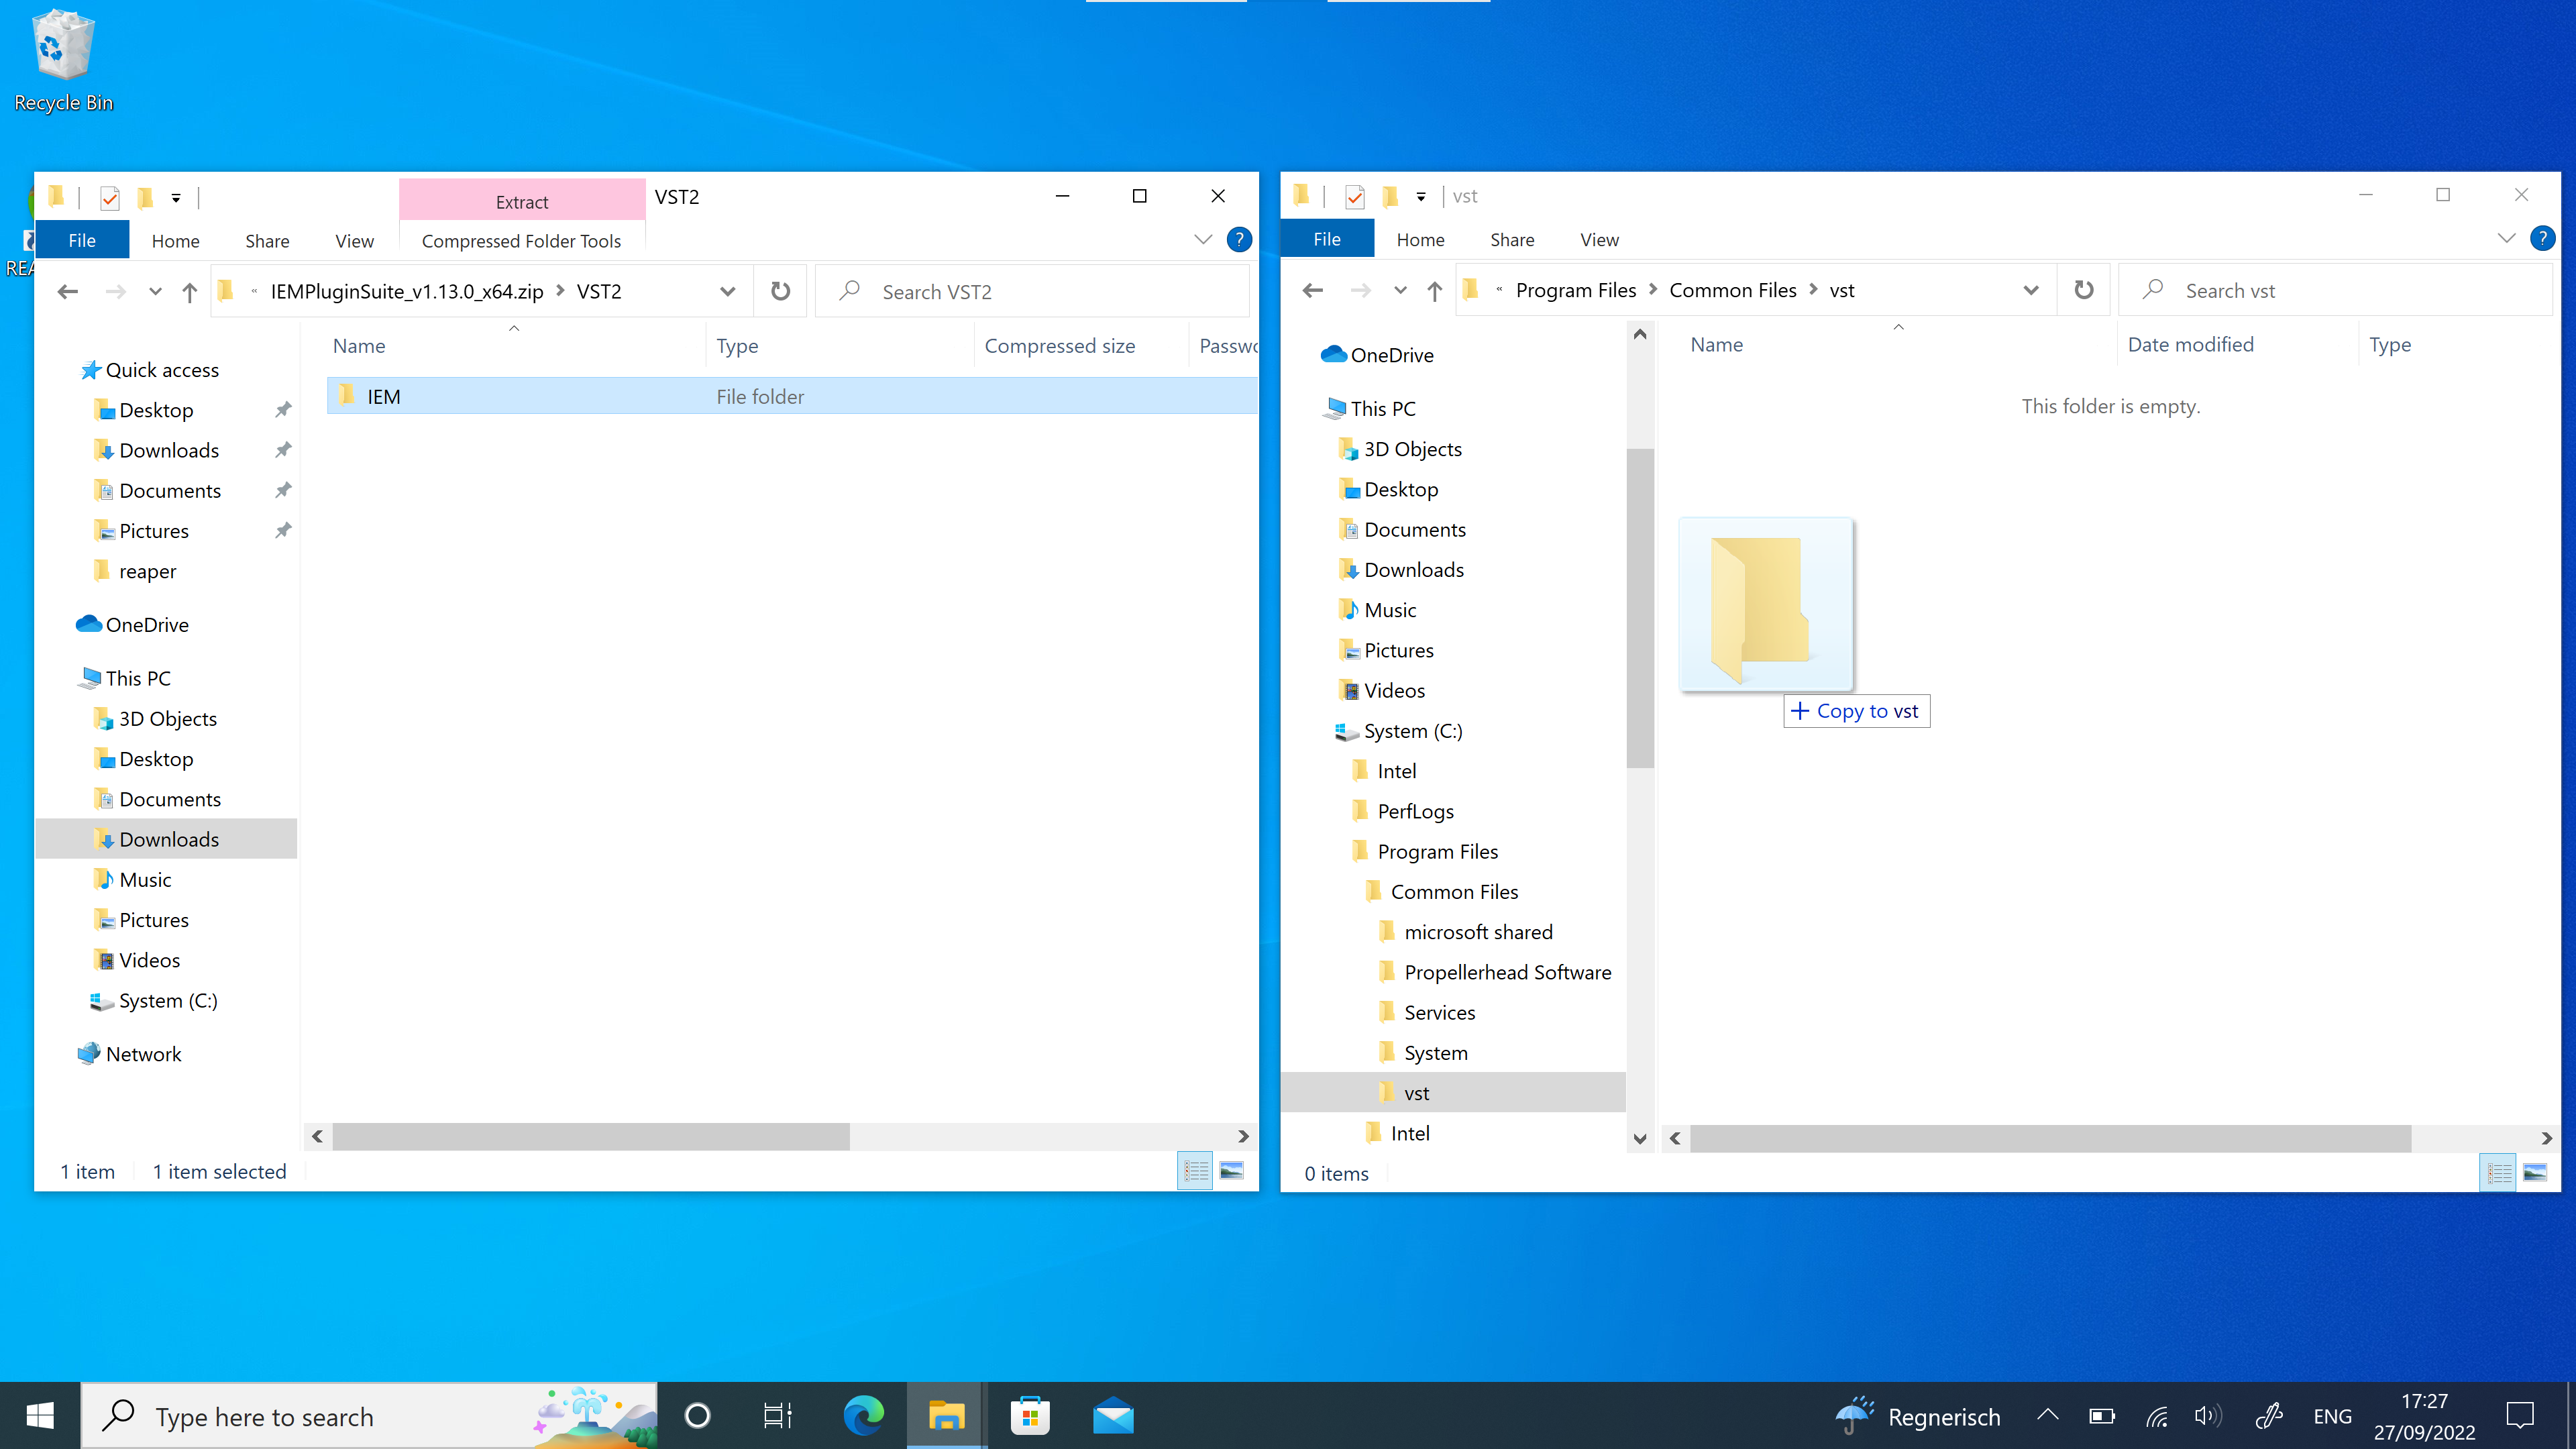
Dante Virtual Soundcard
-
Download and run the Dante Virtual Soundcard installer.
-
Agree to the license and click
Install.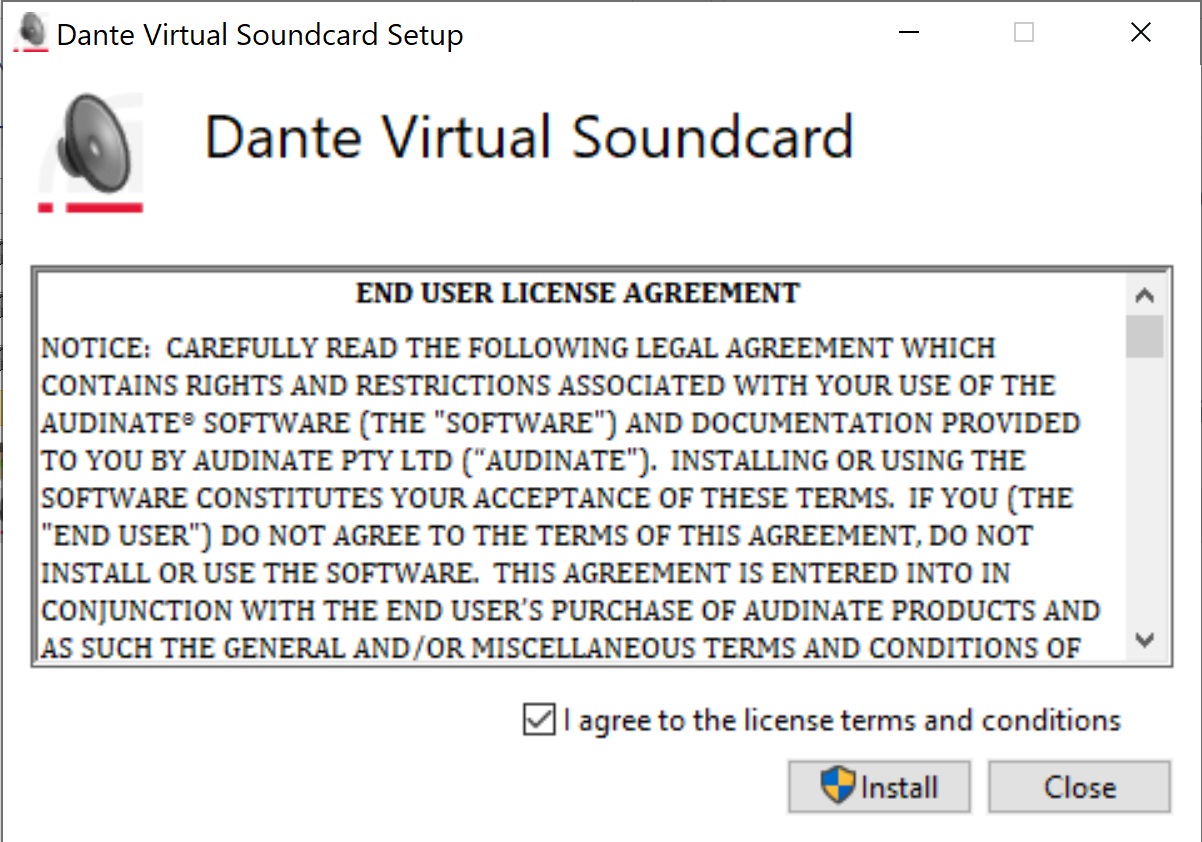
-
After the installation is completed, click
Restart.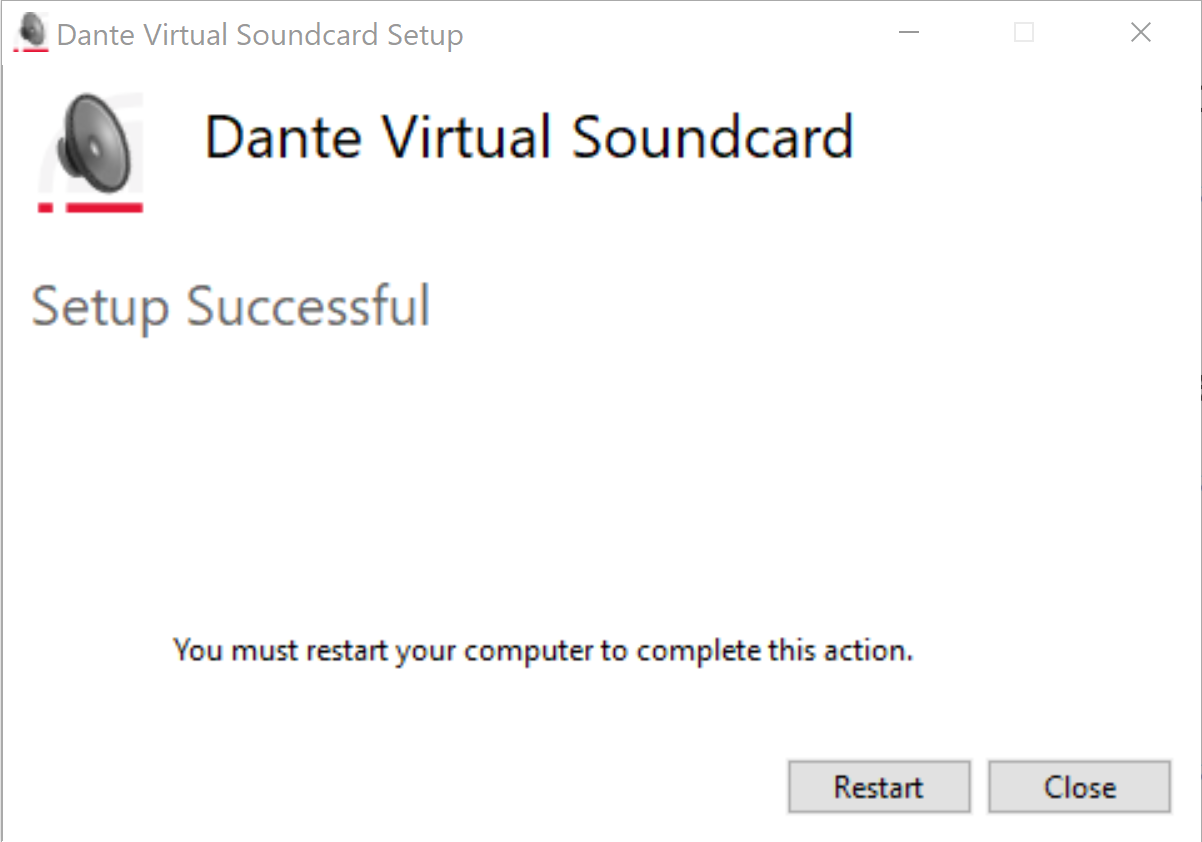
-
Login to your account
-
Go to the Dante Virtual Soundcard page and click on the red
14-day Free Trialbutton
-
Scroll down to find the
New Trial Licensesection. Type "seminar-week" in theLicence Descriptionfield and pressSubmit
-
When the page reloads, copy the
License ID
-
Start the Dante Virtual Soundcard app and go to the
Licensingtab. Paste the License ID and pressActivate.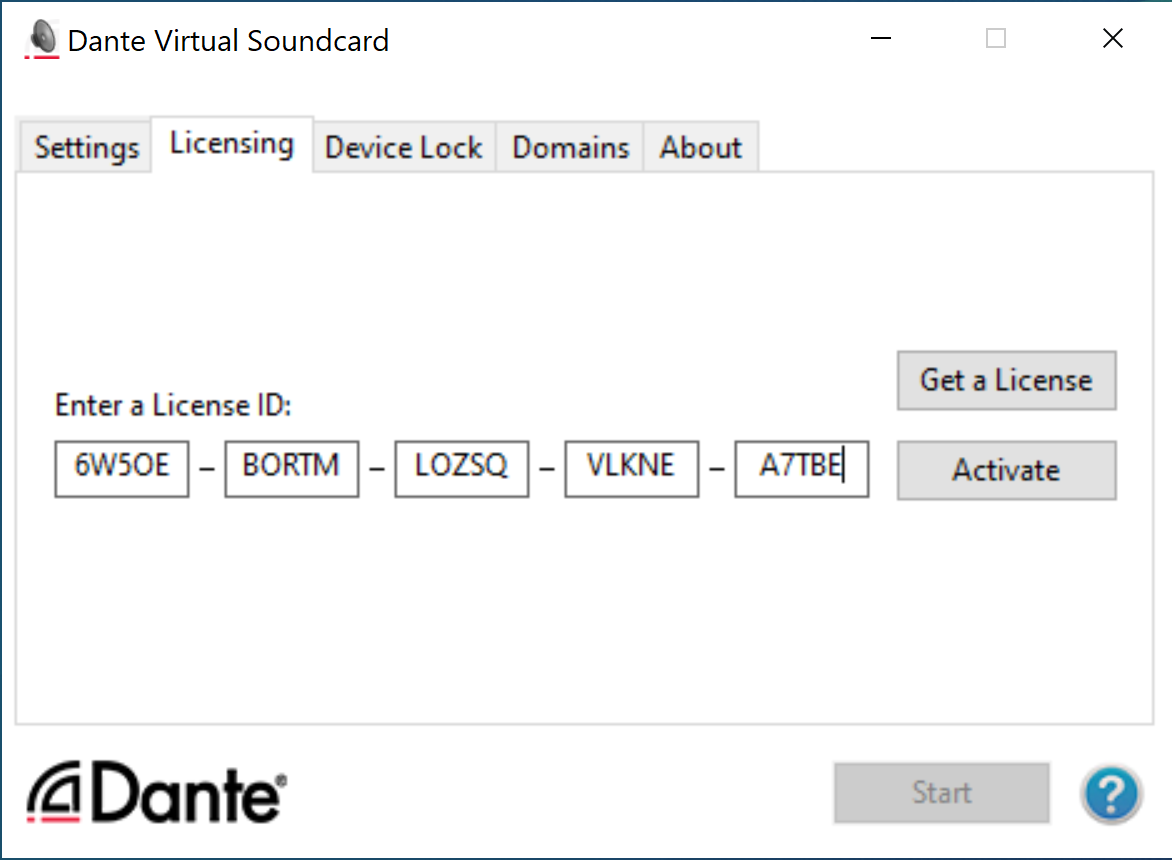
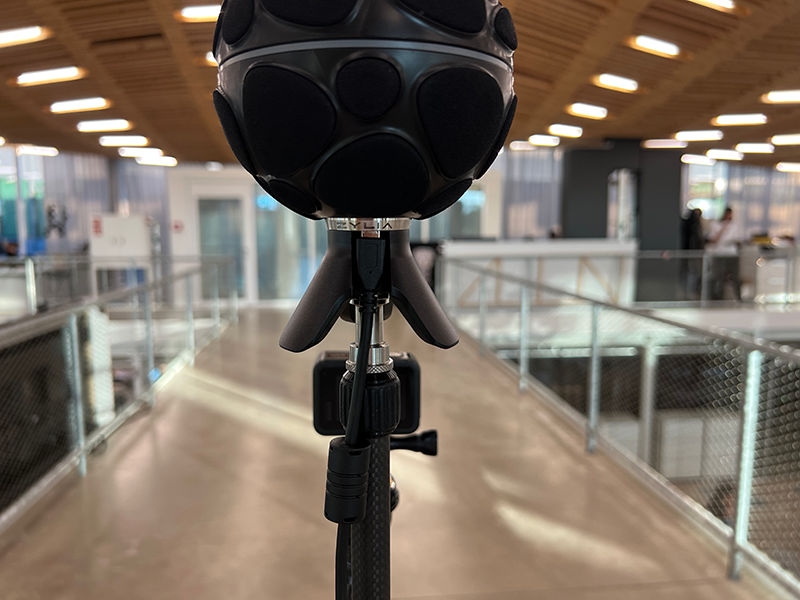
High-order ambisonics microphone
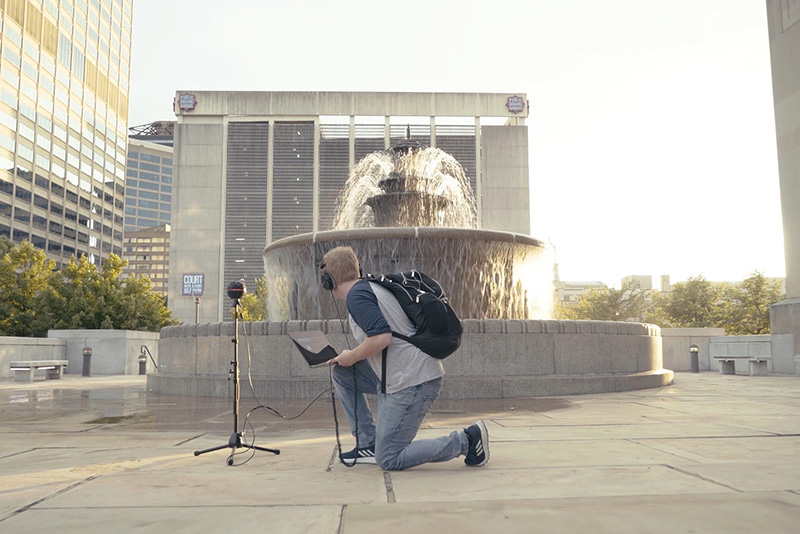
We will use the Zylia ZM-1 microphone to record soundscapes of different spaces. The Zylia ZM-1 is a 3rd-order Ambisonics microphone that has 19 capsules pointing in different directions. This setup allows us to record the sound coming from all directions, creating a 360° audio image of the space.
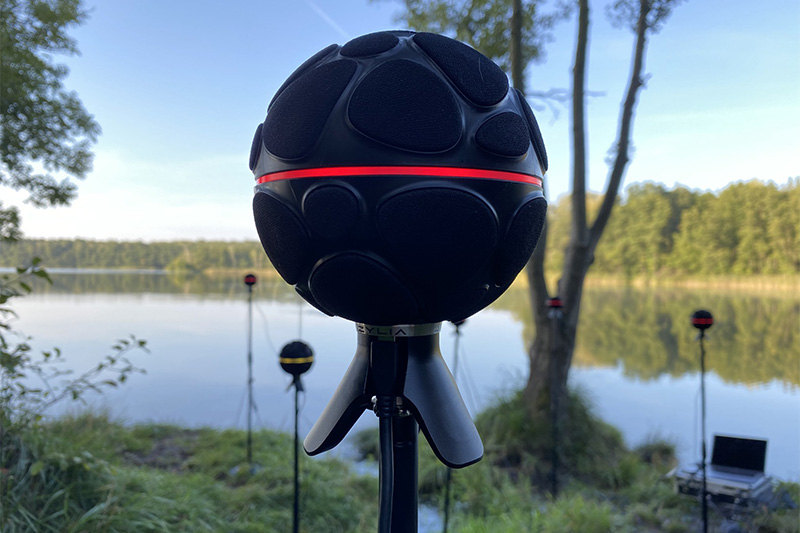
High-order ambisonic microphones capture audio in what is known as A-Format, which is the raw information from the microphone capsules. To work with these audio files we need to convert them to B-Format. The audio files we record with the ZM-1 microphone contain 19 audio tracks (one for each capsule). We will use REAPER Digital Audio Workstation to edit the audio files and the Zylia Ambisonics Converte plug-in to convert the files to B-Format. To monitor the audio files outside of IDL we will use IEM's BinauralDecoder plug-ins to convert the B-Format to stereo and play it through our headphones or our computer's speakers. For a full immersive spatial audio experience we will play the B-Format audio through the 75 speakers of the Immersive Design Lab.
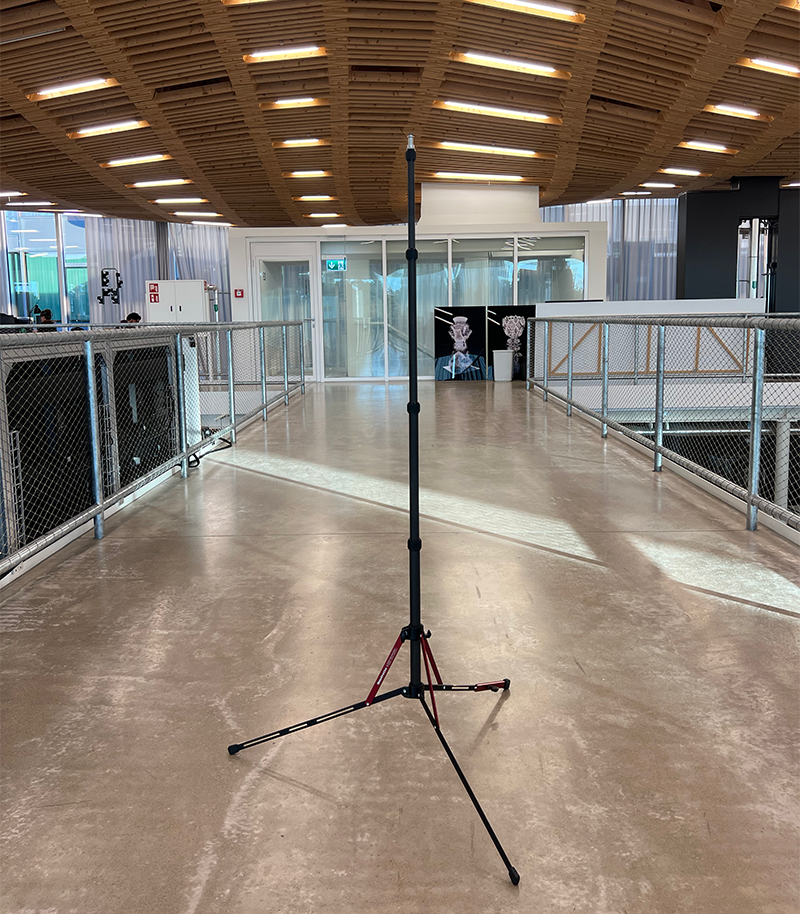
Follow the steps bellow to prepare the Zylia ZM-1 microphone for recording.
-
Extend the microphone stand up to your shoulder height.
-
Take the microphone out of the box and look for the red dot. This dot indicates the
front sideof the microphone. You will use this later to align the microphone with the GoPro camera.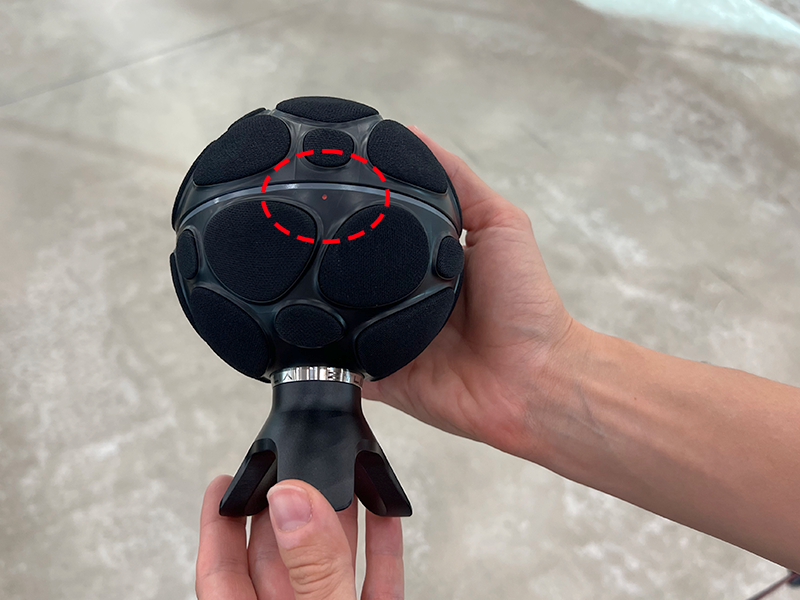
-
Take the microphone and screw it at the top of the stand.
-
Attach the USB cable to the bottom of the microphone.
Note: The USB is located at theback sideof the microphone (useful for aligning the microphone).
Video Recording
-
Take the GoPro and mount it on the microphone tripod.
-
Align the Gopro and the microphone using the red dot at the front of the mic or the USB connector and the back side of the microphone.
Demo Files
You can test that your computer is properly set up and everything works properly by using this demo reaper project.
Extract the content of reaper_demo.zip and run the demo.RPP file.