Planning scene and collision objects
Note
The following examples use the ROS backend and the MoveIt! planner for UR5e robots. Before running them, please make sure you have the ROS backend correctly configured and the UR5e Demo started.
- There are two types of collision meshes:
Non-attached collision meshes
Attached collision meshes
To plan motion paths that avoid collisions with other objects than the robot itself, the backend’s planning scene has to be updated.
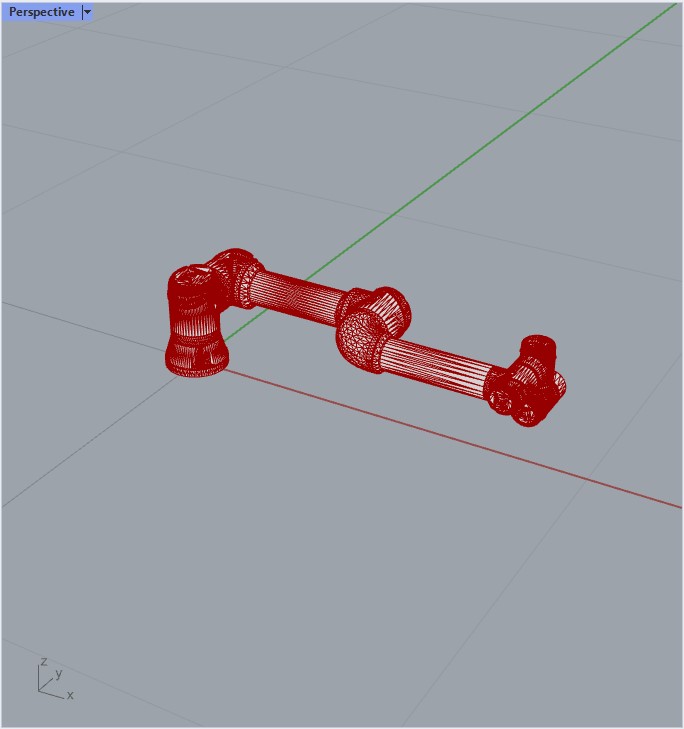
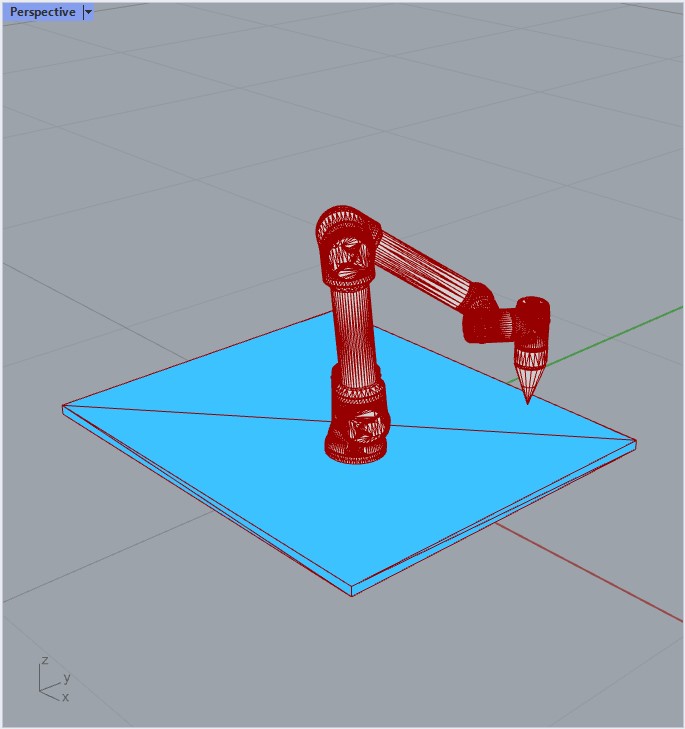
After the planner starts, the scene will only contain the robot:
1. Non-attached Collision meshes
Add/remove a single mesh
The following script adds and then removes a floor to the planning scene.
import time

from compas.datastructures import Mesh

import compas_fab
from compas_fab.backends import RosClient
from compas_fab.robots import CollisionMesh
from compas_fab.robots import PlanningScene

with RosClient() as client:
    robot = client.load_robot()
    scene = PlanningScene(robot)
    assert robot.name == 'ur5_robot'

    mesh = Mesh.from_stl(compas_fab.get('planning_scene/floor.stl'))
    cm = CollisionMesh(mesh, 'floor')
    scene.add_collision_mesh(cm)

    # sleep a bit before removing the floor
    time.sleep(1)

    scene.remove_collision_mesh('floor')
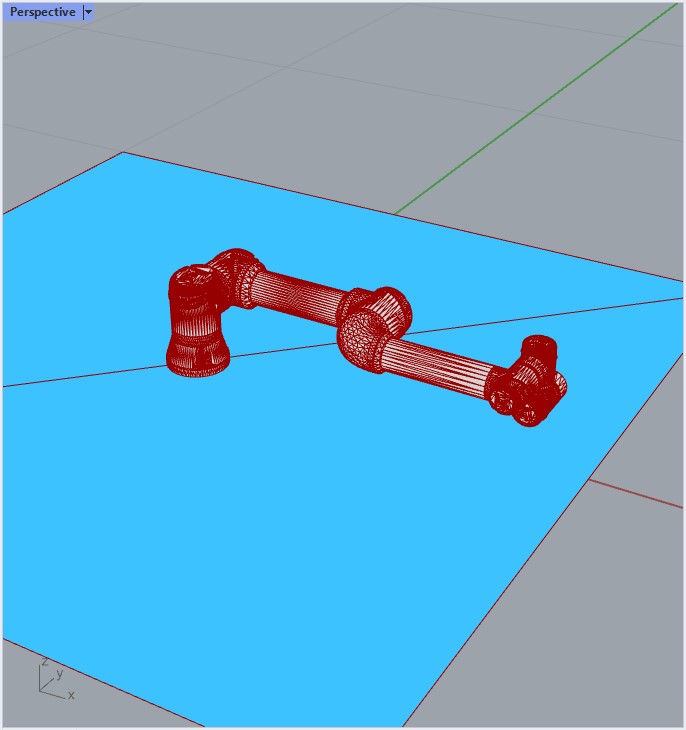
The backend’s updated planning scene while executing the above script.
Add/remove several meshes
The following script adds several boxes (bricks) to the planning scene. Here,
we use append instead of add to have multiple collision objects
clustered under the same identifier. Like that, we don’t need to keep track of
all identifiers when we later remove them.
import time

from compas.datastructures import Mesh
from compas.geometry import Box

from compas_fab.backends import RosClient
from compas_fab.robots import CollisionMesh
from compas_fab.robots import PlanningScene

with RosClient() as client:
    robot = client.load_robot()
    scene = PlanningScene(robot)
    assert robot.name == 'ur5_robot'

    brick = Box.from_width_height_depth(0.11, 0.07, 0.25)

    for i in range(5):
        mesh = Mesh.from_vertices_and_faces(brick.vertices, brick.faces)
        cm = CollisionMesh(mesh, 'brick')
        cm.frame.point.y += 0.5
        cm.frame.point.z += brick.zsize * i

        scene.append_collision_mesh(cm)

    # sleep a bit before removing the bricks
    time.sleep(1)

    scene.remove_collision_mesh('brick')
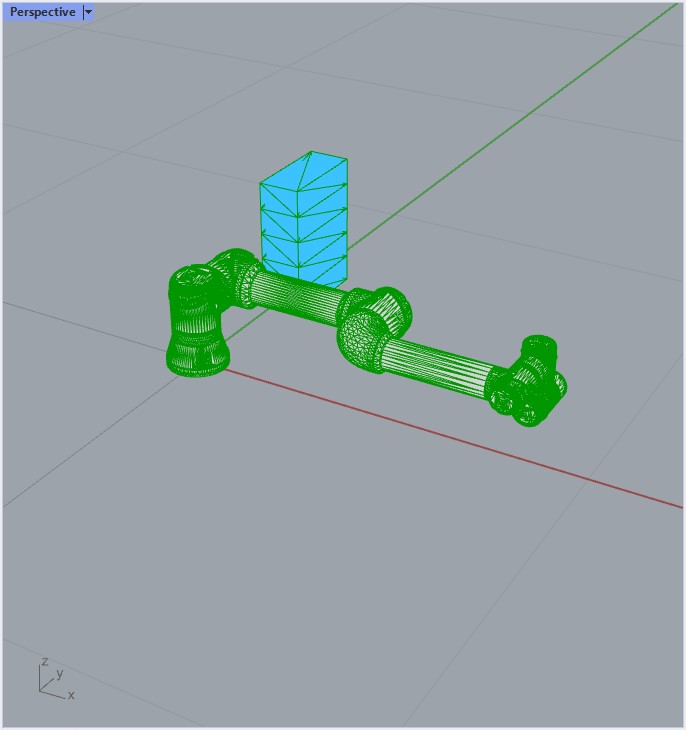
The backend’s updated planning scene while executing the above script.
2. Attached collision meshes
Attach end-effector
The following script defines a tool -also called end effector- which is described by a collision mesh and a frame, and attaches it to the robot.
import time

from compas.datastructures import Mesh
from compas.geometry import Frame

import compas_fab
from compas_fab.backends import RosClient
from compas_fab.robots import Tool

with RosClient() as client:
    robot = client.load_robot()
    assert robot.name == 'ur5_robot'

    # create collision object
    mesh = Mesh.from_stl(compas_fab.get('planning_scene/cone.stl'))
    t1cf = Frame([0.14, 0, 0], [0, 0, 1], [0, 1, 0])
    tool = Tool(mesh, t1cf, name='tip')
    robot.attach_tool(tool)
In this case, we are not adding it to the planning scene explicitely, only attaching it to the robot instance itself.
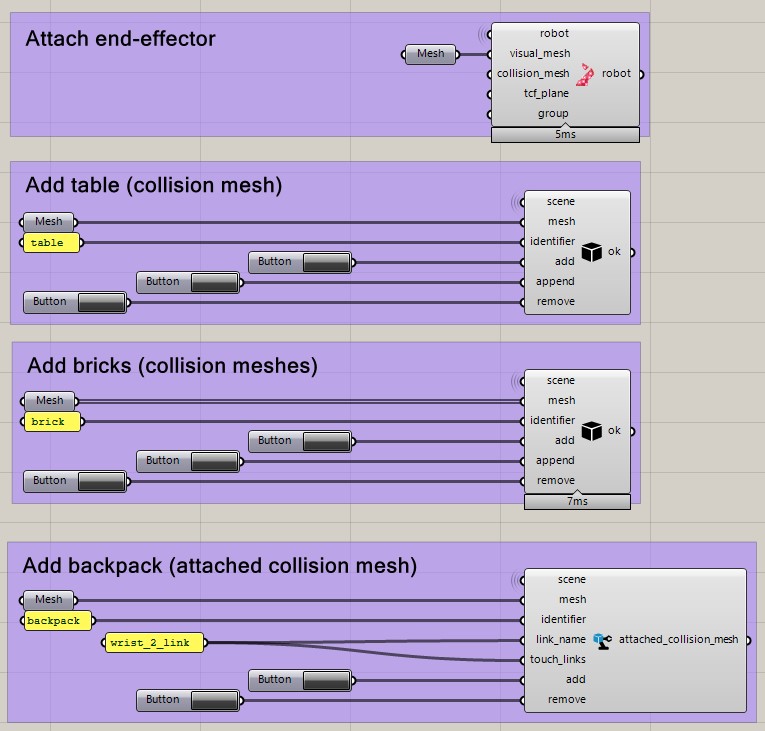
Grasshopper example
The following Grasshopper document showcases all the options described above: