1. Tutorial: Publishing Basics#
Length: ca. 10 min
Attention
This setup will publish/upload all existing geometry from your Rhino file. Do not use with big models.
1.1. Connect RADii Grasshopper Components#
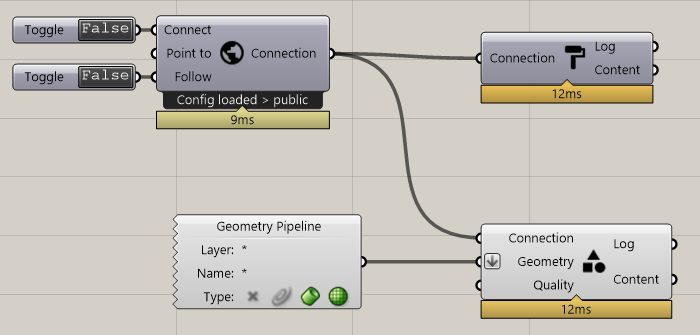
 and the PublishGeometry
  , components.Add a
 geometry input to the later, in our example we are using the geometry pipeline as shown in the picture.More detail about the components can be found at RadiiGrasshopper in the documentation.
Tip
Geometry pipeline layer control:
Default
Default::SubLayer1
Default::SubLayer1::SubLayer2
Filters:
Default (the first layer only)
Default* (all layers)
Default::* (sublayers only)
SubLayer2 (third sublayer only)
1.2. Enter Credentials#
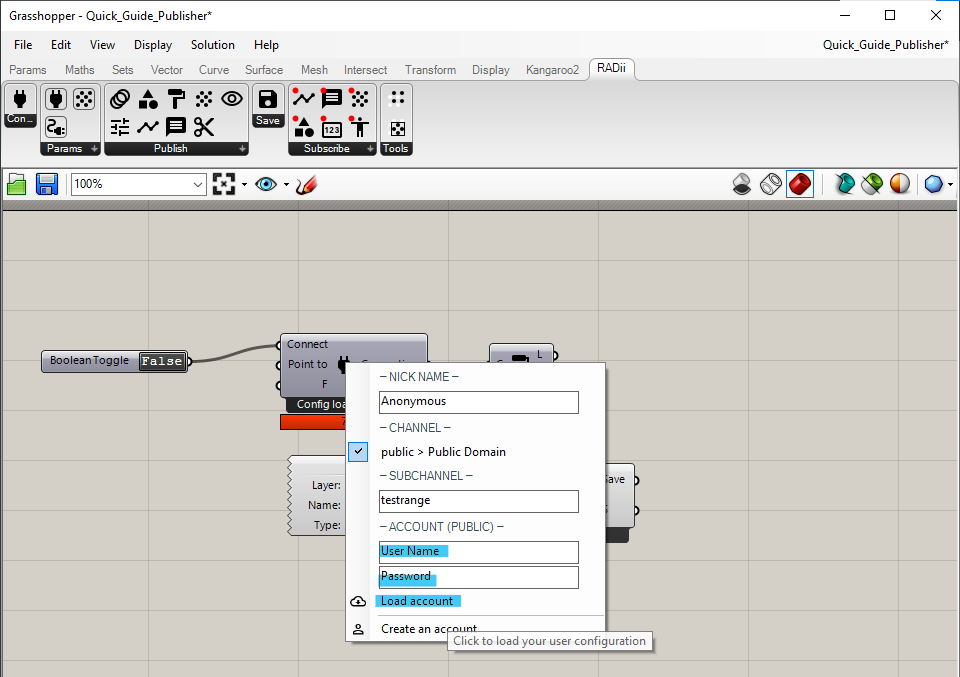
Log in with your Radii.info account and password you have created during the Grasshopper Setup and left click on load account to log in.
Your private domain will show up under the section - CHANNEL - and possibly others if you are part of a class or group.
1.3. Choose domain and channel#
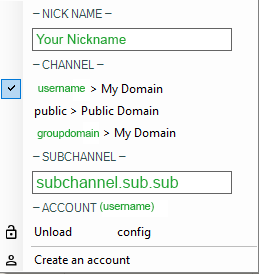
Right click on the Connect component, there should be a tick next to username > My Domain, in this state your would publish your geometry on on your personal channel.
More information about channel addresses can be found at Connect.
Change the tick to its respective Domain name.
Press Enter to confirm.
Attention
Make sure to publish to the same channel that your viewer is connected to - typos leave you stranded.
1.4. Connect#

double clickfalse on the Boolean Toggle to turn it into true, as shown in the picture above.Congratulations, your model should now appear in your Radii viewer!
If not start by checking for typos and if the viewer is actually connected to the channel.