2. Save Scenario#

Attention
Be careful with saving big amount of geometry content into the Save Scenario component, since this will make your Grasshopper file very heavy. Alternatively use Save Scenario to save your geometry to the cloud and use Publish Reference to integrate it to your scenarios.
Tip
The
Contentoutput can be saved to the cloud with Save ContentIf your Grasshopper file becomes slow due to the large amount of data in the Save Scenario component, you can deactivate the Grasshopper autosave (which is turned on by default).
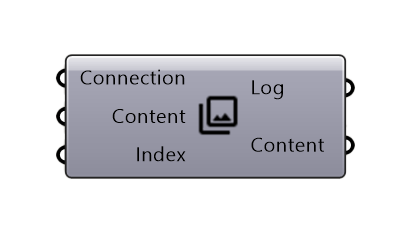
2.1. Input#
Name |
Description |
Type |
|---|---|---|
Connection |
Link with the Connect component |
Connection |
Content |
Content to be bundled into one scenario |
RADii content |
Index |
To switch between scenarios |
Integer |
2.2. Output#
Name |
Description |
Type |
|---|---|---|
Log |
Documents changes & data send |
Text |
Content |
Connect to a Save component |
RADii content |
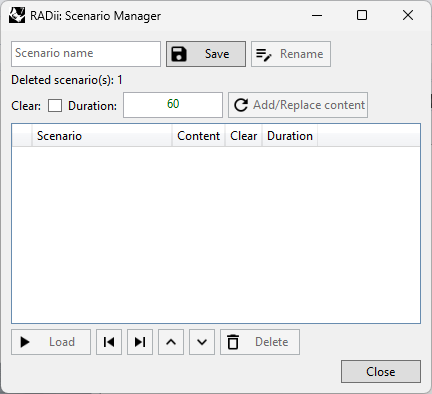
2.3. Scenario Manager#

Scenario Name |
The name you want to give your scenario |
Save |
Save the scenario, using an existing name to overwrite scenario |
Rename |
Renames a scenario |
Clear |
Clears the scene of all content before a scenario |
Duration |
Length of the scenario when played in the viewer in auto mode |
Add/Replace content |
New content will be added and existing updated. If used with existing content that has zero elements, it will delete it from the scenario |
Column titles
Blank |
Index of the scenario |
Scenario |
Name of the scenario |
Content |
is content sent (geometry, views, etc.) you could just send settings (time, position etc.) |
Clear |
Clears the channel before uploading new geometry |
Load |
Indicated if loading content via Publish Reference is included |
Duration |
of the scenario when played on auto play in the viewer |
An example on how to use the component can be found in the Tutorial Advanced Presentation
